One Skillet Creamy Cajun Chicken and Cheddar Mac (Easy Weeknight Comfort Meal)

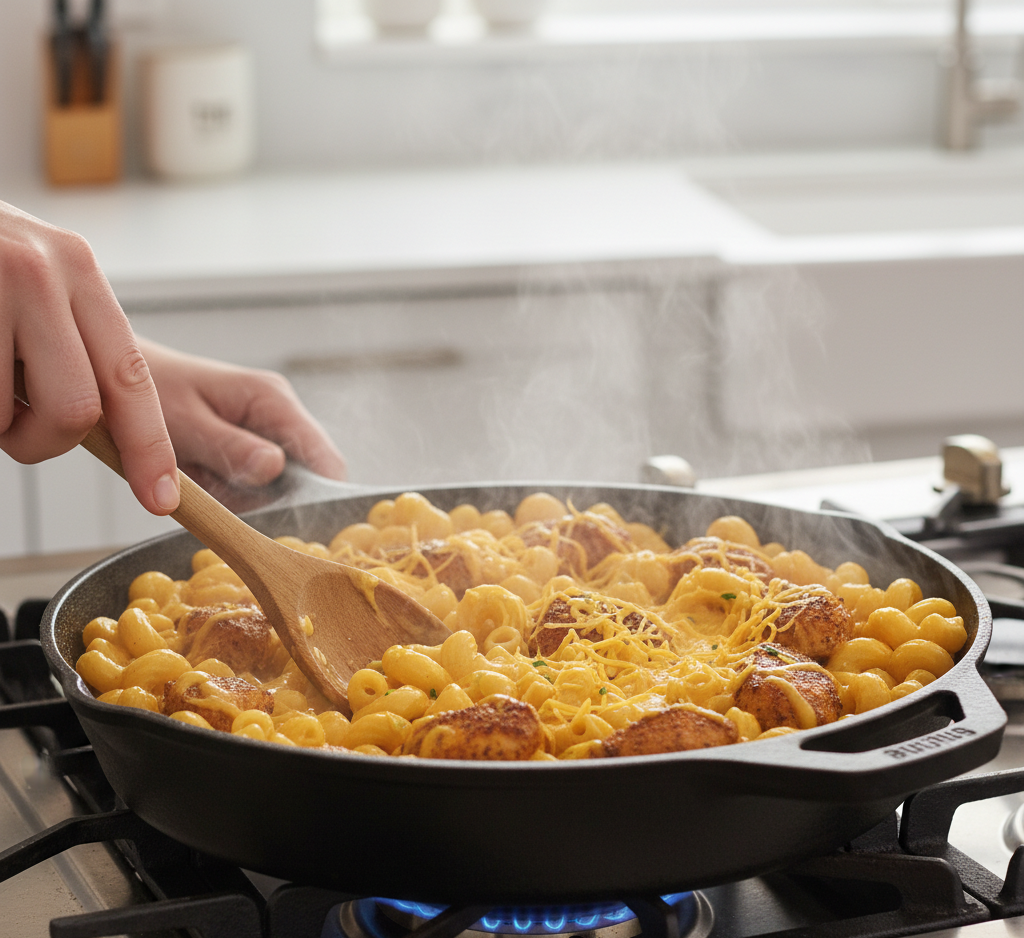
If you’re craving a bold, comforting, and ultra-satisfying dinner that doesn’t leave a pile of dishes behind, this one skillet creamy Cajun chicken and cheddar mac is exactly what you need. It combines tender, seasoned chicken with rich, cheesy pasta and a creamy Cajun-spiced sauce—all cooked in a single pan for maximum flavor and minimal cleanup.

This dish brings together the warmth of Southern-inspired spices with the nostalgic comfort of mac and cheese. It’s perfect for busy weeknights, family dinners, or anytime you want something hearty and homemade without spending hours in the kitchen.

Why You’ll Love This One Skillet Creamy Cajun Chicken and Cheddar Mac

There are so many reasons this one skillet creamy Cajun chicken and cheddar mac deserves a spot in your regular dinner rotation.

  • One-pan meal for easy cleanup
  • Ready in about 40 minutes
  • Rich, creamy, and full of bold Cajun flavor
  • Family-friendly with customizable spice levels
  • Perfect balance of protein, carbs, and comfort

It’s the kind of dish that feels indulgent but is surprisingly simple to pull together.
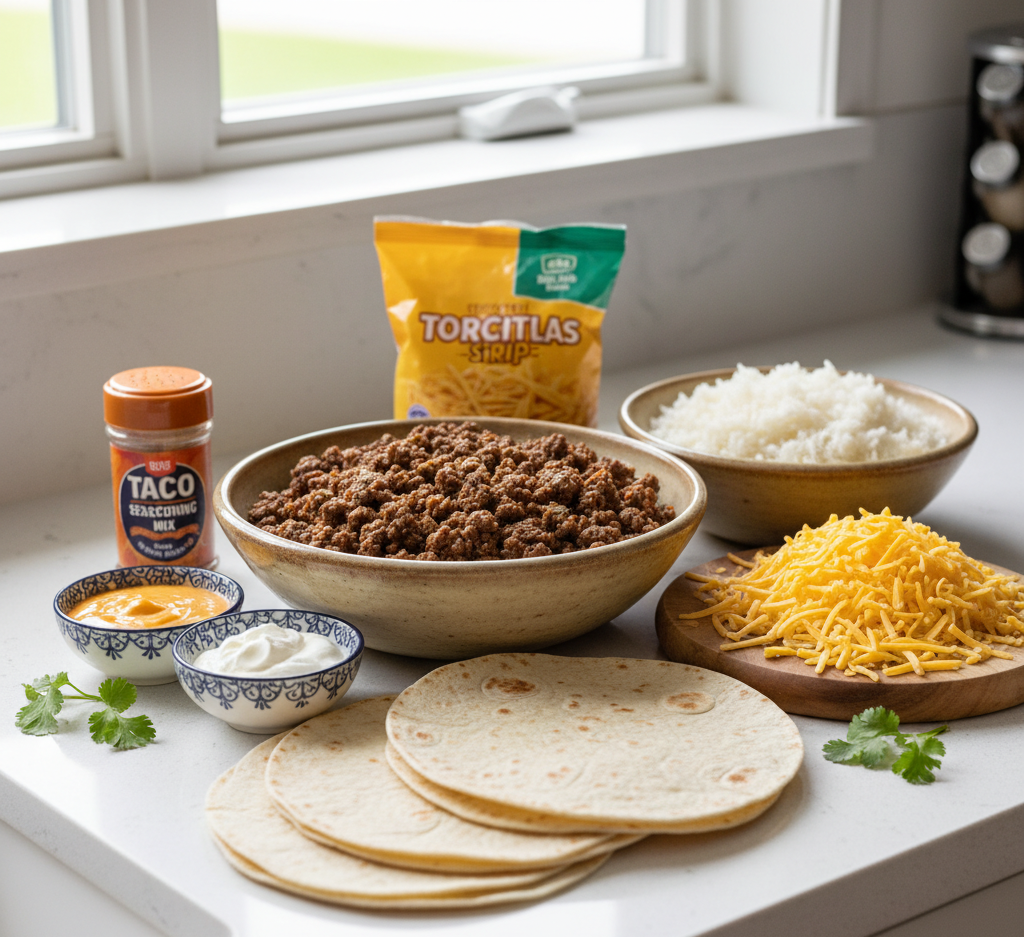
Ingredients

To make this one skillet creamy Cajun chicken and cheddar mac, you’ll need:

  • 2 boneless, skinless chicken breasts (cubed)
  • 2 cups elbow macaroni (uncooked)
  • 2 cups shredded cheddar cheese
  • 1 1/2 cups milk
  • 2 cups chicken broth
  • 2 tablespoons butter
  • 1 tablespoon olive oil
  • 2 teaspoons Cajun seasoning
  • 1/2 teaspoon garlic powder
  • Salt and pepper to taste

Ingredient Notes

A few smart ingredient choices can take your one skillet creamy Cajun chicken and cheddar mac from good to unforgettable.

Cajun Seasoning

Use a store-bought blend or make your own. Adjust the amount depending on how spicy you like it.

Cheese

Sharp cheddar adds the best flavor, but you can mix in Monterey Jack or Colby for extra creaminess.

Pasta

Elbow macaroni is classic, but shells or rotini work great for holding onto that creamy sauce.

Step-by-Step Instructions

Making this one skillet creamy Cajun chicken and cheddar mac is straightforward and beginner-friendly.

1. Cook the Chicken

Heat olive oil in a large skillet over medium heat. Add cubed chicken, season with Cajun seasoning, salt, and pepper, and cook until browned and cooked through. Remove and set aside.

2. Build the Base

In the same skillet, melt butter and add garlic powder. Pour in chicken broth and milk, then bring to a gentle simmer.

3. Cook the Pasta

Add uncooked macaroni directly into the skillet. Stir occasionally and let it cook until tender and most of the liquid is absorbed.

4. Add Cheese and Chicken

Lower the heat and stir in shredded cheddar cheese until melted and creamy. Return the cooked chicken to the skillet and mix well.

5. Serve

Let it sit for a few minutes to thicken, then serve warm.

Tips for Perfect Results

To make the best one skillet creamy Cajun chicken and cheddar mac, keep these tips in mind:

  • Stir frequently to prevent pasta from sticking
  • Use freshly shredded cheese for smoother melting
  • Adjust Cajun seasoning to control spice level
  • Don’t overcook the pasta—it should be tender but not mushy

These small tweaks ensure a creamy, flavorful result every time.
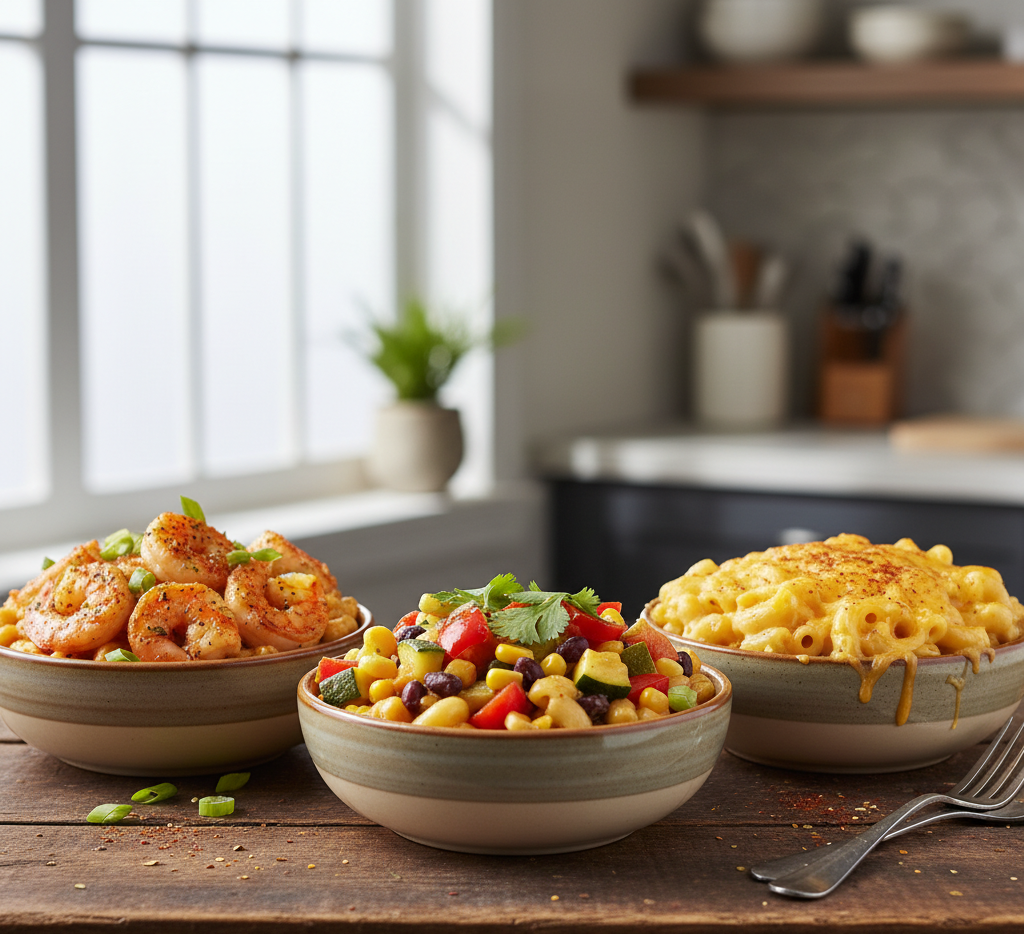
Variations

This one skillet creamy Cajun chicken and cheddar mac is incredibly versatile and easy to customize.

Shrimp Version

Swap chicken for shrimp for a seafood twist with classic Cajun flavors.

Veggie Boost

Add bell peppers, spinach, or mushrooms for extra nutrition and color.

Extra Creamy

Stir in a splash of heavy cream or cream cheese for an even richer sauce.

Spicy Kick

Add red pepper flakes or hot sauce for more heat.

What to Serve With It

This hearty dish pairs well with lighter sides that balance the richness:

  • Simple green salad with vinaigrette
  • Garlic bread or dinner rolls
  • Roasted broccoli or asparagus
  • Coleslaw for a refreshing crunch

These sides round out the meal without overpowering the main dish.
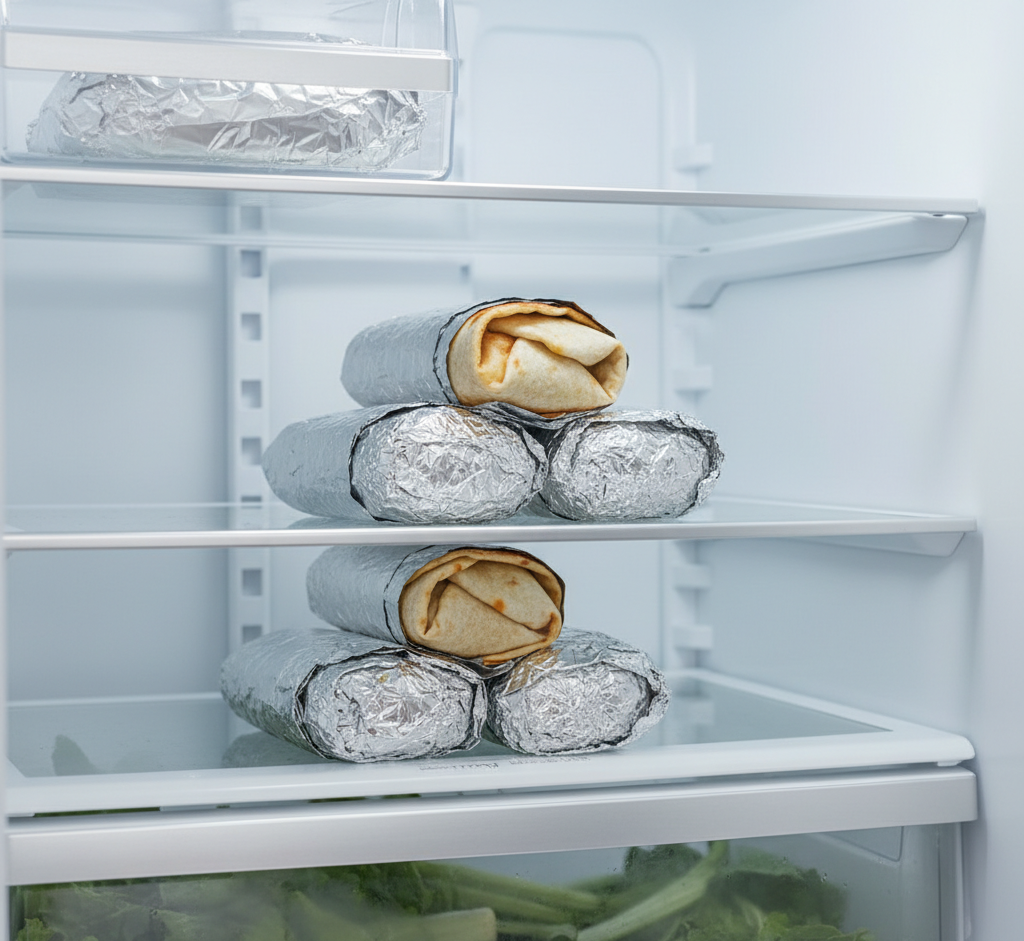
Storage & Reheating

Leftovers of this one skillet creamy Cajun chicken and cheddar mac are just as delicious the next day.

Storage

  • Store in an airtight container in the fridge for up to 4 days

Reheating

  • Reheat on the stovetop with a splash of milk to restore creaminess
  • Microwave in short intervals, stirring in between

Freezing

  • Freeze for up to 2 months, though texture may slightly change

Common Mistakes to Avoid

Avoid these common pitfalls to get the best results:

  • Adding cheese on high heat – can cause clumping
  • Using too little liquid – pasta won’t cook properly
  • Overcooking chicken – leads to dryness
  • Skipping seasoning adjustments – taste and tweak as needed

Attention to these details ensures your dish turns out perfectly creamy and flavorful.

FAQs

Can I make this one skillet creamy Cajun chicken and cheddar mac ahead of time?

Yes, but it’s best served fresh. Reheat with added milk to keep it creamy.

Is this dish very spicy?

It depends on your Cajun seasoning. You can easily adjust the spice level to your preference.

Can I use pre-cooked chicken?

Absolutely. Rotisserie chicken works great and saves time.

What’s the best cheese for this recipe?

Sharp cheddar is ideal, but blending cheeses adds depth and creaminess.

Final Thoughts

This one skillet creamy Cajun chicken and cheddar mac is the ultimate comfort food with a flavorful twist. It’s rich, satisfying, and incredibly easy to make, proving that a delicious homemade meal doesn’t have to be complicated.

Whether you’re cooking for your family or just want something cozy after a long day, this dish delivers every single time. Once you try it, it’s guaranteed to become a regular in your dinner rotation.

Samoa Brownies: Decadent Caramel Coconut Chocolate Bars You’ll Crave

If you’re a fan of rich chocolate desserts and nostalgic cookie flavors, these Samoa brownies are about to become your new favorite treat. Inspired by the iconic caramel coconut cookie, this indulgent dessert combines a fudgy brownie base with layers of toasted coconut, gooey caramel, and a drizzle of chocolate on top. It’s the kind of dessert that looks bakery-level impressive but is surprisingly easy to make at home.

Perfect for parties, holidays, or simply satisfying a sweet craving, Samoa brownies strike that perfect balance between chewy, crunchy, and melt-in-your-mouth goodness. Every bite is loaded with flavor and texture, making it nearly impossible to stop at just one square

Why You’ll Love These Samoa Brownies

These Samoa brownies aren’t just another dessert—they’re a full-on experience. From the first bite to the last crumb, they deliver layers of flavor that keep you coming back for more.

  • Rich, fudgy brownie base
  • Sweet and chewy caramel coconut topping
  • Chocolate drizzle for the perfect finish
  • Great for gatherings and special occasions
  • Easy to customize and make ahead

They’re ideal when you want something a little extra special without spending all day in the kitchen.

Ingredients

To make these irresistible Samoa brownies, you’ll need:

For the Brownie Base:

  • 1 box brownie mix (or homemade brownie batter)
  • Ingredients listed on the box (eggs, oil, water)

For the Topping:

  • 2 cups shredded sweetened coconut
  • 1 1/2 cups soft caramels (or caramel bits)
  • 3 tablespoons heavy cream
  • 1 cup semi-sweet chocolate chips

Ingredient Notes

Choosing the right ingredients can make your Samoa brownies truly unforgettable.

Coconut

Sweetened shredded coconut works best for that classic Samoa flavor. Toasting it brings out a nutty, rich aroma that elevates the topping.

Caramel

Soft caramels melt smoothly and create that signature chewy texture. Caramel bits are a convenient alternative.

Chocolate

Semi-sweet chocolate balances the sweetness of the caramel and coconut perfectly. You can also use dark chocolate for a deeper flavor.

Step-by-Step Instructions

Making these Samoa brownies is easier than it looks, and the results are absolutely worth it.

1. Bake the Brownies

Prepare and bake the brownie mix according to package instructions in a 9×13-inch pan. Let cool completely.

2. Toast the Coconut

Spread shredded coconut on a baking sheet and toast at 350°F for 5–7 minutes, stirring occasionally, until golden brown.

3. Melt the Caramel

In a microwave-safe bowl, combine caramels and heavy cream. Heat in intervals, stirring until smooth.

4. Mix the Topping

Stir the toasted coconut into the melted caramel until fully coated.

5. Assemble

Spread the caramel coconut mixture evenly over the cooled brownies, pressing gently to adhere.

6. Add Chocolate Drizzle

Melt chocolate chips and drizzle over the top using a spoon or piping bag.

7. Set and Slice

Allow the brownies to set before slicing into squares.

Tips for Perfect Results

Getting perfect Samoa brownies every time is all about technique and timing.

  • Let brownies cool completely before adding topping
  • Stir coconut frequently while toasting to avoid burning
  • Use parchment paper for easy removal
  • Slightly grease your knife before cutting for clean slices

These small tips make a big difference in both presentation and texture.

Variations

One of the best things about Samoa brownies is how easy they are to customize.

Homemade Brownies

Skip the box mix and use your favorite homemade brownie recipe for a richer base.

Extra Chocolate

Add chocolate chips directly into the brownie batter for double chocolate goodness.

Salted Caramel Twist

Sprinkle flaky sea salt over the top for a sweet-and-salty flavor boost.

Gluten-Free Option

Use a gluten-free brownie mix to make this dessert accessible for everyone.

What to Serve With Samoa Brownies

These rich brownies pair beautifully with simple accompaniments that balance their sweetness.

  • Vanilla ice cream
  • Fresh berries
  • Hot coffee or espresso
  • Cold milk

Serving them slightly warm with ice cream takes this dessert to the next level.

Storage & Reheating

These Samoa brownies store well, making them perfect for prepping ahead.

Storage

  • Keep in an airtight container at room temperature for up to 3 days
  • Refrigerate for up to 1 week

Freezing

  • Freeze individual slices wrapped tightly for up to 2 months

Reheating

  • Microwave for 10–15 seconds for a warm, gooey texture

Common Mistakes to Avoid

Avoid these pitfalls to ensure your Samoa brownies turn out perfectly:

  • Overbaking the brownies – leads to a dry base
  • Burning the coconut – keep a close eye while toasting
  • Using too little caramel – the topping won’t hold together
  • Cutting too soon – results in messy slices

Taking your time with each step will reward you with bakery-quality results.

FAQs

What are Samoa brownies?

They are brownies topped with caramel, toasted coconut, and chocolate drizzle, inspired by the classic Samoa cookie.

Can I make Samoa brownies ahead of time?

Yes! They actually taste even better the next day as the flavors meld together.

Can I use store-bought caramel sauce?

You can, but melted soft caramels provide a thicker, more authentic texture.

How do I keep the topping from falling off?

Press the topping firmly onto the brownies and allow it to fully set before slicing.

Final Thoughts

These Samoa brownies are the ultimate dessert for chocolate and caramel lovers. They combine everything you love about a classic cookie with the richness of a fudgy brownie, creating a treat that’s both nostalgic and indulgent.

Whether you’re baking for a party, a holiday, or just because, this recipe is guaranteed to impress. Once you try these homemade Samoa brownies, they’ll quickly earn a permanent spot in your dessert rotation.

Quick & Easy Grilled Cheese Burrito (Better Than Takeout!)

If you’ve ever craved something cheesy, crispy, and unbelievably satisfying, this quick & easy grilled cheese burrito is about to become your new obsession. Inspired by popular fast-food favorites but made right in your own kitchen, this recipe delivers bold flavors, melty cheese, and a golden, crispy exterior—all in one irresistible bite.

The best part? You don’t need any fancy ingredients or complicated techniques. This recipe is perfect for busy weeknights, lazy weekends, or anytime you want comfort food fast. Once you try this homemade version, you might never go back to takeout again.

Why You’ll Love This Quick & Easy Grilled Cheese Burrito

This recipe hits every mark when it comes to flavor, convenience, and comfort. It’s designed to be approachable while still delivering restaurant-quality results.

  • Ready in about 30 minutes
  • Uses simple, easy-to-find ingredients
  • Perfect balance of crispy and cheesy textures
  • Customizable to suit your taste
  • Family-friendly and budget-conscious

Every bite combines creamy, crunchy, and savory elements, making this dish a standout even among your favorite comfort foods.

Ingredients

To make this quick & easy grilled cheese burrito, you’ll need:

  • 1 pound ground beef
  • 1 cup cooked rice
  • 1 cup shredded cheddar cheese (plus extra for grilling)
  • 1/2 cup nacho cheese sauce
  • 1/2 cup sour cream
  • 1/4 cup tortilla strips or crushed chips
  • 4 large flour tortillas
  • 1 packet taco seasoning

Ingredient Notes

Even simple ingredients can make a big difference when chosen thoughtfully.

Ground Beef

Go for 80/20 ground beef for the best flavor. You can also substitute ground turkey or chicken for a lighter option.

Cheese

Cheddar is classic, but a Mexican blend or Monterey Jack works beautifully. The extra cheese on the outside is what gives that signature crispy crust.

Tortillas

Use large, soft flour tortillas to hold all the fillings without tearing.

Crunch Factor

Tortilla strips or crushed chips add a satisfying crunch that elevates the texture of this burrito.

Step-by-Step Instructions

Making this quick & easy grilled cheese burrito is easier than you think.

1. Cook the Beef

In a skillet over medium heat, cook the ground beef until browned. Drain excess grease, then stir in taco seasoning and a splash of water. Simmer for a few minutes until thickened.

2. Prepare the Fillings

Warm the cooked rice and have all your ingredients ready for assembly.

3. Assemble the Burrito

Layer the following in the center of each tortilla:

  • Seasoned beef
  • Rice
  • Nacho cheese sauce
  • Sour cream
  • Shredded cheese
  • Tortilla strips

Fold in the sides and roll tightly into a burrito.

4. Grill with Cheese

Sprinkle shredded cheese directly onto a hot skillet. Place the burrito seam-side down on top of the cheese. Cook until the cheese forms a crispy crust, then flip and lightly toast the other side.

5. Serve Hot

Remove from the skillet, let cool slightly, then slice and enjoy.

Tips for Perfect Results

To get that perfect restaurant-style finish, keep these tips in mind:

  • Don’t overfill the burrito—this makes rolling difficult
  • Use medium heat to avoid burning the cheese crust
  • Press gently while grilling for even crispiness
  • Let the burrito rest briefly before slicing

These small adjustments make a big difference in texture and presentation.

Variations

This quick & easy grilled cheese burrito is incredibly versatile.

Chicken Version

Swap ground beef for shredded rotisserie chicken mixed with taco seasoning.

Vegetarian Option

Use black beans, sautéed veggies, and extra rice for a meatless version.

Spicy Kick

Add jalapeños, hot sauce, or spicy queso for extra heat.

Breakfast Burrito Twist

Fill with scrambled eggs, sausage, and hash browns for a morning version.

What to Serve With It

While this burrito is a meal on its own, pairing it with sides makes it even better:

  • Guacamole or sliced avocado
  • Salsa or pico de gallo
  • Mexican rice or cilantro lime rice
  • Refried beans
  • Corn salad

These sides complement the rich, cheesy flavors perfectly.

Storage & Reheating

If you have leftovers (which isn’t likely!), here’s how to store them:

Storage

  • Wrap tightly in foil or store in an airtight container
  • Refrigerate for up to 3 days

Reheating

  • Reheat in a skillet for best texture
  • Microwave for 1–2 minutes if short on time
  • Avoid overheating to prevent sogginess

Common Mistakes to Avoid

Even simple recipes can go wrong if you’re not careful.

  • Using too much filling – leads to bursting burritos
  • Skipping the cheese crust step – misses the signature texture
  • Cooking on high heat – burns the cheese instead of crisping it
  • Not sealing the burrito properly – causes it to fall apart

Avoiding these mistakes ensures a perfect result every time.

FAQs

What makes a grilled cheese burrito different?

The crispy cheese layer on the outside sets it apart from a regular burrito, adding both texture and flavor.

Can I make this ahead of time?

Yes, you can assemble the burritos ahead and grill them just before serving for best results.

Can I freeze grilled cheese burritos?

You can freeze them before grilling. Thaw overnight and cook fresh for the best texture.

What’s the best cheese for the outside crust?

Cheddar works best because it melts well and crisps up beautifully.

Final Thoughts

This quick & easy grilled cheese burrito is everything you want in a comfort meal—crispy, cheesy, hearty, and incredibly satisfying. It’s proof that you don’t need complicated recipes to create something truly delicious at home.

Whether you’re feeding a hungry family, meal prepping for the week, or just treating yourself, this burrito delivers bold flavor with minimal effort. Once you master it, you’ll find yourself coming back to it again and again.

Easy Lazy Girl Lasagna Recipe: 5-Ingredient Comfort Meal Made Perfect

If you’ve ever wanted a homemade lasagna without the time, stress, or endless ingredient list, this easy lazy girl lasagna recipe is about to become your new go-to dinner. Designed for busy weeknights, beginner cooks, or anyone craving cozy comfort food with minimal effort, this recipe strips traditional lasagna down to its essentials—without sacrificing flavor.

This 5-ingredient comfort meal delivers all the rich, cheesy goodness you love, but with a fraction of the work. No complicated layering techniques, no obscure ingredients—just simple, satisfying cooking that fits your real life.

Why You’ll Love This Easy Lazy Girl Lasagna Recipe

This recipe is all about simplicity and comfort. Whether you’re cooking for your family or just yourself, it hits all the right notes.

  • Only 5 simple ingredients
  • Ready with minimal prep time
  • Perfect for beginner cooks
  • Budget-friendly and filling
  • Classic lasagna flavor without the hassle

The beauty of this dish lies in its balance: it’s indulgent yet practical, hearty yet effortless. You don’t need to spend hours in the kitchen to enjoy a satisfying homemade meal.

Ingredients

Here’s everything you need to make this easy lazy girl lasagna recipe:

  • 1 pound ground beef (or Italian sausage)
  • 1 jar (24 oz) marinara sauce
  • 2 cups shredded mozzarella cheese
  • 1 cup ricotta cheese
  • 9 lasagna noodles (oven-ready or cooked)

Ingredient Notes

Even with just five ingredients, a few thoughtful choices can elevate your dish:

Meat

Ground beef works beautifully, but Italian sausage adds extra flavor. You can also use ground turkey for a lighter option.

Sauce

Use your favorite store-bought marinara or pasta sauce. A high-quality sauce makes a big difference since it’s a key flavor component.

Cheese

Whole milk ricotta and mozzarella will give you the creamiest texture. Pre-shredded cheese works, but freshly shredded melts better.

Step-by-Step Instructions

Making this easy lazy girl lasagna recipe couldn’t be simpler:

1. Preheat and Prep

Preheat your oven to 375°F. Lightly grease a baking dish.

2. Cook the Meat

In a skillet over medium heat, cook the ground beef until browned. Drain excess fat, then stir in the marinara sauce.

3. Layer the Lasagna

In your baking dish:

  • Spread a thin layer of meat sauce
  • Add noodles
  • Spread ricotta
  • Sprinkle mozzarella
    Repeat layers until ingredients are used, finishing with mozzarella on top.

4. Bake

Cover with foil and bake for 25 minutes. Remove foil and bake another 10–15 minutes until bubbly and golden.

5. Rest and Serve

Let it sit for 10 minutes before slicing for clean layers.

Tips for Perfect Results

Even a lazy recipe benefits from a few pro tips:

  • Don’t skip resting time—it helps the layers set
  • Use enough sauce to keep noodles tender
  • Cover with foil to prevent over-browning early
  • Add a pinch of salt and pepper to each layer for extra flavor

These small steps ensure your lasagna turns out perfectly every time.

Variations

One of the best things about this easy lazy girl lasagna recipe is how adaptable it is.

Make It Vegetarian

Swap the meat for sautéed mushrooms, spinach, or zucchini.

Add More Flavor

Mix in garlic powder, Italian seasoning, or red pepper flakes.

Make It Creamier

Add a layer of cream cheese or béchamel sauce for extra richness.

Low-Carb Option

Replace noodles with thinly sliced zucchini or eggplant.

What to Serve With It

This dish is hearty on its own, but pairing it with the right sides makes it even better:

  • Garlic bread or breadsticks
  • Simple green salad with vinaigrette
  • Roasted vegetables
  • Caesar salad

These sides balance the richness and create a complete meal experience.

Storage & Reheating

This lasagna stores beautifully, making it ideal for meal prep.

Storage

  • Refrigerate in an airtight container for up to 4 days
  • Freeze for up to 2 months

Reheating

  • Microwave individual portions for 2–3 minutes
  • Reheat in the oven at 350°F covered with foil until warmed through

Common Mistakes to Avoid

Even simple recipes can go wrong if you’re not careful:

  • Using too little sauce – leads to dry lasagna
  • Skipping foil while baking – can burn the cheese
  • Not draining meat properly – results in greasy layers
  • Overloading layers – makes slicing messy

Avoid these pitfalls and your lasagna will turn out perfect every time.

FAQs

Can I use no-boil lasagna noodles?

Yes! Oven-ready noodles work perfectly and save even more time.

Can I make this ahead of time?

Absolutely. Assemble it, cover, and refrigerate for up to 24 hours before baking.

What’s the best cheese substitute for ricotta?

Cottage cheese is a great alternative and slightly lighter.

Can I freeze it before baking?

Yes, assemble it, wrap tightly, and freeze. Bake straight from frozen, adding extra time.

Final Thoughts

This easy lazy girl lasagna recipe proves that comfort food doesn’t have to be complicated. With just five ingredients and minimal effort, you can create a rich, satisfying meal that feels like it took hours to prepare.

Whether you’re cooking for a busy weeknight, meal prepping for the week, or just craving something warm and cheesy, this recipe delivers every time. Keep it simple, make it your own, and enjoy every delicious bite.