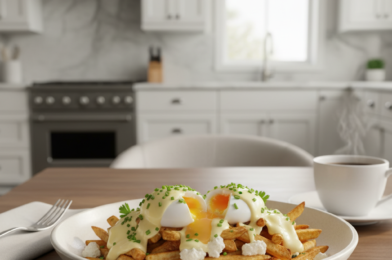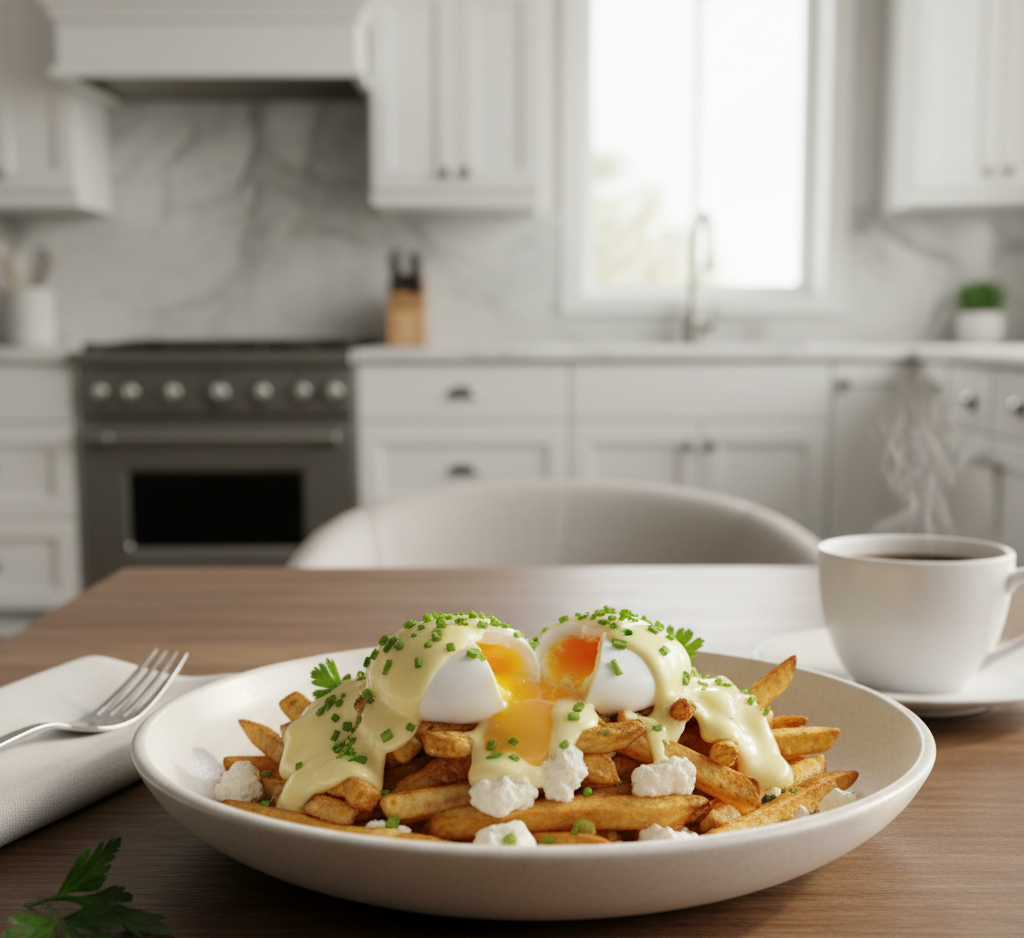
If you’re looking for a quick, satisfying breakfast that doesn’t skimp on flavor, these loaded scrambled eggs are exactly what you need. Packed with fluffy eggs, melty cheese, crispy bacon, and fresh veggies, this dish transforms a simple morning staple into something truly crave-worthy. Best of all, you can whip it up in just 20 minutes—perfect for busy weekdays or relaxed weekend brunches.
Loaded scrambled eggs are all about balance: creamy, savory, and slightly crispy with every bite. Whether you’re feeding your family or just treating yourself, this recipe delivers comfort and nourishment in one delicious skillet.

Why You’ll Love This Loaded Scrambled Eggs Recipe
These loaded scrambled eggs are more than just breakfast—they’re a complete meal that’s both hearty and versatile. With the perfect combination of protein and flavor, they’ll keep you energized throughout the day.
Here’s why you’ll love them:
- Ready in just 20 minutes
- Packed with protein and nutrients
- Customizable with your favorite ingredients
- Perfect for breakfast, brunch, or even dinner
- Great for meal prep
Once you try this recipe, you’ll never look at scrambled eggs the same way again.
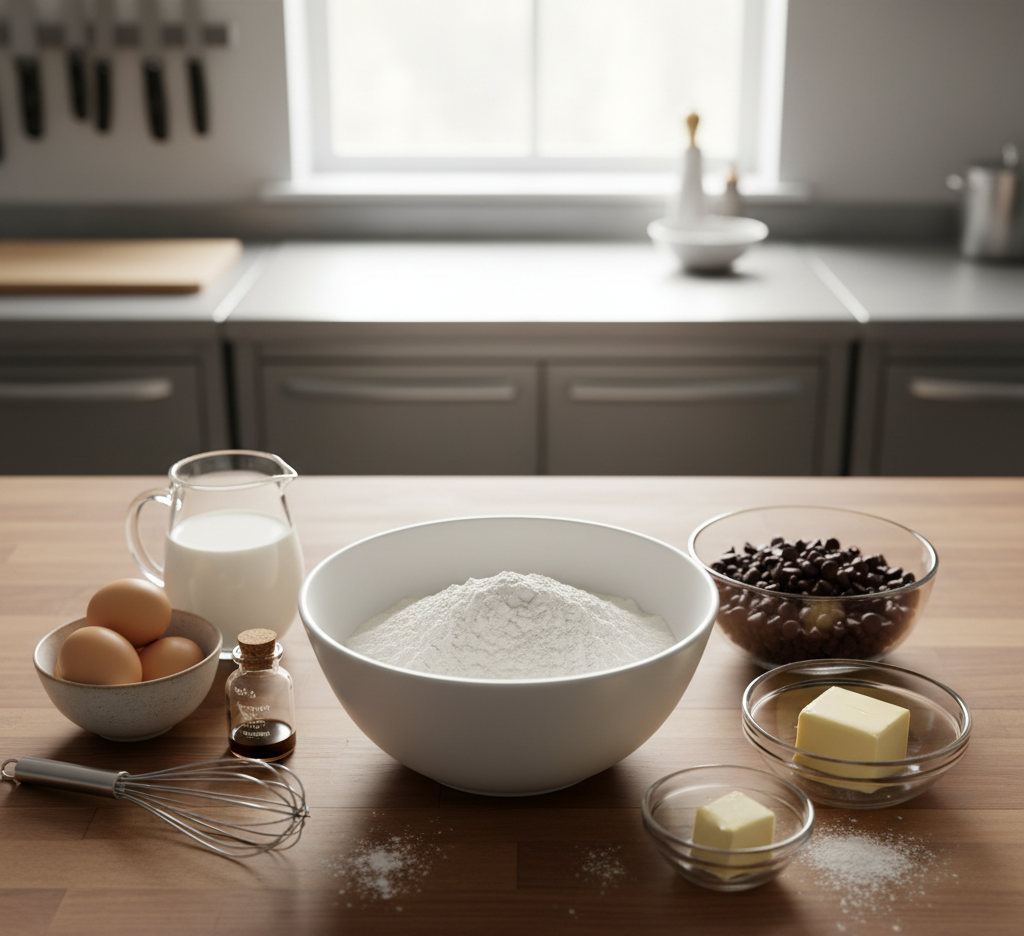
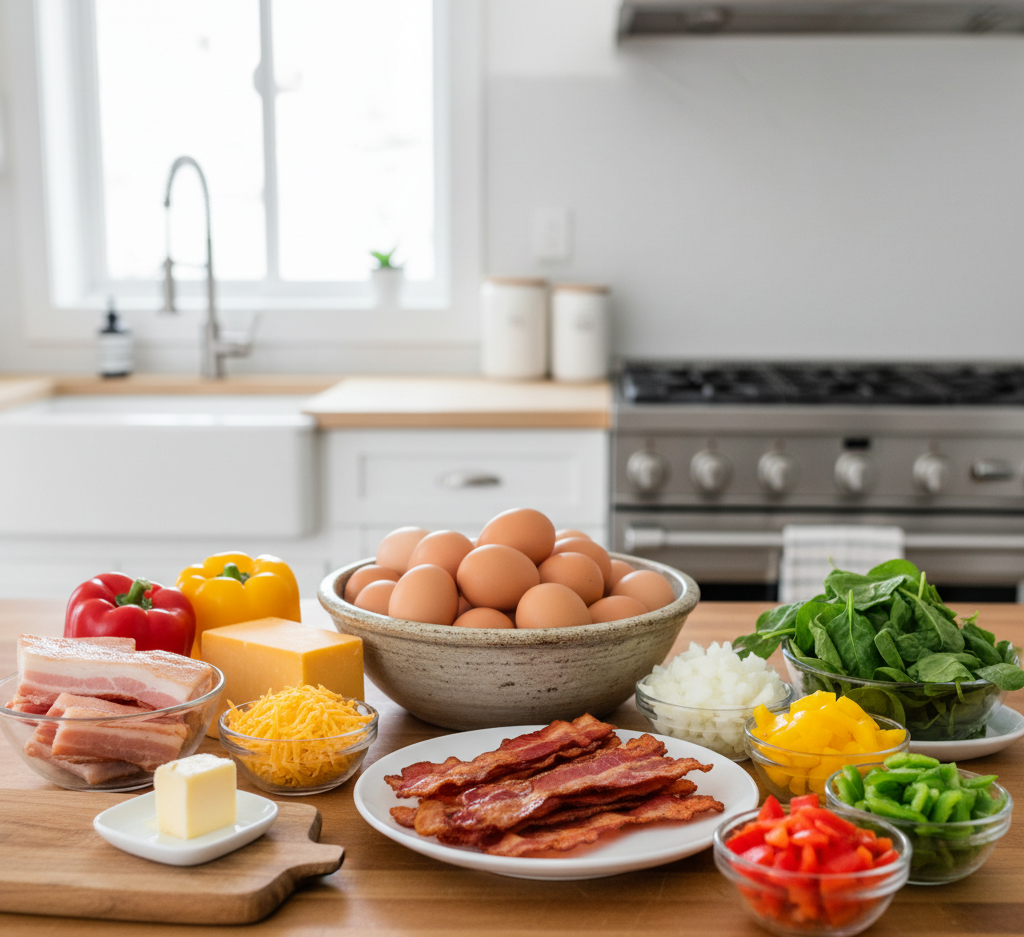
Ingredients
To make the ultimate loaded scrambled eggs, gather these simple ingredients:
- 6 large eggs
- ¼ cup milk or cream
- ½ cup shredded cheddar cheese
- 4 strips bacon (cooked and crumbled)
- ½ cup diced bell peppers
- ¼ cup chopped onions
- ¼ cup chopped spinach
- Salt and pepper to taste
- 1 tablespoon butter
Ingredient Notes & Substitutions
One of the best things about loaded scrambled eggs is how flexible the recipe is. You can easily swap ingredients based on what you have on hand.
- Use turkey bacon or sausage instead of regular bacon
- Swap cheddar for mozzarella, feta, or pepper jack
- Add mushrooms, tomatoes, or avocado for extra flavor
- Use dairy-free milk and cheese for a lactose-free version
These substitutions allow you to customize your loaded scrambled eggs to suit your taste and dietary needs.
Step-by-Step Instructions
Step 1: Prep Ingredients
Cook the bacon until crispy, then crumble it. Chop all vegetables and set aside.
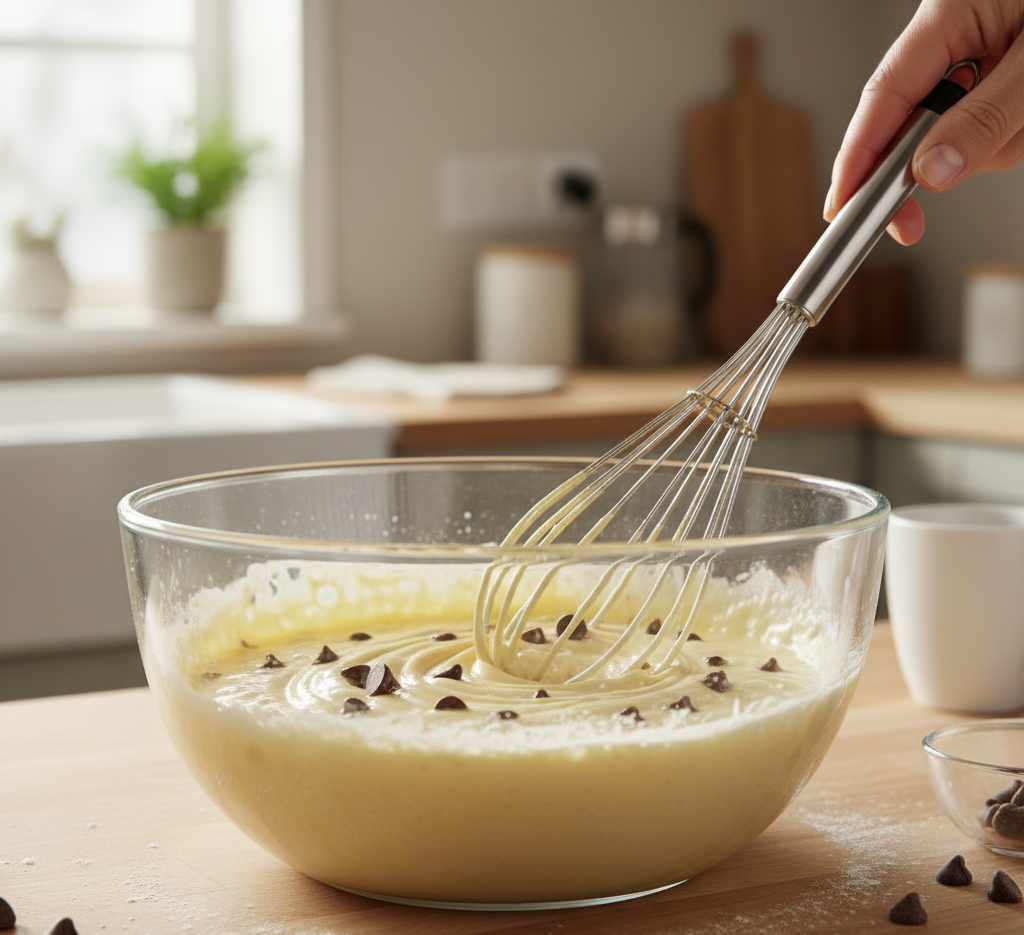
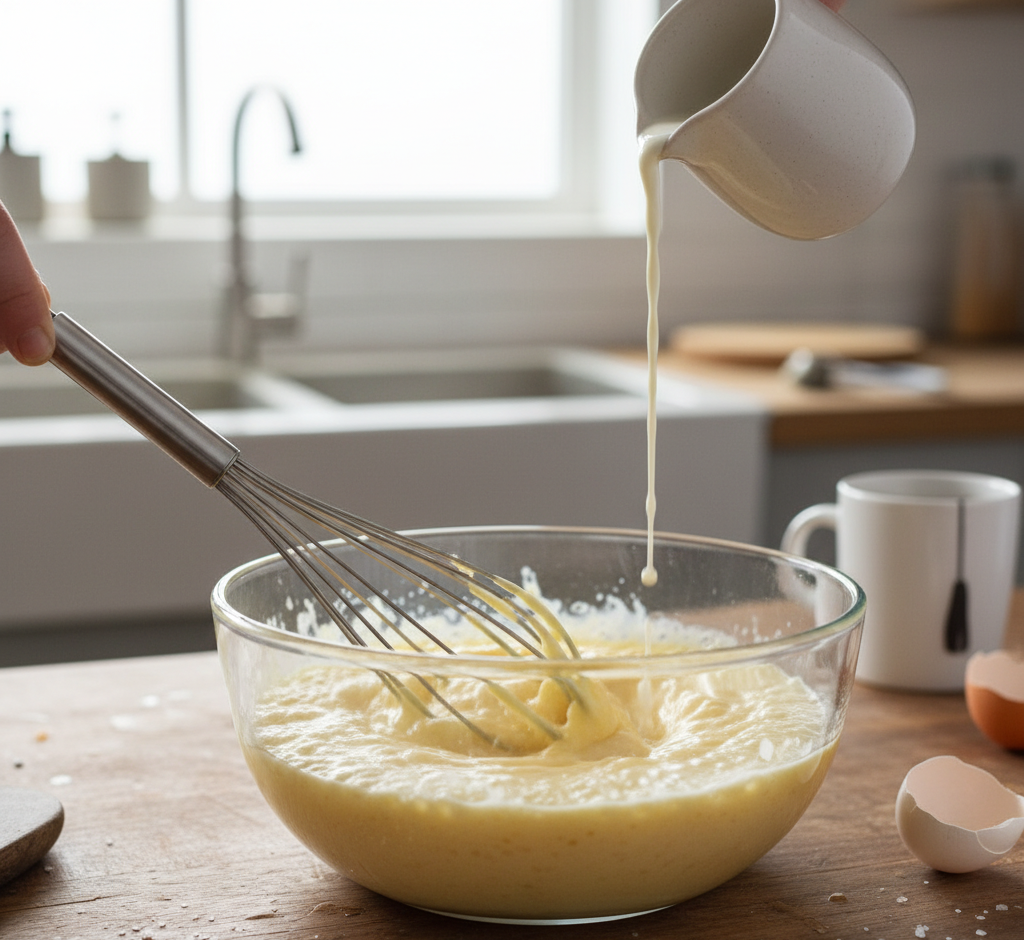
Step 2: Whisk the Eggs
In a bowl, whisk together eggs, milk, salt, and pepper until smooth and slightly frothy.
Step 3: Sauté the Vegetables
Melt butter in a skillet over medium heat. Add onions and bell peppers, cooking until softened. Stir in spinach until wilted.
Step 4: Cook the Eggs
Pour the egg mixture into the skillet. Let it sit for a few seconds, then gently stir, forming soft curds.
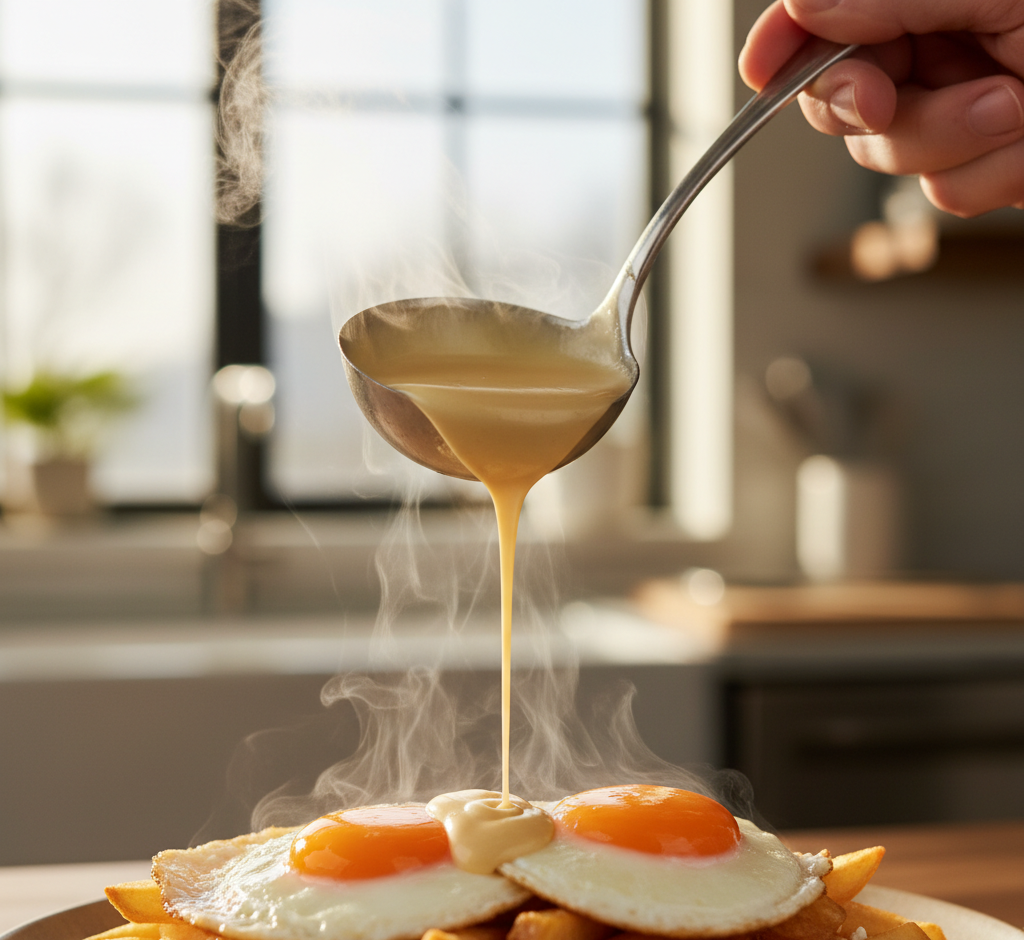
Step 5: Add Toppings
When eggs are nearly set, fold in cheese and bacon. Cook until cheese melts and eggs are fully cooked but still soft.

Tips for Perfect Results
Making perfect loaded scrambled eggs is all about technique. Here are some pro tips:
- Cook on medium-low heat for soft, creamy eggs
- Stir gently to avoid breaking the curds
- Remove from heat slightly before fully cooked (they’ll continue cooking)
- Use fresh eggs for the best flavor and texture
These tips ensure your eggs stay tender and never dry.
Variations to Try
Loaded scrambled eggs are incredibly versatile, making it easy to experiment with flavors.
Flavor Variations:
- Southwest style with black beans and salsa
- Mediterranean with feta, olives, and tomatoes
- Breakfast taco version with tortillas
Protein Add-Ins:
- Diced ham
- Cooked sausage
- Smoked salmon
Mix and match ingredients to create your perfect version.
What to Serve With Loaded Scrambled Eggs
These loaded scrambled eggs pair wonderfully with a variety of sides to create a complete meal.
- Toast or English muffins
- Hash browns or roasted potatoes
- Fresh fruit or smoothie
- Coffee or fresh juice
This combination makes for a balanced and satisfying breakfast or brunch.
Storage & Reheating
If you have leftovers, loaded scrambled eggs can be stored and reheated easily.
- Refrigerate: Store in an airtight container for up to 3 days
- Reheat: Warm gently in a skillet or microwave
- Avoid overcooking: Reheat slowly to maintain texture
While best enjoyed fresh, they still taste great the next day.
Common Mistakes to Avoid
Avoid these common mistakes to get the best results:
- Cooking eggs on high heat (leads to dryness)
- Overmixing while cooking
- Adding cheese too early
- Skipping seasoning
Keeping these in mind will help you achieve perfectly creamy loaded scrambled eggs every time.
FAQs
Can I make loaded scrambled eggs ahead of time?
Yes, but they’re best fresh. If needed, store and reheat gently.
How do I keep scrambled eggs creamy?
Cook on low heat and remove from heat before they fully set.
Can I make this recipe dairy-free?
Absolutely! Use plant-based milk and cheese alternatives.
What’s the best cheese for loaded scrambled eggs?
Cheddar is classic, but any melty cheese like mozzarella or Monterey Jack works well.
Final Thoughts
These loaded scrambled eggs are the ultimate breakfast upgrade—quick, flavorful, and endlessly customizable. With just a few simple ingredients and 20 minutes, you can create a dish that feels both comforting and indulgent.
Whether you’re cooking for yourself or feeding a crowd, this recipe is guaranteed to impress. Once you master these loaded scrambled eggs, breakfast will never be boring again!