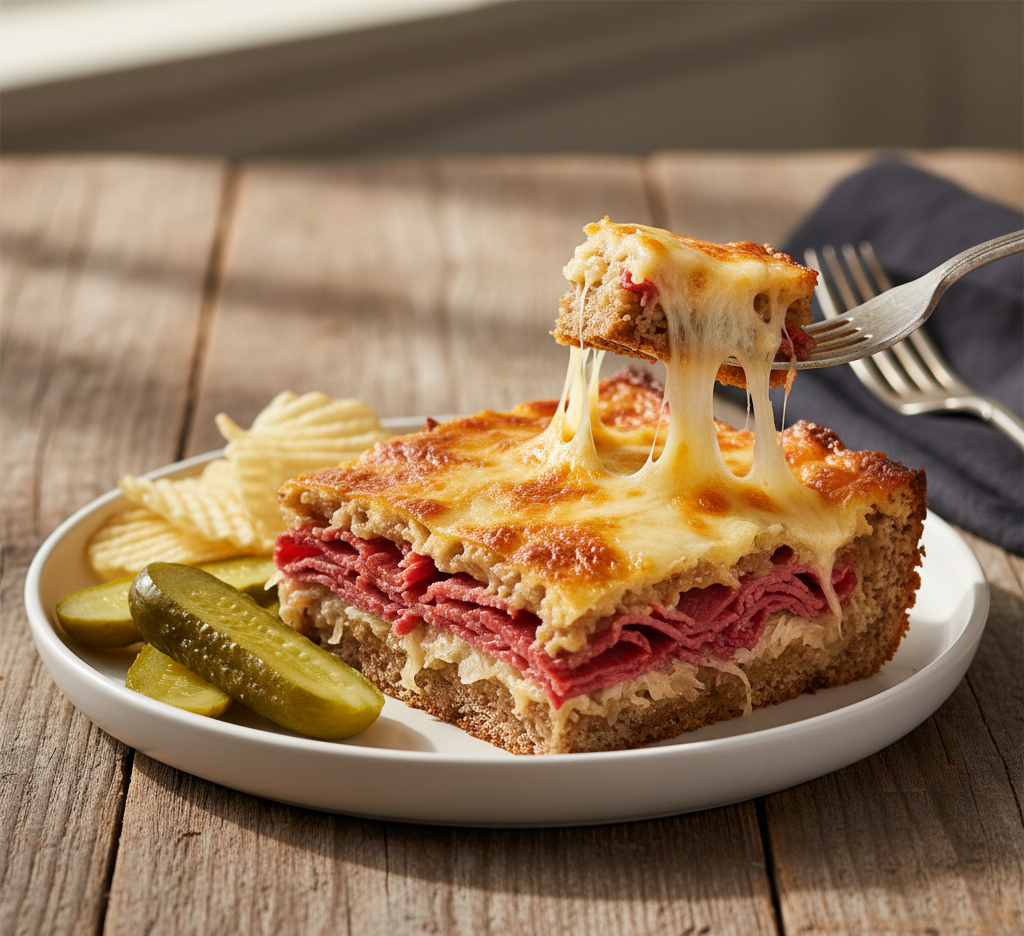
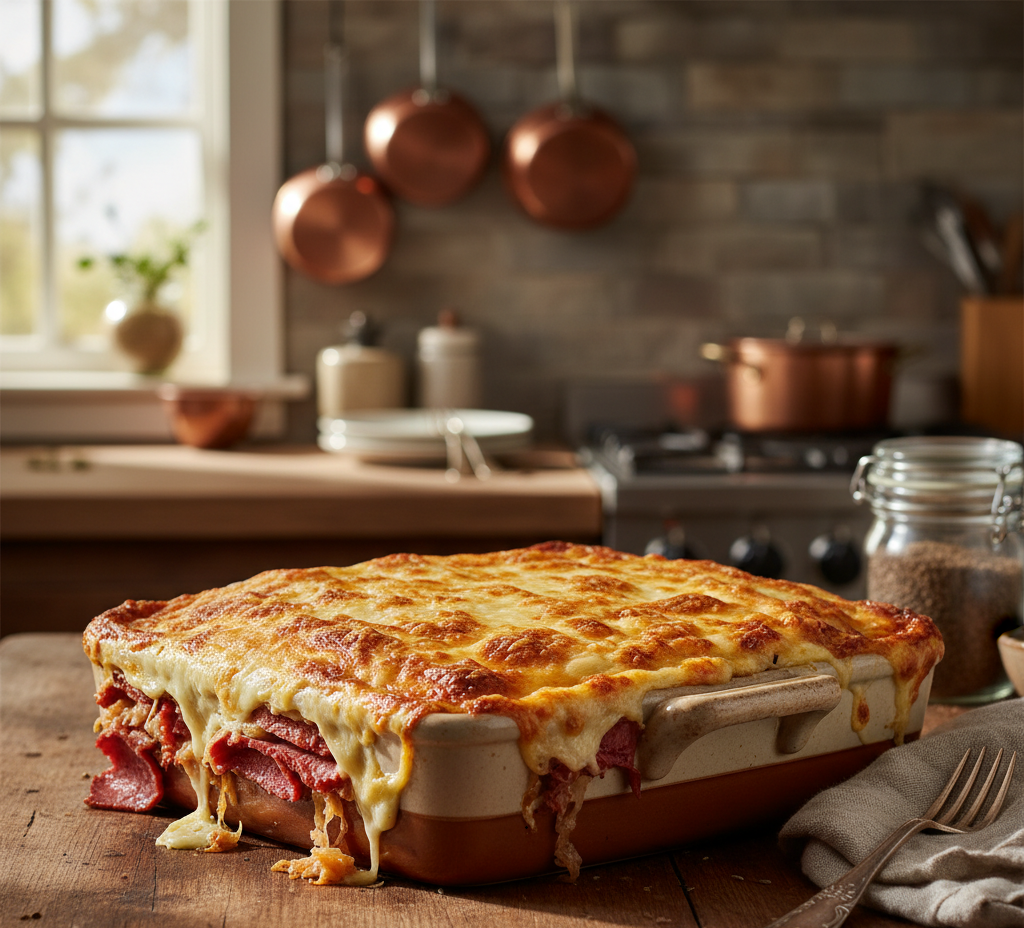
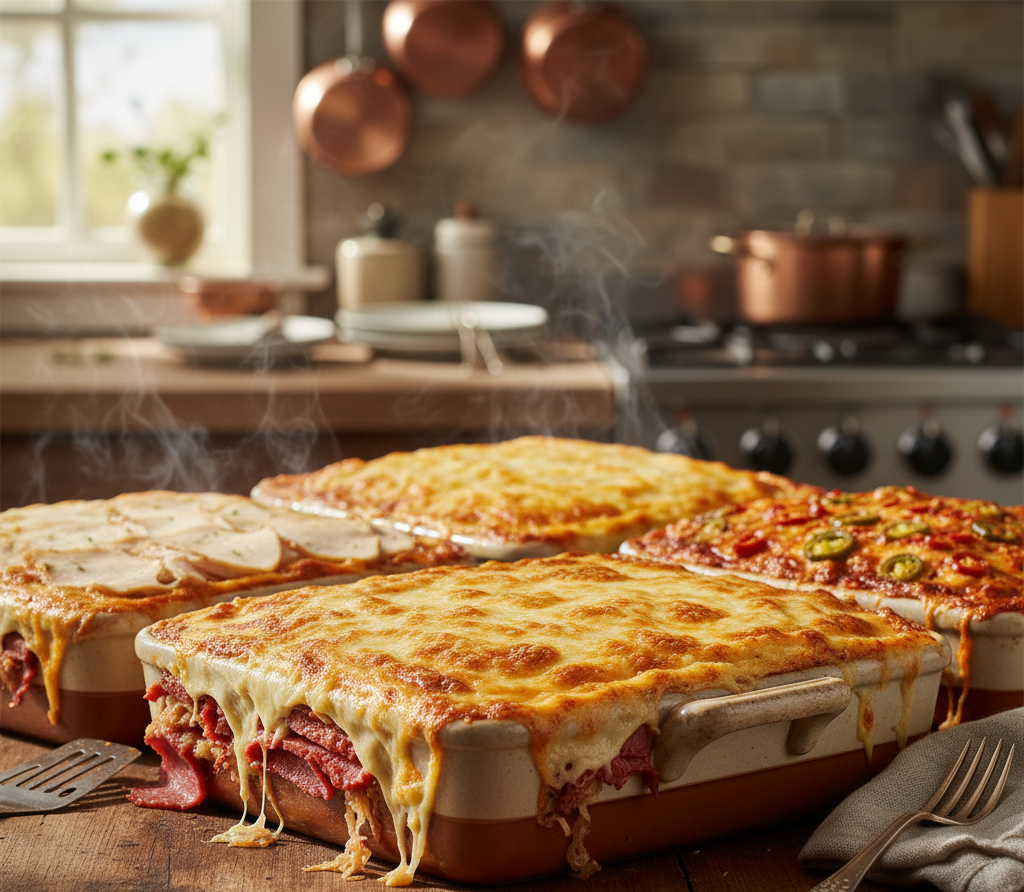
If you love the bold, tangy flavors of a classic Reuben sandwich, this Reuben bake casserole is about to become your new favorite comfort dish. It transforms everything you love—savory corned beef, melty Swiss cheese, tangy sauerkraut, and creamy dressing—into a warm, cheesy, oven-baked meal that’s perfect for feeding a crowd.
This recipe takes the traditional sandwich to the next level by layering all the ingredients into a hearty casserole that’s easy to prepare and even easier to enjoy. Whether you’re making it for a family dinner, potluck, or holiday gathering, this Reuben bake casserole delivers big flavor with minimal effort.
Why You’ll Love This Recipe
This Reuben bake casserole is a standout comfort food for so many reasons:
- All the flavors of a classic Reuben sandwich in one dish
- Easy to prepare ahead of time
- Perfect for feeding a crowd
- Warm, cheesy, and satisfying
- Great for leftovers
It’s a no-fuss recipe that brings comfort and bold flavor together beautifully.
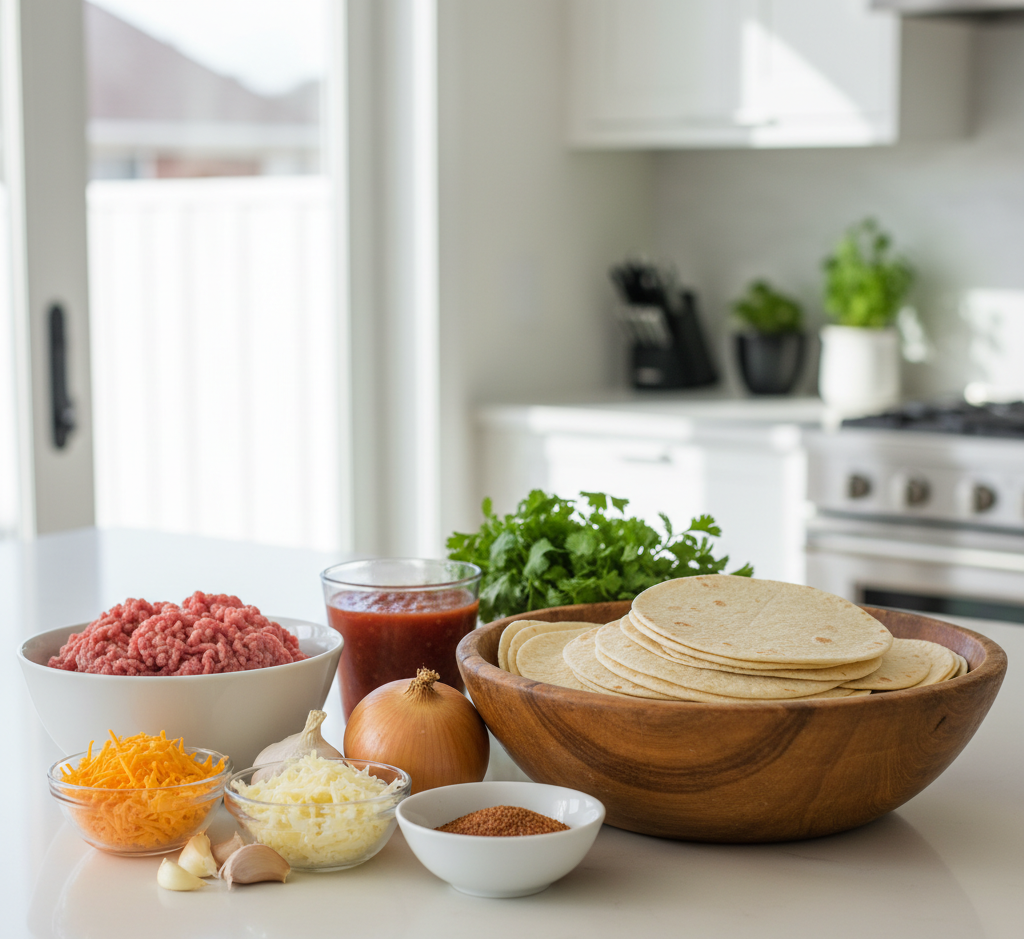
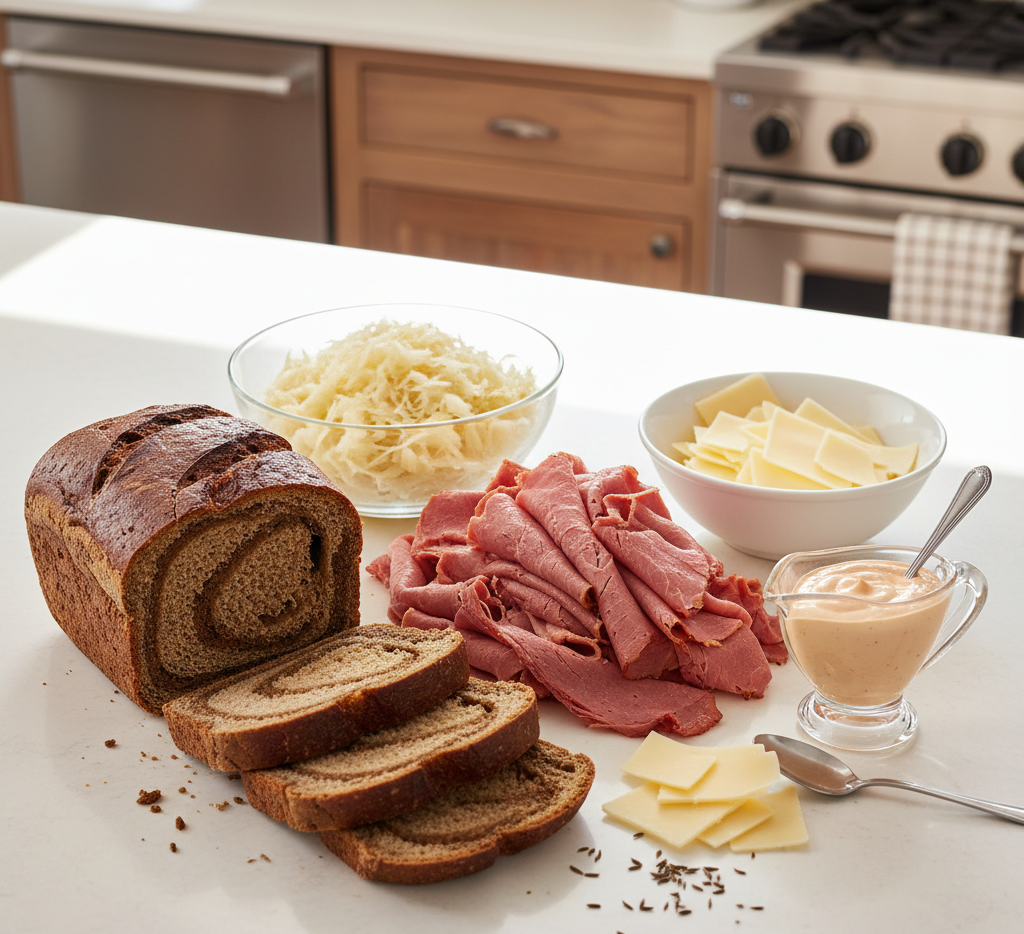
Ingredients
Here’s what you’ll need to make this delicious Reuben bake casserole:
- 1 loaf rye bread (cubed)
- 1 lb corned beef (chopped)
- 2 cups sauerkraut (drained well)
- 2 cups shredded Swiss cheese
- 1 cup Thousand Island dressing
- 4 large eggs
- 1 cup milk
- 1 teaspoon caraway seeds (optional)
- Salt and pepper to taste
Ingredient Notes
The key to a great Reuben bake casserole is using quality ingredients:
- Corned beef: Deli-style or leftover works perfectly
- Rye bread: Adds authentic flavor and texture
- Sauerkraut: Be sure to drain well to avoid sogginess
- Swiss cheese: Melts beautifully and adds a nutty flavor
- Thousand Island dressing: Brings creaminess and tang
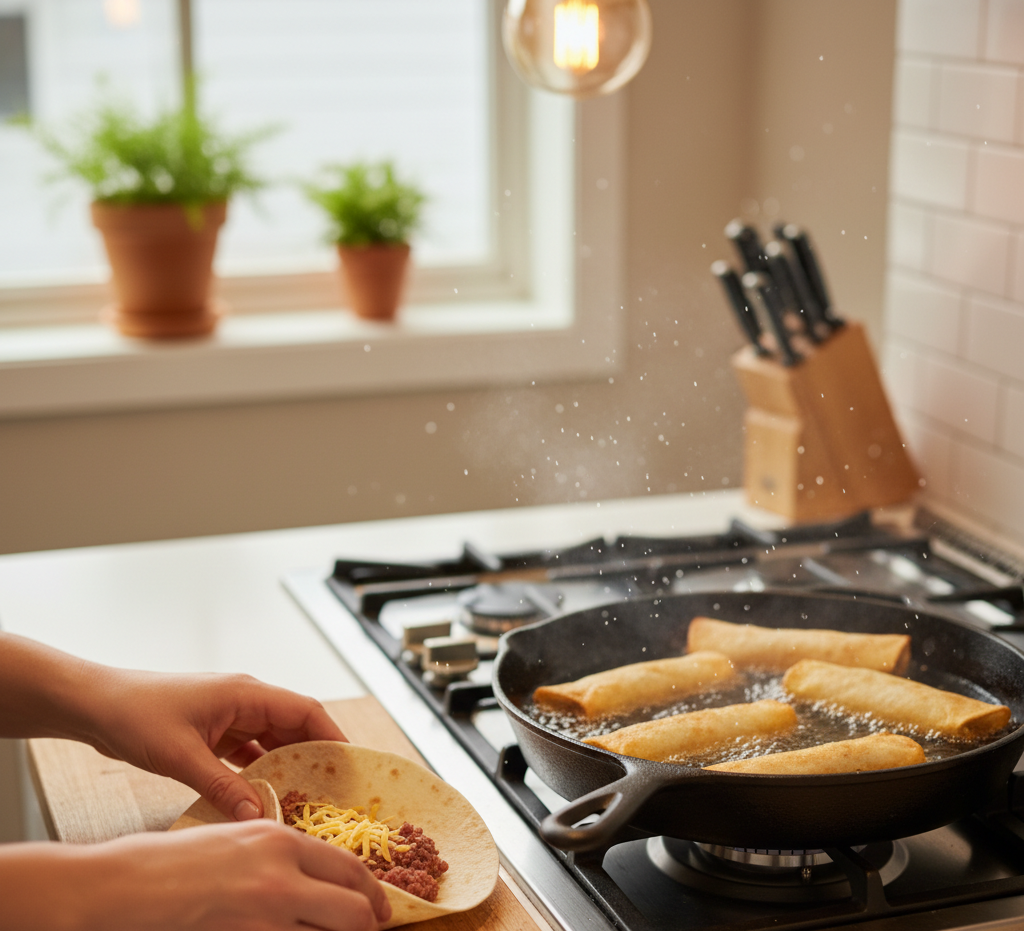
Step-by-Step Instructions
1. Preheat and Prep
Preheat your oven to 350°F (175°C) and grease a baking dish.
2. Layer the Bread
Spread half of the cubed rye bread evenly in the dish.
3. Add Fillings
Layer corned beef, sauerkraut, and Swiss cheese over the bread.
4. Add Remaining Bread
Top with the remaining bread cubes.
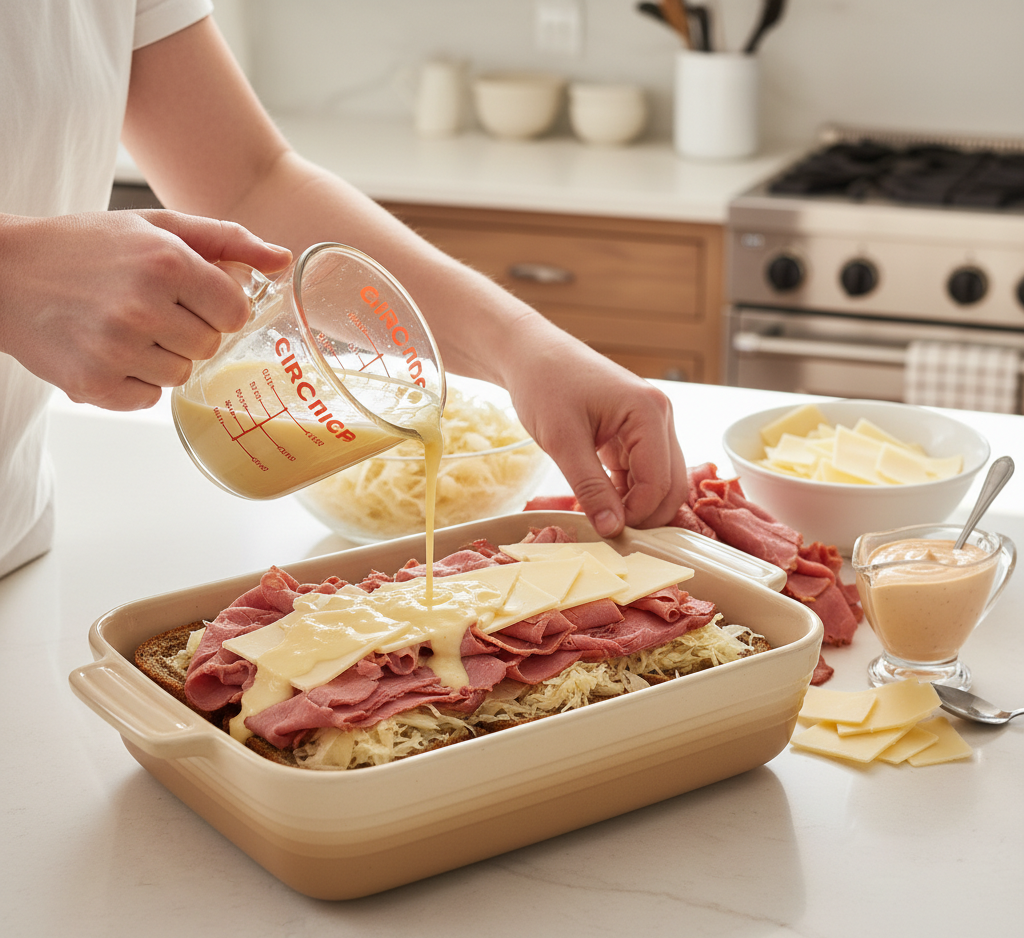
5. Make the Custard
In a bowl, whisk together eggs, milk, dressing, and seasonings.
6. Pour and Soak
Pour the mixture evenly over the casserole and let it sit for 10 minutes.
7. Bake
Bake for 40–45 minutes until golden and set.
8. Serve
Let cool slightly before serving.
Tips for Perfect Results
To make the best Reuben bake casserole, keep these tips in mind:
- Drain sauerkraut thoroughly to prevent excess moisture
- Use day-old bread for better texture
- Let it rest before baking so flavors meld
- Cover with foil if browning too quickly
These small steps ensure a perfectly balanced casserole.
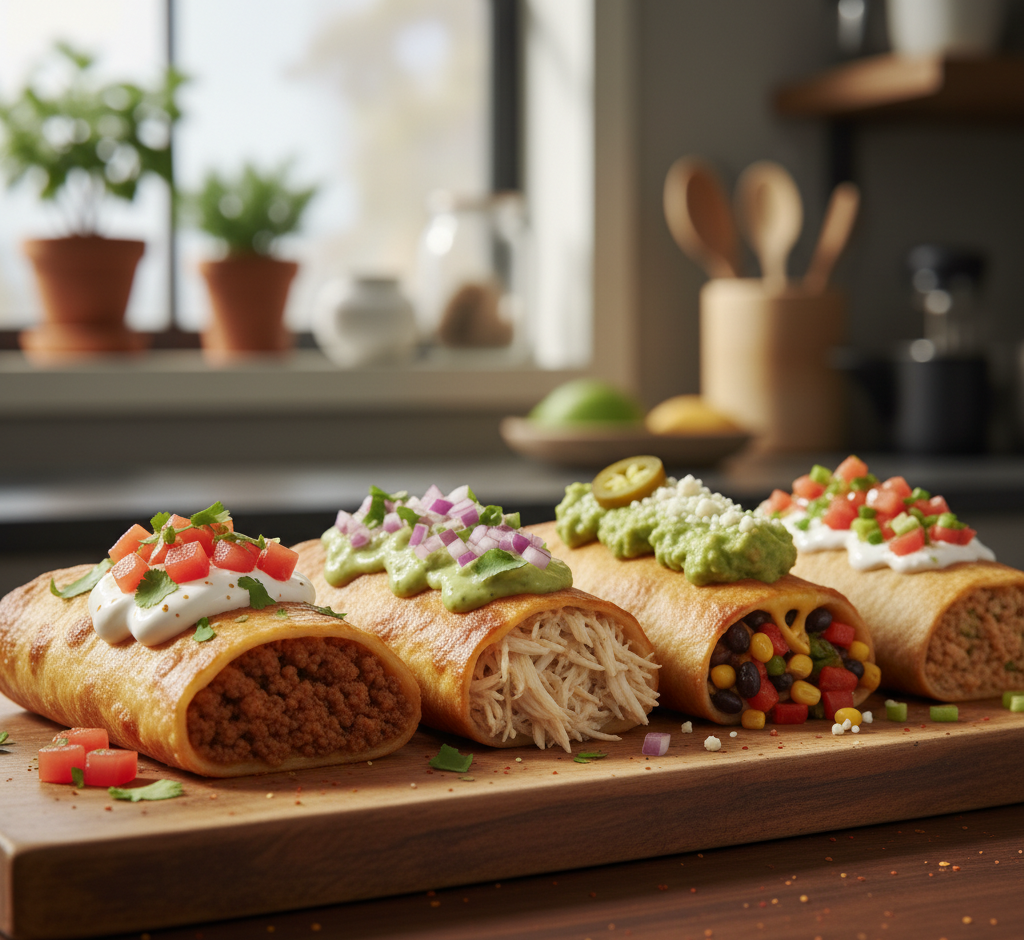
Variations
This Reuben bake casserole is easy to customize:
Turkey Reuben
- Substitute turkey for corned beef
Low-Carb Option
- Use low-carb bread alternatives
Extra Cheesy
- Add more Swiss or mix in mozzarella
Spicy Twist
- Add a drizzle of spicy mustard or hot sauce
What to Serve With It
This hearty Reuben bake casserole pairs well with:
- Fresh green salad
- Pickles or coleslaw
- Roasted vegetables
- Potato soup
These sides help balance the richness of the dish.
Storage & Reheating
- Refrigerate: Store leftovers for up to 4 days
- Freeze: Freeze portions for up to 2 months
- Reheat: Warm in the oven or microwave
- Cover when reheating to retain moisture
It reheats beautifully and tastes just as good the next day.
Common Mistakes to Avoid
Avoid these mistakes when making Reuben bake casserole:
- Not draining sauerkraut properly
- Using too much liquid
- Skipping resting time before baking
- Overbaking and drying it out
Attention to detail ensures a perfect dish.
FAQs
Can I make Reuben bake casserole ahead of time?
Yes! Assemble it the night before and bake when ready.
Can I use a different cheese?
Swiss is traditional, but mozzarella or provolone can work.
Is this casserole freezer-friendly?
Absolutely—it freezes and reheats well.
How do I prevent it from getting soggy?
Drain ingredients well and use slightly stale bread.
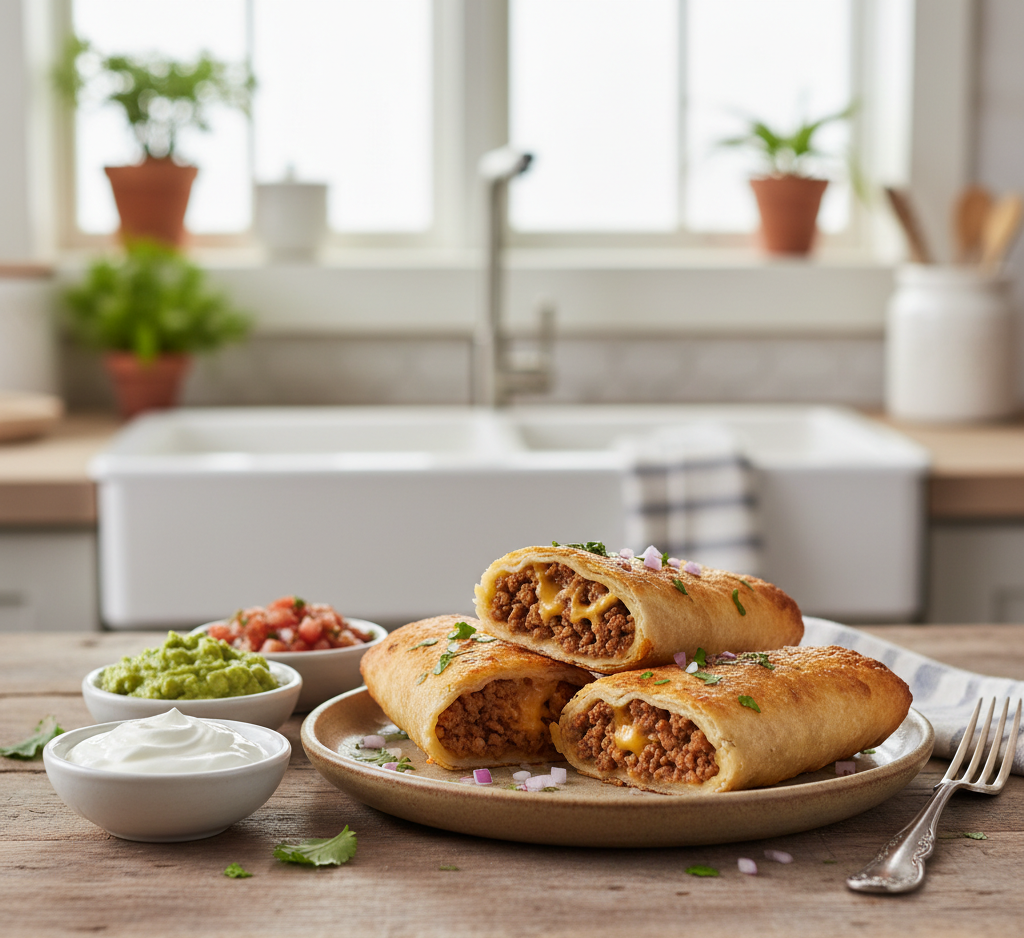
Final Thoughts
This Reuben bake casserole is a comforting, flavorful twist on a beloved classic. It’s easy to make, incredibly satisfying, and perfect for sharing with family and friends.
With its layers of savory meat, tangy sauerkraut, and gooey cheese, this dish delivers everything you love about a Reuben sandwich in a warm, baked form. Once you try it, it’s sure to become a go-to comfort food in your recipe collection.