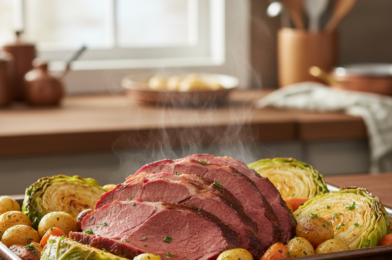
If you love classic comfort food but want something simpler and easier to prepare, this Easy Corned Beef and Cabbage Sheet Pan recipe is the perfect solution. Instead of simmering everything in a pot for hours, this method roasts everything together in the oven on one pan, creating incredible flavor while keeping cleanup minimal.
Traditionally, corned beef and cabbage is slow-cooked in a large pot, especially around St. Patrick’s Day. While that method works beautifully, roasting the ingredients on a sheet pan gives the vegetables a delicious caramelized flavor and creates a slightly crispy texture that many people actually prefer. The corned beef becomes tender, juicy, and infused with roasted herbs and spices.
This Easy Corned Beef and Cabbage Sheet Pan meal is ideal for busy weeknights, cozy Sunday dinners, or holiday gatherings. With just a handful of ingredients and simple preparation, you’ll have a hearty, satisfying dinner that tastes like it took all day to make.
Why You’ll Love This Easy Corned Beef and Cabbage Sheet Pan
This Easy Corned Beef and Cabbage Sheet Pan recipe combines the comforting flavors of a traditional meal with the convenience of modern cooking.
Here’s why this recipe is worth trying:
-
One-pan dinner with easy cleanup
-
Roasted vegetables with caramelized flavor
-
Tender, juicy corned beef
-
Perfect for holidays or family dinners
-
Simple ingredients and minimal prep
-
Great for leftovers and meal prep
Because everything cooks together on the same sheet pan, the flavors blend beautifully while saving you time in the kitchen.
Ingredients for Corned Beef and Cabbage Sheet Pan
One of the best things about this Easy Corned Beef and Cabbage Sheet Pan dinner is that it uses simple, hearty ingredients.
Main Ingredients
-
2–3 lb corned beef brisket with spice packet
-
1 small head green cabbage, cut into wedges
-
4 medium potatoes, cut into chunks
-
3 large carrots, sliced
-
1 medium onion, cut into wedges
-
3 tablespoons olive oil
-
1 teaspoon garlic powder
-
1 teaspoon black pepper
-
1 teaspoon dried thyme
-
Salt (optional, depending on corned beef seasoning)
Optional additions:
-
Whole garlic cloves
-
Dijon mustard for serving
-
Fresh parsley for garnish
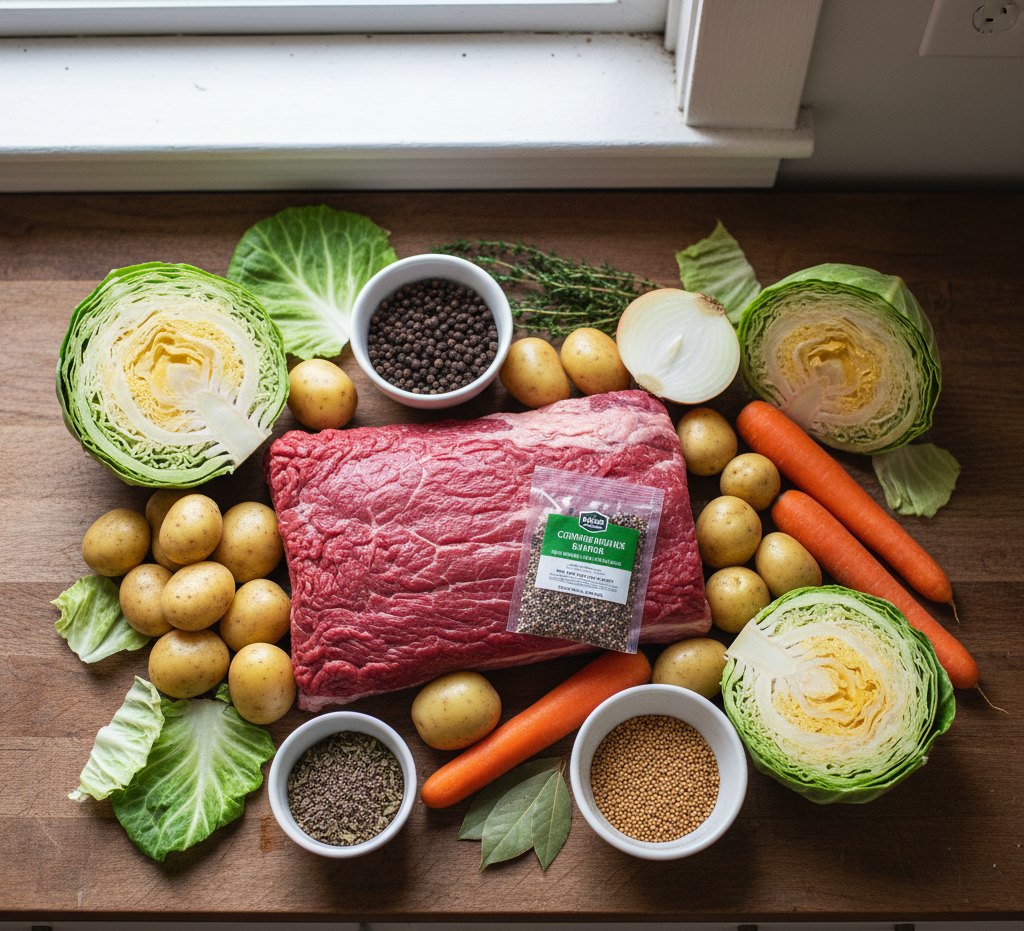
Ingredient Notes
Choosing the right ingredients can make your Easy Corned Beef and Cabbage Sheet Pan even better.
Corned Beef Brisket
Look for a brisket that includes the seasoning packet. This packet contains spices like mustard seeds, coriander, and bay leaves that enhance the traditional flavor.
Best Potatoes to Use
Yukon Gold or red potatoes work best because they hold their shape and develop a crispy exterior when roasted.
Fresh Cabbage
Green cabbage is classic for this recipe. When roasted, cabbage becomes slightly sweet and beautifully caramelized.
Step-by-Step Instructions
This Easy Corned Beef and Cabbage Sheet Pan recipe comes together quickly with simple steps.
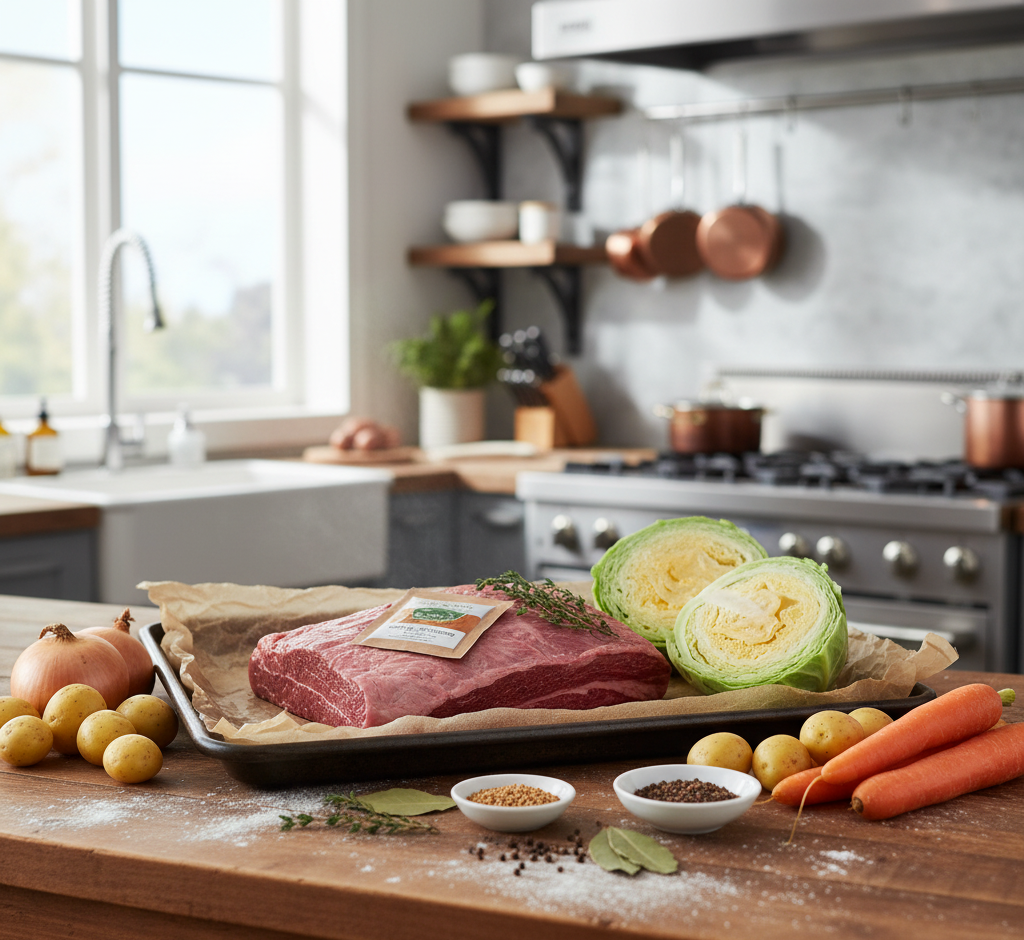
Step 1: Preheat the Oven
Preheat your oven to 400°F (200°C) and line a large sheet pan with parchment paper or foil.
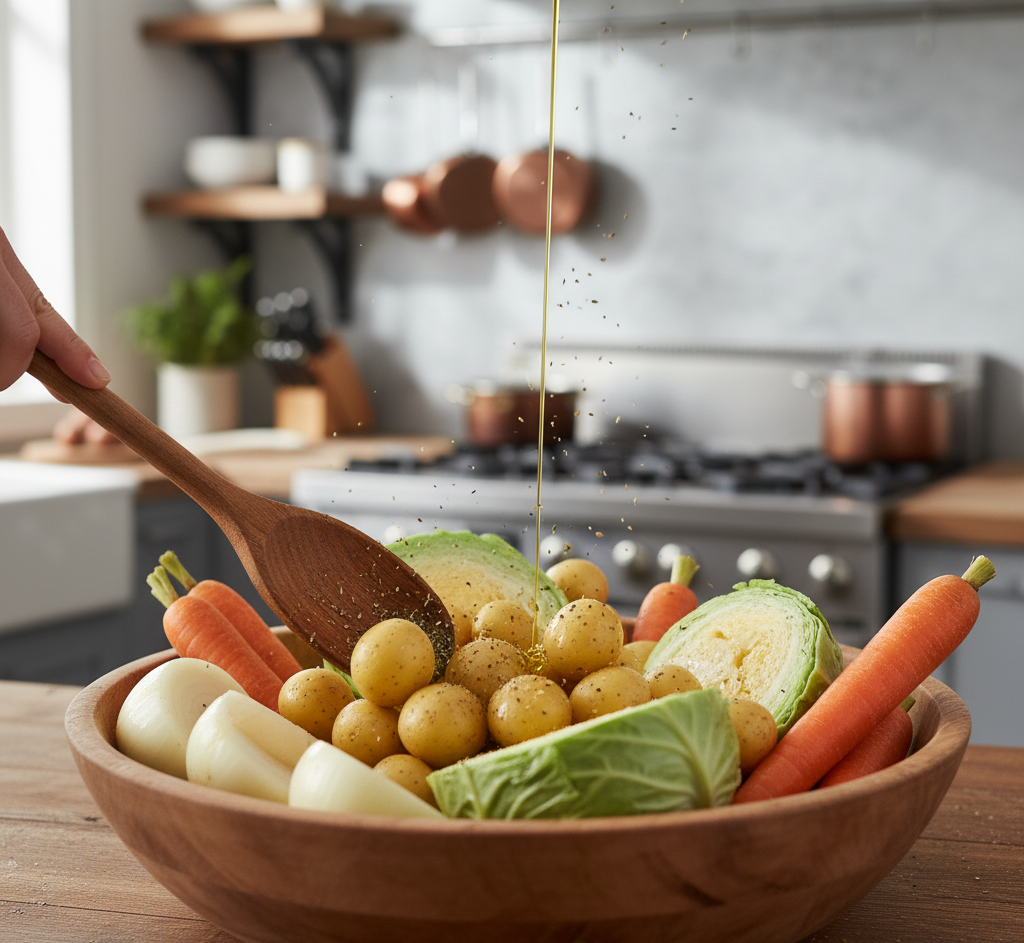
Step 2: Prepare the Vegetables
In a large bowl, combine:
-
Potatoes
-
Carrots
-
Onion
-
Cabbage wedges
Drizzle with olive oil and season with garlic powder, pepper, and thyme. Toss until everything is evenly coated.
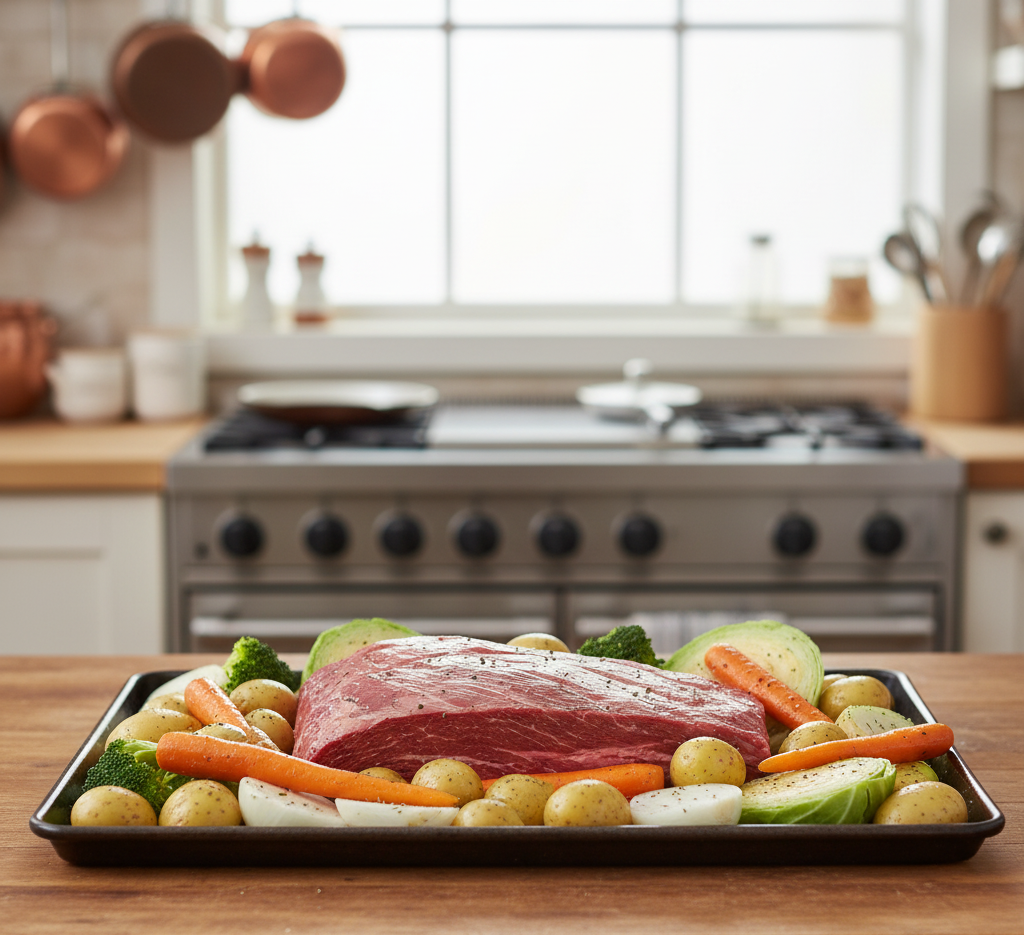
Step 3: Arrange on the Sheet Pan
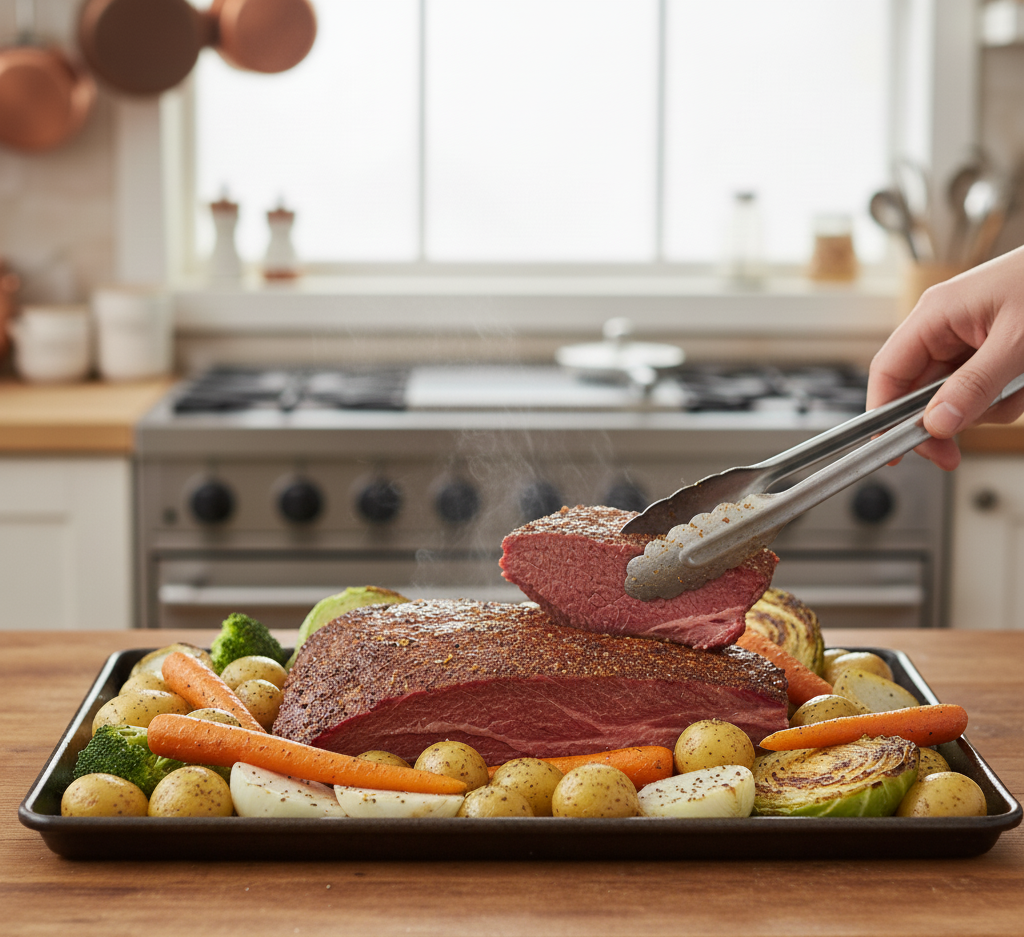
Spread the vegetables evenly across the sheet pan, leaving space in the center for the corned beef.
Place the corned beef brisket in the middle and sprinkle the spice packet over the meat.
Step 4: Roast the Sheet Pan Dinner
Cover loosely with foil and roast for 45 minutes. Remove the foil and continue roasting another 20–30 minutes until the vegetables are tender and the beef is fully cooked.
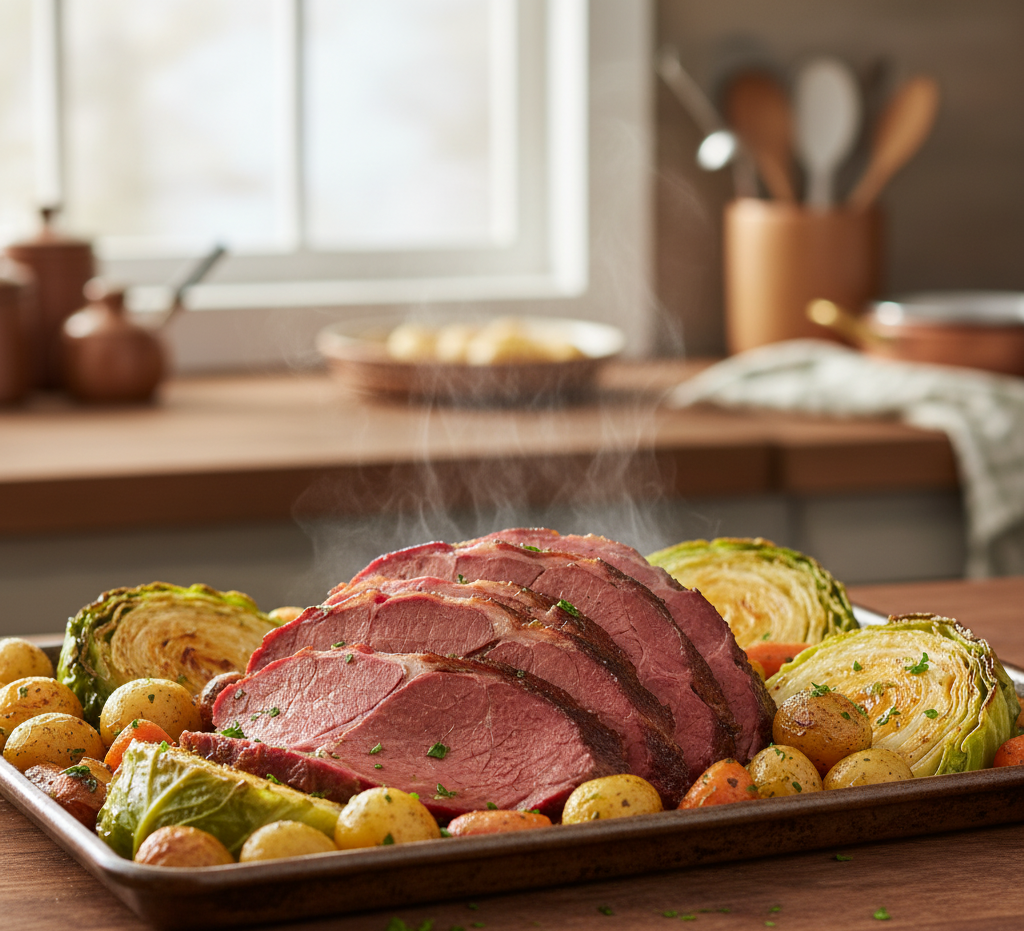
Step 5: Rest and Slice the Corned Beef
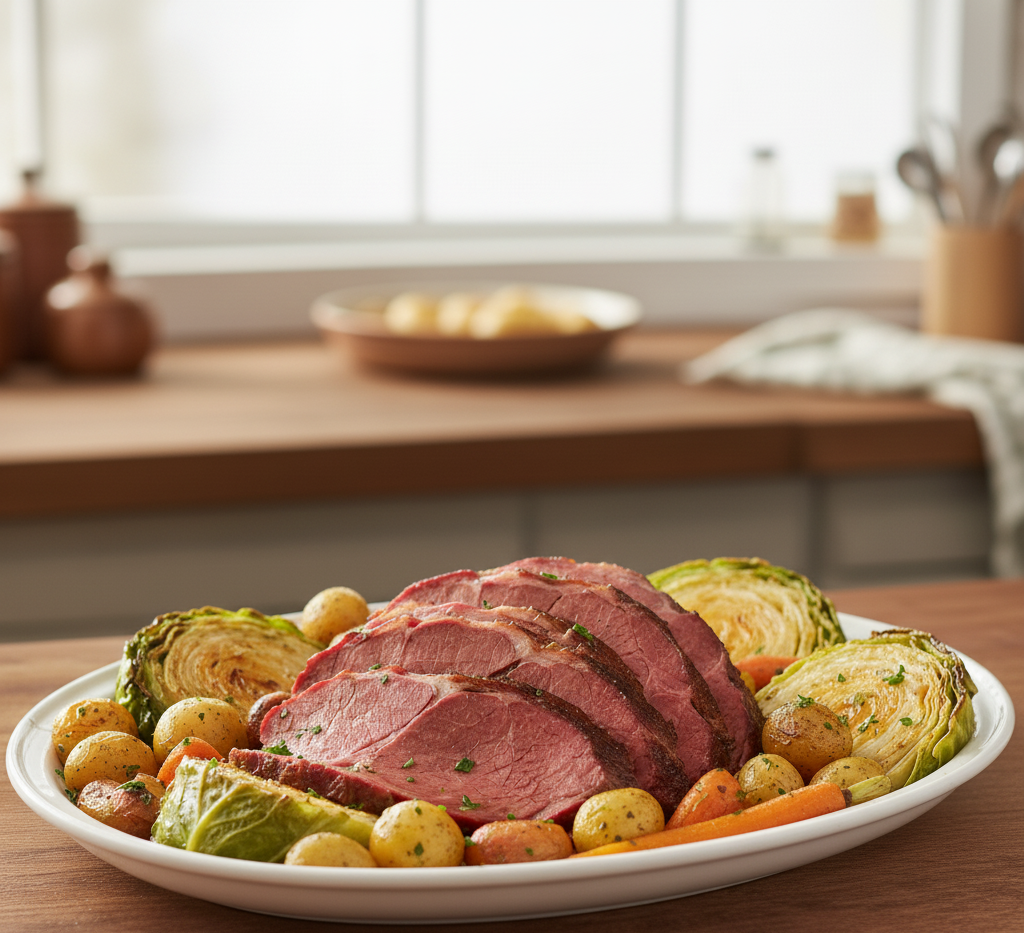
Remove the sheet pan from the oven and allow the corned beef to rest for 10 minutes before slicing against the grain.
Serve with the roasted vegetables.
Tips for Perfect Results
To make sure your Easy Corned Beef and Cabbage Sheet Pan turns out perfectly every time, follow these tips:
-
Slice the beef against the grain for the most tender texture.
-
Don’t overcrowd the pan so vegetables roast instead of steam.
-
Use high heat to get crispy roasted edges.
-
Rest the meat before slicing to keep it juicy.
These small techniques elevate the entire dish.
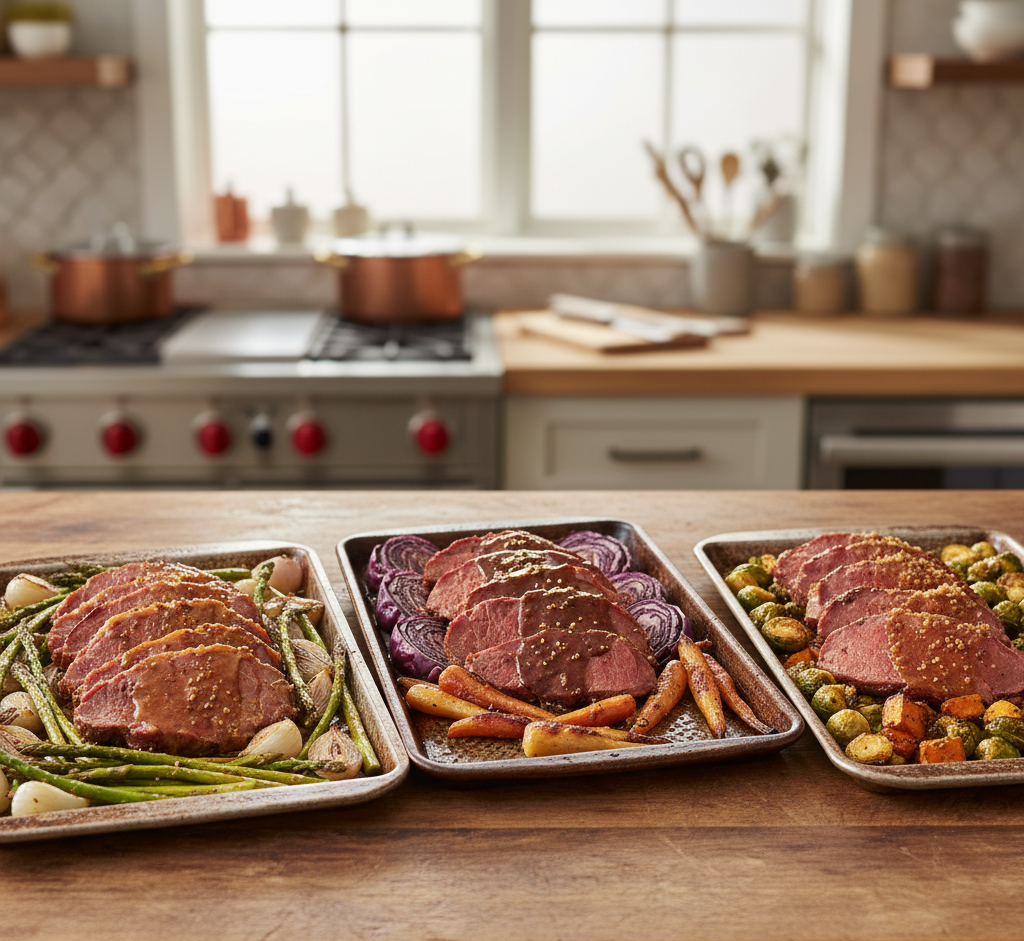
Delicious Variations
This Easy Corned Beef and Cabbage Sheet Pan recipe can easily be customized.
Garlic Herb Version
Add fresh rosemary and minced garlic to the vegetables.
Mustard Glazed Corned Beef
Brush the corned beef with Dijon mustard before roasting.
Spicy Version
Sprinkle red pepper flakes over the vegetables.
Extra Veggie Version
Add Brussels sprouts or parsnips for more flavor and variety.
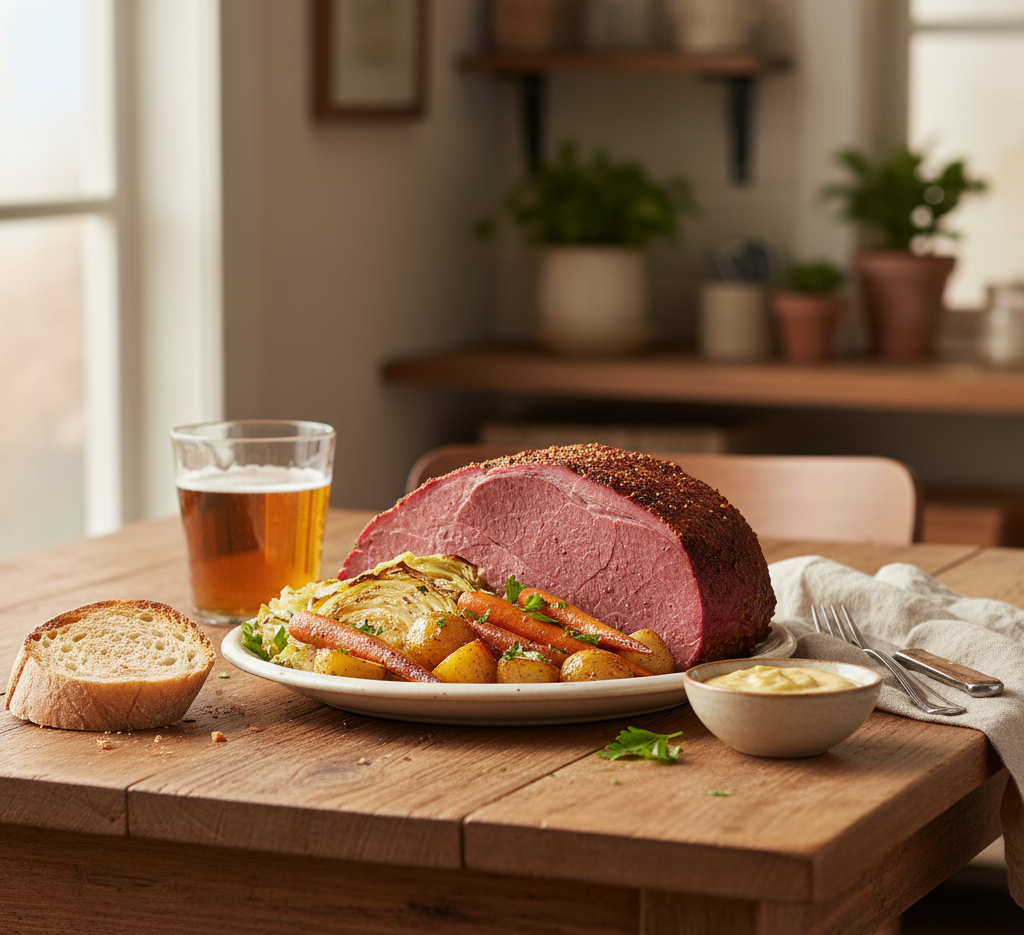
What to Serve With Corned Beef and Cabbage
This hearty Easy Corned Beef and Cabbage Sheet Pan dinner pairs well with a few classic sides.
Serving ideas include:
-
Irish soda bread
-
Grainy mustard or horseradish sauce
-
Buttered dinner rolls
-
Simple green salad
-
Roasted root vegetables
These sides help complete a comforting, traditional-style meal.
Storage & Reheating
Leftovers from this Easy Corned Beef and Cabbage Sheet Pan recipe store very well.
Refrigerator
-
Store in an airtight container for 3–4 days.
Freezer
-
Corned beef can be frozen for up to 2 months.
Reheating
-
Reheat in the oven at 325°F for 10–15 minutes or microwave in short intervals.
The flavors often become even better the next day.
Common Mistakes to Avoid
To get the best results when making Easy Corned Beef and Cabbage Sheet Pan, avoid these common mistakes:
-
Cutting vegetables too small (they may burn)
-
Overcrowding the sheet pan
-
Slicing the beef with the grain instead of against it
-
Skipping the resting time
A few simple adjustments make a big difference.
Frequently Asked Questions
Is corned beef already cooked?
Most store-bought corned beef briskets are cured but still need to be fully cooked before eating.
Can I cook corned beef and cabbage on one pan?
Yes! That’s exactly what this Easy Corned Beef and Cabbage Sheet Pan recipe is designed for.
How do I know when corned beef is done?
Corned beef is done when it reaches an internal temperature of 145°F and becomes tender when sliced.
Can I use red cabbage instead?
Yes, but green cabbage is more traditional and becomes sweeter when roasted.
What cut of corned beef is best?
Flat-cut brisket is the most common and slices nicely for serving.
Final Thoughts
This Easy Corned Beef and Cabbage Sheet Pan recipe transforms a classic comfort meal into a simple, modern one-pan dinner. Roasting the ingredients together creates incredible flavor while keeping preparation and cleanup incredibly easy.
With tender slices of corned beef, caramelized cabbage, and perfectly roasted vegetables, this dish is hearty, satisfying, and perfect for both weeknight dinners and special occasions.
Once you try this oven-roasted version of Easy Corned Beef and Cabbage Sheet Pan, you may never go back to the traditional boiled method again.