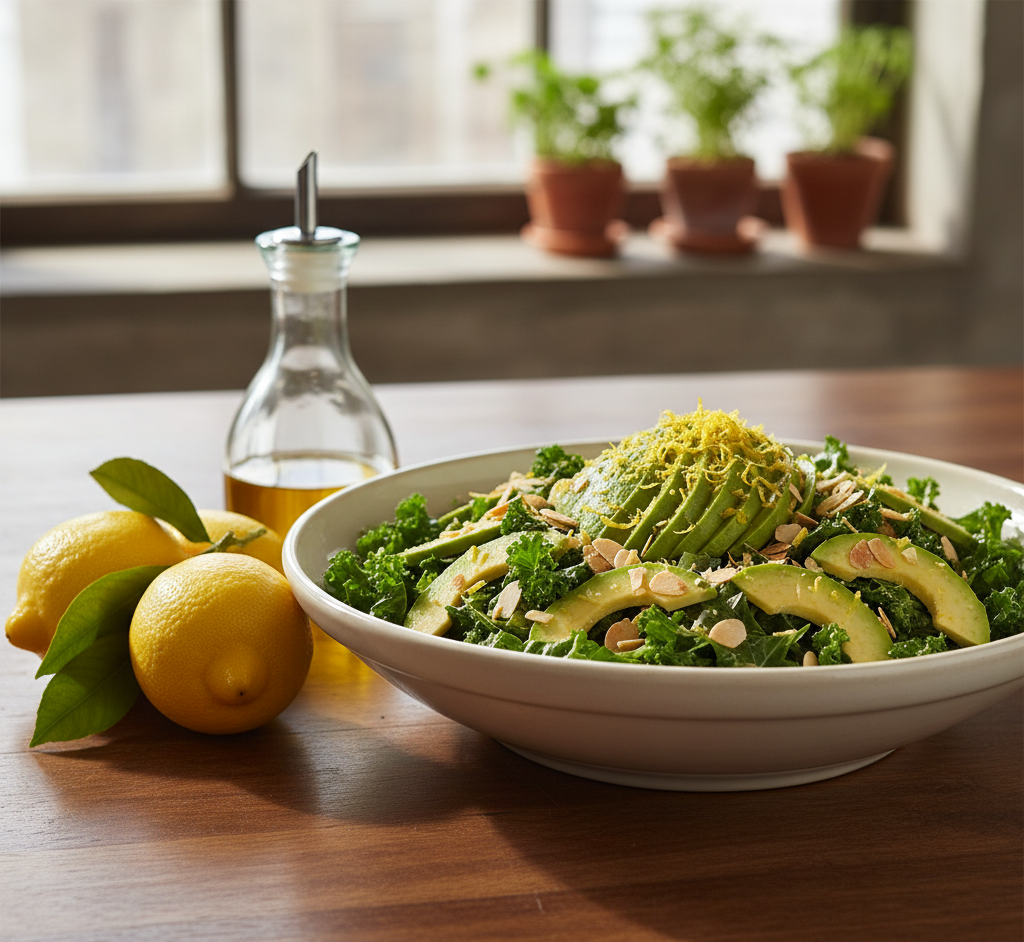
If you’re searching for a refreshing, nutrient-packed salad that’s both satisfying and incredibly easy to make, this Fresh & Healthy Avocado Lemon Kale Salad Recipe is exactly what you need. Packed with vibrant greens, creamy avocado, and a bright lemon dressing, this salad is a perfect balance of flavor and nutrition.
Kale salads have become a staple in healthy kitchens across the United States, and for good reason. Kale is loaded with vitamins, antioxidants, and fiber, while avocado adds healthy fats that make the salad both filling and delicious. When combined with fresh lemon juice, olive oil, and a few simple ingredients, you get a salad that tastes restaurant-quality but takes only minutes to prepare at home.
Whether you’re making a quick lunch, a healthy side dish, or a light dinner, this avocado lemon kale salad delivers freshness, texture, and vibrant flavor in every bite.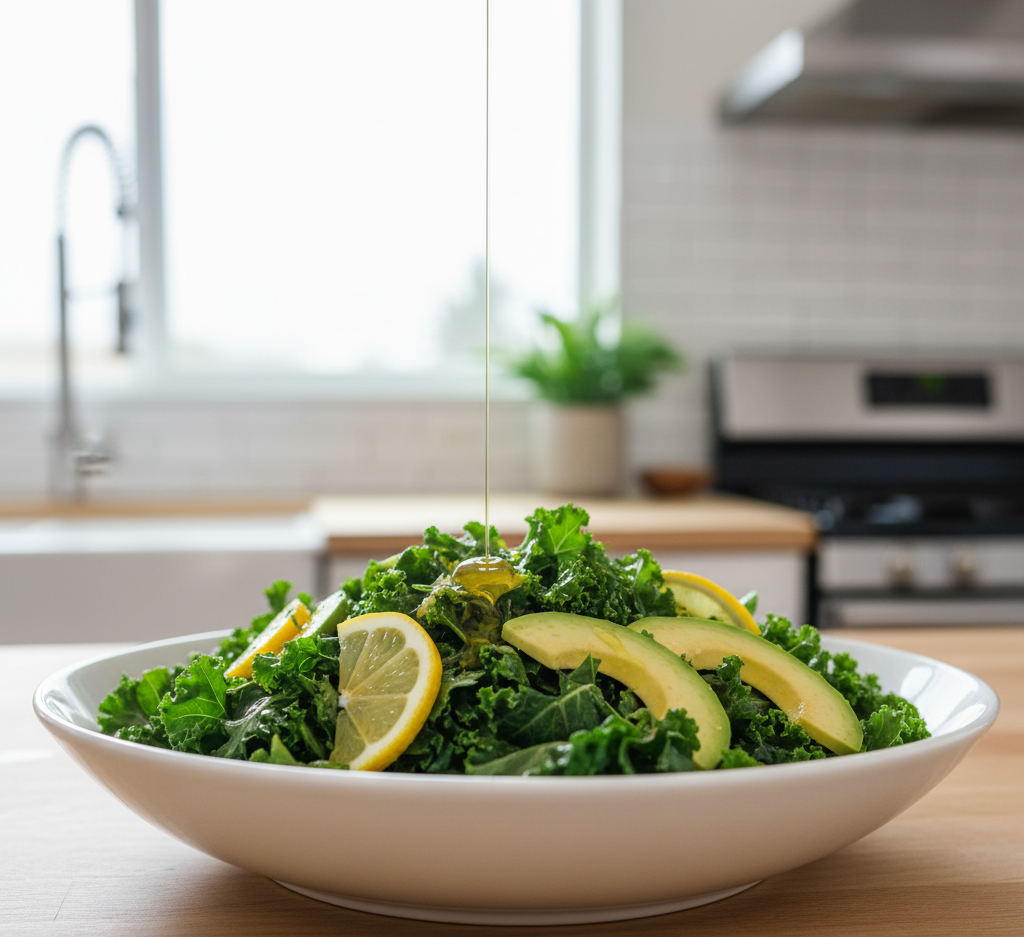
Why You’ll Love This Avocado Lemon Kale Salad
There are countless reasons why this Fresh & Healthy Avocado Lemon Kale Salad Recipe deserves a place in your weekly meal rotation. It’s simple, nourishing, and incredibly versatile.
Here’s why this salad stands out:
-
Quick to prepare in under 15 minutes
-
Packed with superfoods like kale and avocado
-
Bright and refreshing lemon flavor
-
Naturally gluten-free and vegetarian
-
Perfect for meal prep or healthy lunches
The combination of creamy avocado and zesty lemon dressing softens the kale and creates a beautifully balanced flavor profile.
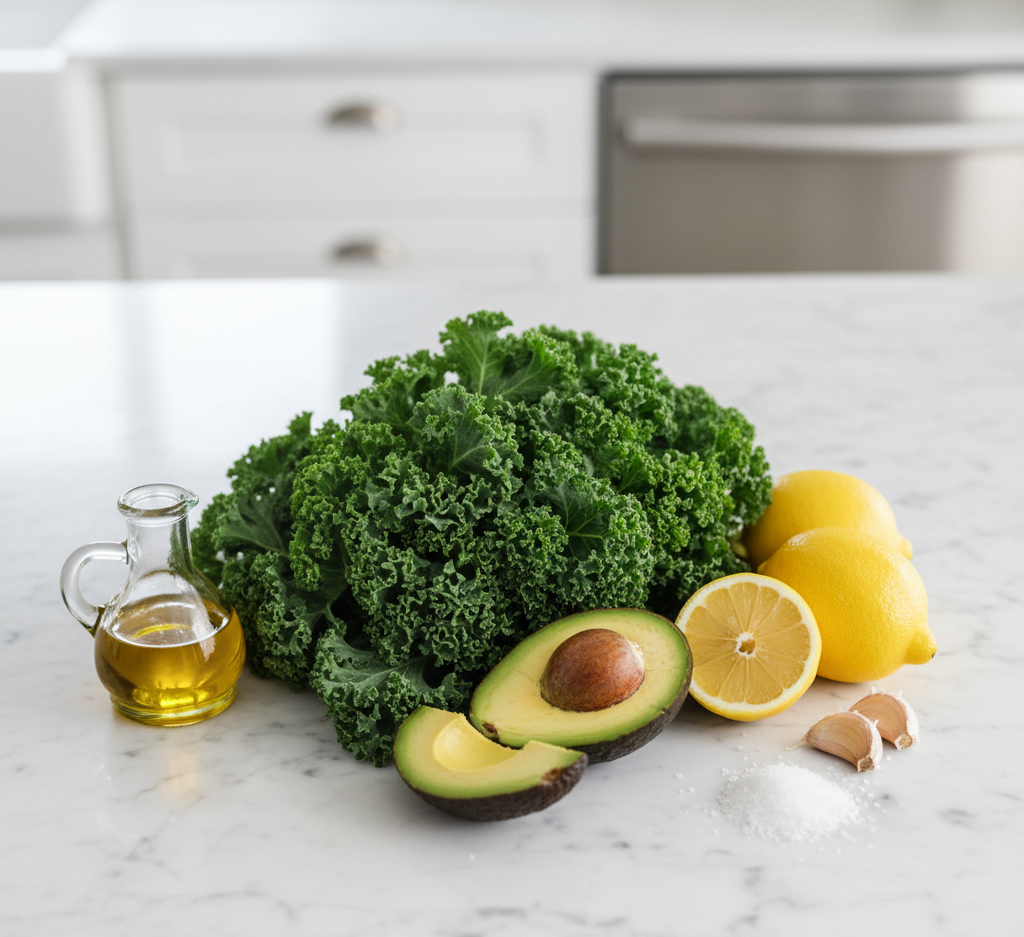
Ingredients
This avocado lemon kale salad recipe uses simple, wholesome ingredients that are easy to find at any grocery store.
Salad Ingredients
-
1 large bunch fresh kale (curly or lacinato), stems removed
-
1 ripe avocado, sliced or cubed
-
¼ cup thinly sliced red onion
-
¼ cup toasted almonds or walnuts
-
¼ cup shaved Parmesan cheese (optional)
Lemon Dressing
-
3 tablespoons fresh lemon juice
-
2 tablespoons extra virgin olive oil
-
1 teaspoon honey or maple syrup
-
1 clove garlic, minced
-
Salt and freshly ground black pepper to taste

Ingredient Notes
A few ingredient tips will help make this Fresh & Healthy Avocado Lemon Kale Salad Recipe even more delicious.
-
Kale: Lacinato (dinosaur kale) is slightly more tender, but curly kale works great too.
-
Avocado: Choose ripe but firm avocados so they hold their shape in the salad.
-
Lemon juice: Fresh lemon juice is key for the bright flavor.
-
Olive oil: Use high-quality extra virgin olive oil for the best taste.
Massaging the kale with lemon juice and olive oil also helps soften the leaves and reduce bitterness.
Step-by-Step Instructions
1. Prepare the Kale
Wash and dry the kale thoroughly. Remove the tough stems and chop the leaves into bite-sized pieces.
Place the kale in a large mixing bowl.

2. Make the Lemon Dressing
In a small bowl, whisk together:
-
Fresh lemon juice
-
Olive oil
-
Honey or maple syrup
-
Minced garlic
-
Salt and pepper
Whisk until the dressing becomes smooth and slightly emulsified.

3. Massage the Kale
Pour the lemon dressing over the chopped kale. Using clean hands, gently massage the dressing into the leaves for about 1–2 minutes.
This step softens the kale and helps it absorb the flavors of the dressing.

Tips for Perfect Kale Salad
A few simple tips will ensure your avocado lemon kale salad turns out perfect every time.
-
Massage the kale: This makes the leaves softer and easier to eat.
-
Add avocado last: This prevents it from becoming mushy.
-
Toast your nuts: Toasting almonds or walnuts enhances flavor and crunch.
-
Taste before serving: Adjust lemon juice or salt as needed.
These small steps elevate the salad from basic to absolutely delicious.
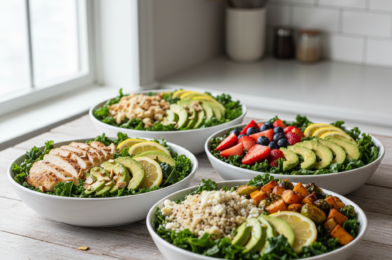
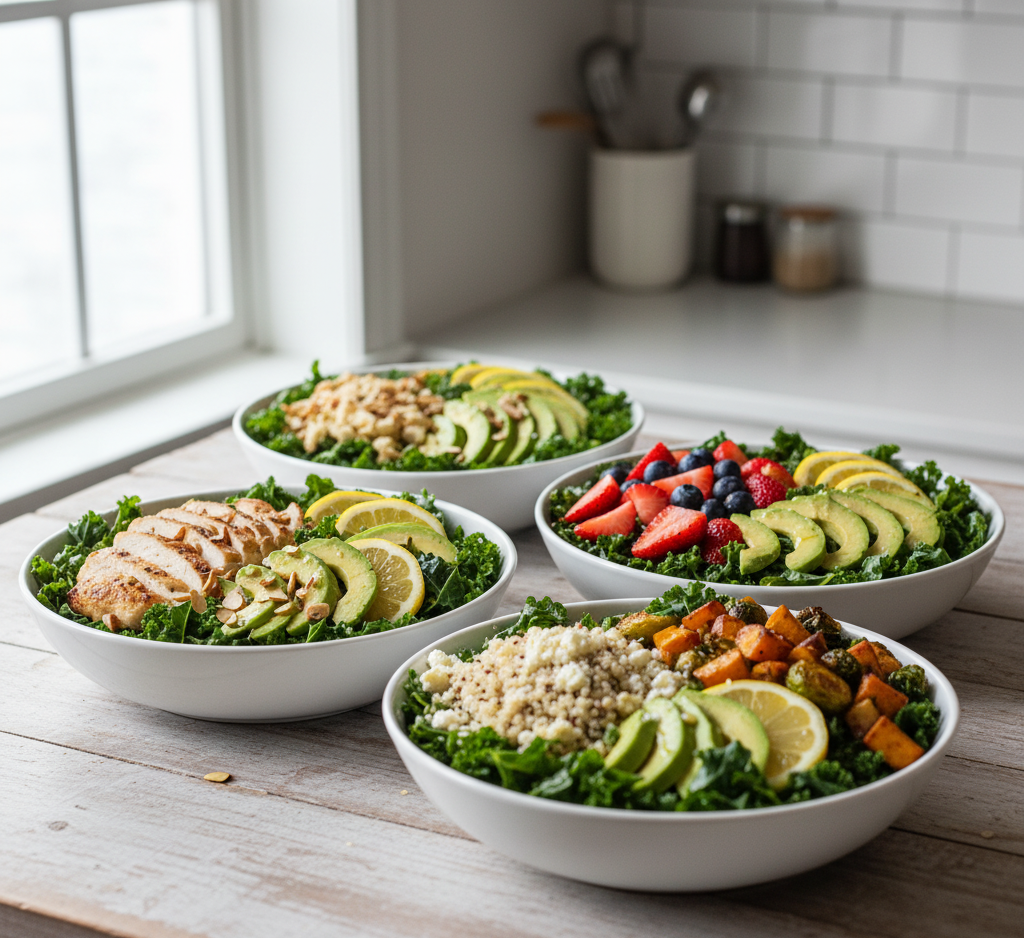
Delicious Variations
This Fresh & Healthy Avocado Lemon Kale Salad Recipe is incredibly versatile. Try these variations to keep things exciting.
Add Protein
Turn the salad into a full meal by adding:
-
Grilled chicken
-
Roasted chickpeas
-
Salmon
-
Quinoa
Add Fruit
Fresh fruit pairs beautifully with the lemon dressing.
-
Strawberries
-
Apples
-
Pomegranate seeds
-
Mango
Add More Veggies
-
Shredded carrots
-
Cherry tomatoes
-
Cucumbers
-
Roasted sweet potatoes
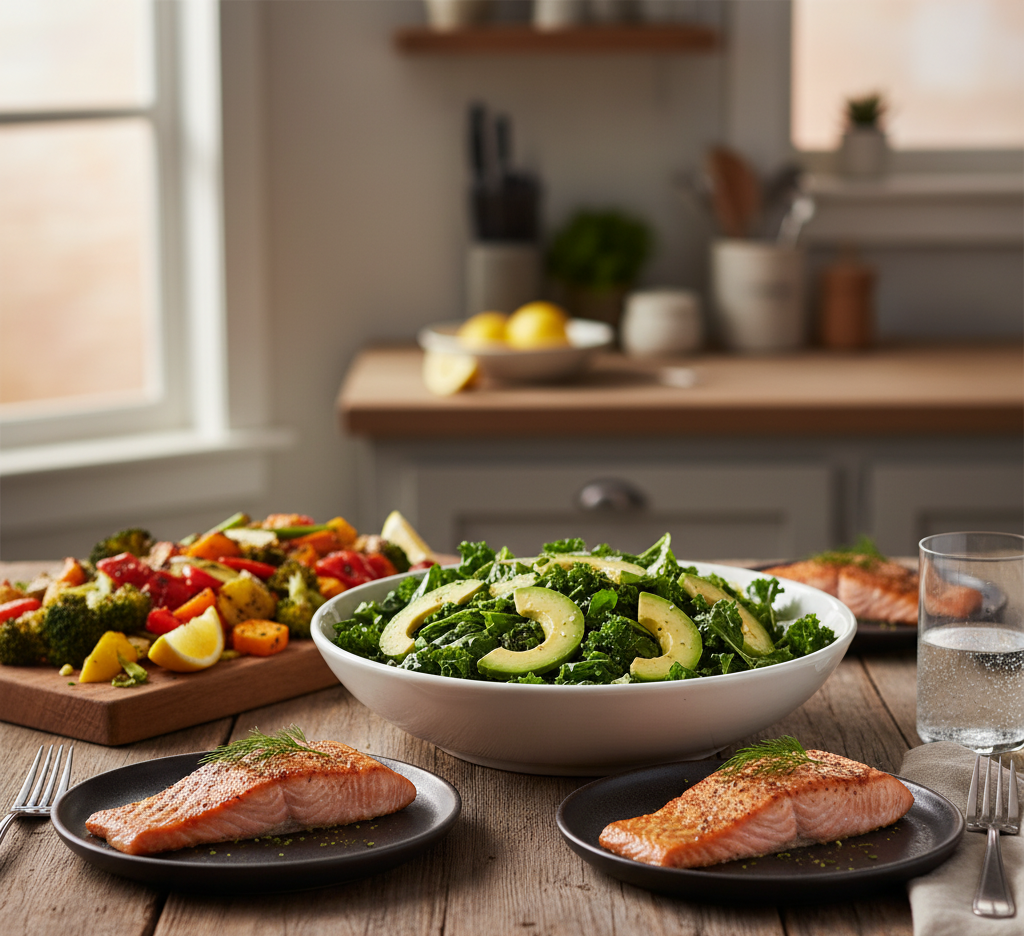
What to Serve With Avocado Lemon Kale Salad
This avocado lemon kale salad works wonderfully as both a side dish and a light main course.
Try serving it with:
-
Grilled salmon
-
Lemon roasted chicken
-
Whole grain pasta
-
Vegetable soup
-
Crusty artisan bread
It’s especially perfect for spring and summer meals when you want something light but satisfying.
Storage Tips
This Fresh & Healthy Avocado Lemon Kale Salad Recipe stores surprisingly well compared to other salads.
Refrigerator:
Store in an airtight container for up to 2 days.
Because kale is sturdy, it holds up well even after dressing.
Tip:
If meal prepping, add the avocado just before serving to keep it fresh.
Common Mistakes to Avoid
Even simple salads can go wrong if a few key steps are skipped.
Avoid these common mistakes:
-
Not massaging the kale (leaves remain tough and bitter)
-
Using unripe avocado
-
Overdressing the salad
-
Skipping fresh lemon juice
These small adjustments make a huge difference in flavor and texture.
Frequently Asked Questions
Can I make avocado lemon kale salad ahead of time?
Yes! Kale holds up well in dressing, so you can prepare the salad a few hours ahead. Add avocado just before serving for best texture.
What type of kale is best for this salad?
Both curly kale and lacinato (dinosaur kale) work well. Lacinato kale tends to be slightly more tender.
Is this salad good for meal prep?
Absolutely. This avocado lemon kale salad recipe is great for meal prep because kale stays fresh longer than delicate greens.
Can I make this salad vegan?
Yes. Simply omit the Parmesan cheese or replace it with a vegan alternative.
Final Thoughts
This Fresh & Healthy Avocado Lemon Kale Salad Recipe is proof that simple ingredients can create something truly delicious. With vibrant kale, creamy avocado, crunchy nuts, and a bright lemon dressing, every bite is fresh, satisfying, and packed with nutrition.
Whether you’re preparing a quick weekday lunch, a healthy side dish, or a light dinner, this avocado lemon kale salad is a recipe you’ll come back to again and again.
Once you try it, you’ll see why it’s one of the easiest ways to enjoy kale in a flavorful and refreshing way.