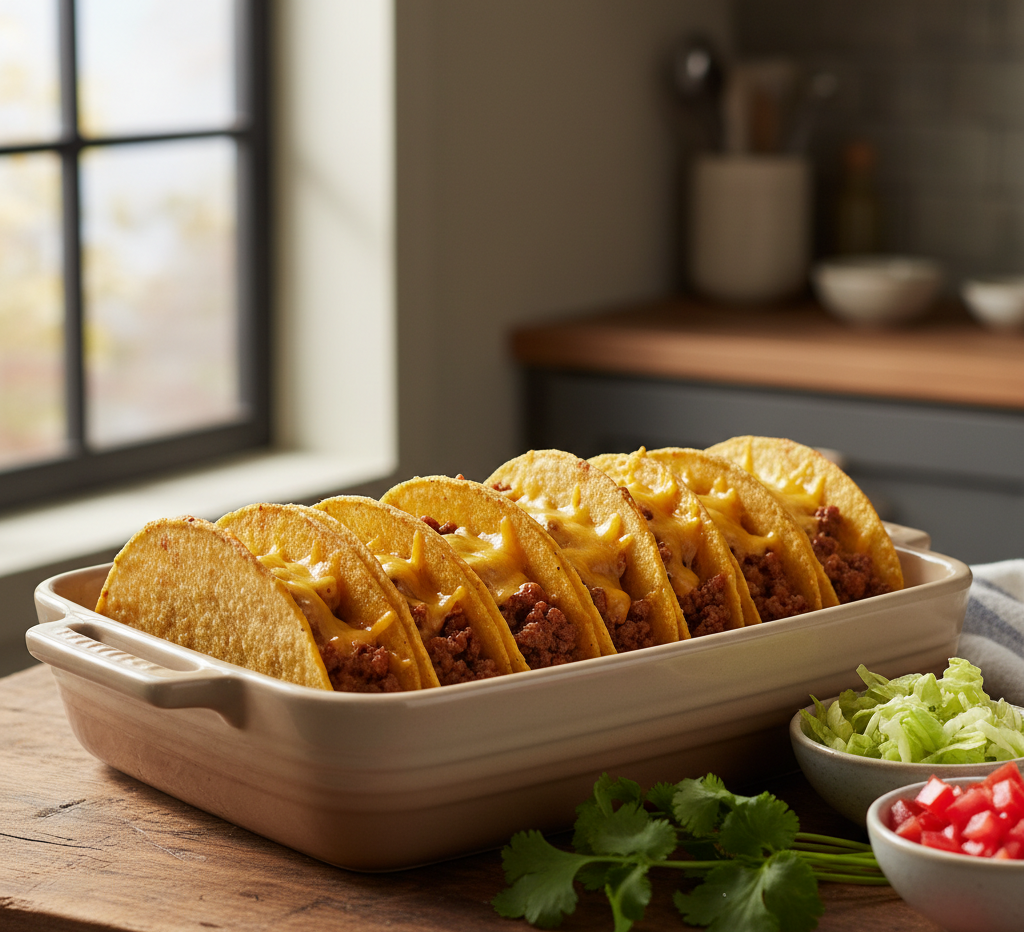
If you’re looking for a dinner that’s easy, crowd-pleasing, and packed with bold flavor, these Ground Beef Baked Tacos are about to become your new weeknight favorite. Unlike traditional stovetop tacos, this oven-baked version delivers crispy shells, perfectly seasoned beef, and gooey melted cheese in every single bite. Plus, baking them all at once makes serving a breeze—no standing at the stove assembling tacos one by one.
Ground beef baked tacos are ideal for busy families, game nights, or casual gatherings. They’re simple to prepare, highly customizable, and absolutely irresistible. The combination of crunchy taco shells, savory taco meat, and melted cheese creates a satisfying texture that both kids and adults love. Once you try this method, you may never go back to regular tacos again.
Why You’ll Love These Ground Beef Baked Tacos
There are countless taco recipes out there, but ground beef baked tacos stand out for their convenience and texture. Baking transforms them into handheld, crispy pockets of flavor that hold together beautifully.
Here’s why this recipe works so well:
-
Crispy taco shells without frying
-
Evenly melted cheese in every taco
-
Perfect for feeding a crowd
-
Great for meal prep
-
Customizable toppings and fillings
The oven does most of the work, leaving you free to prep toppings or simply relax while dinner bakes.
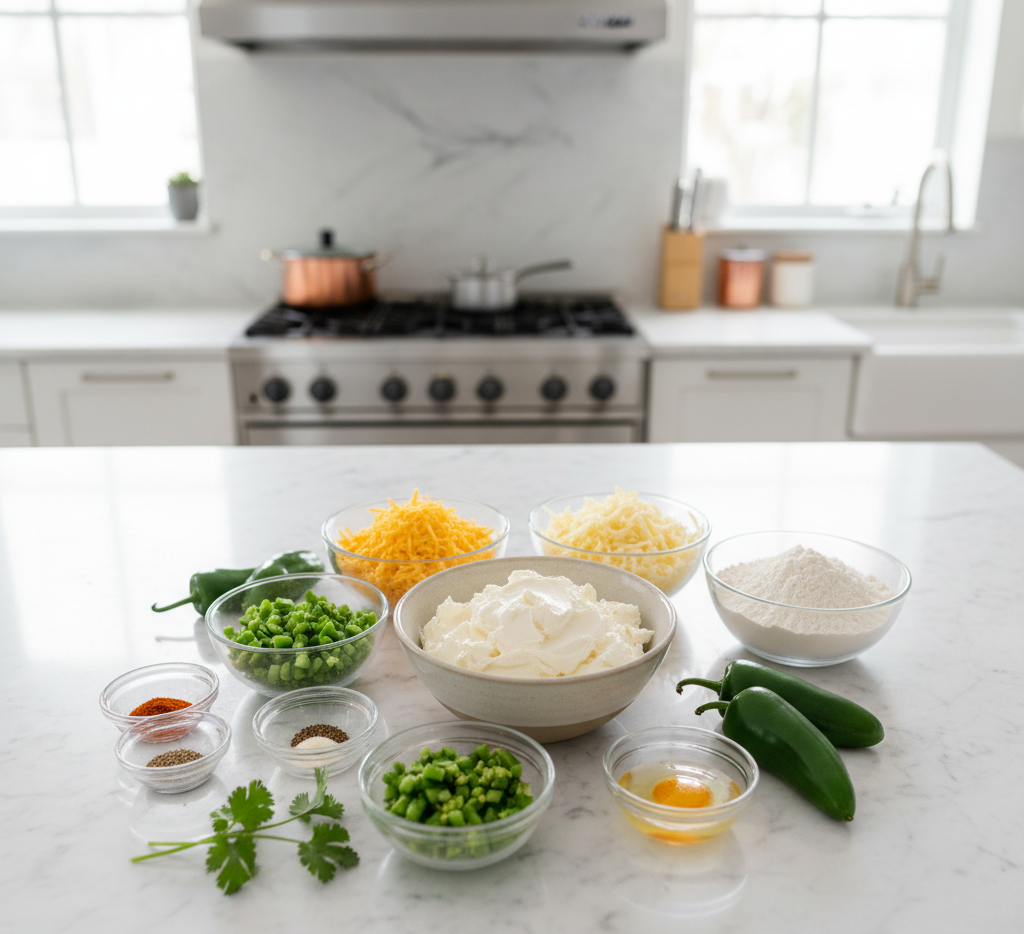
Ingredients for Ground Beef Baked Tacos
To make these delicious ground beef baked tacos, you’ll need:
-
1 pound ground beef (80/20 for best flavor)
-
1 packet taco seasoning (or homemade blend)
-
⅔ cup water
-
12 hard taco shells
-
2 cups shredded cheddar or Mexican blend cheese
-
1 cup refried beans (optional but recommended)
-
½ cup diced onion
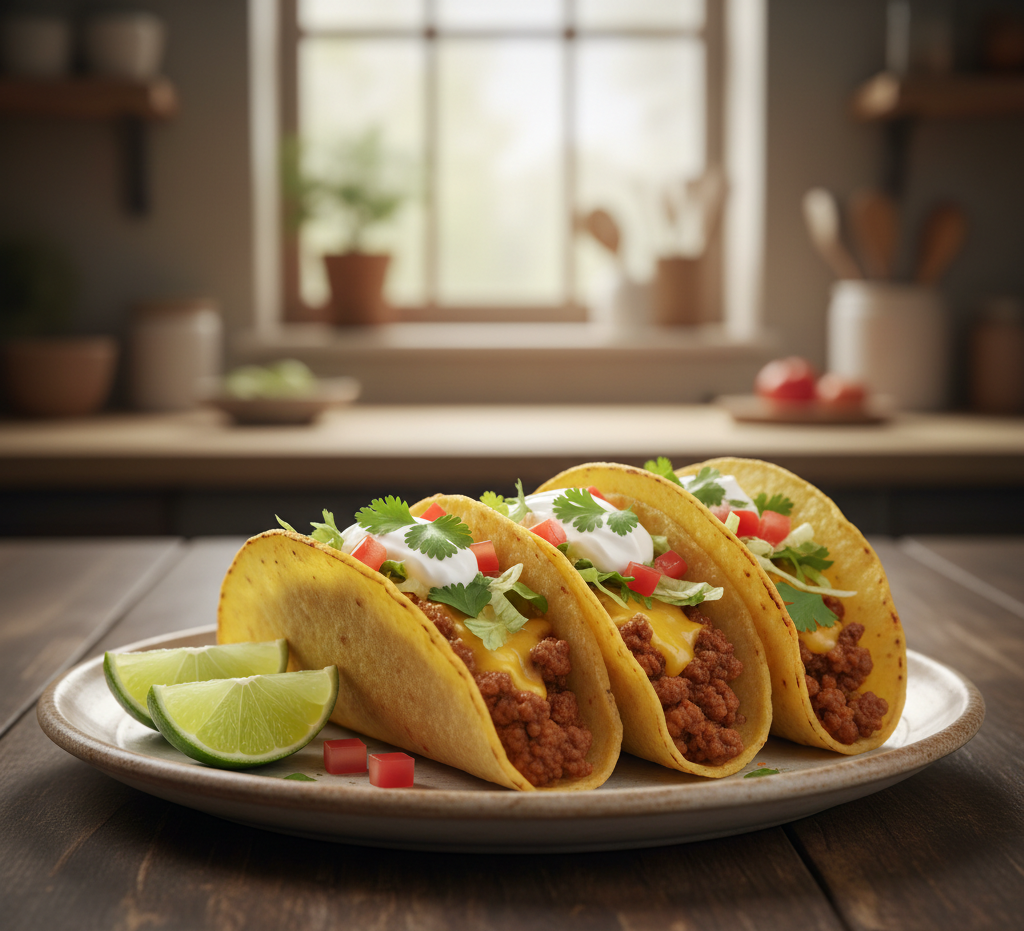
For toppings:
-
Shredded lettuce
-
Diced tomatoes
-
Sour cream
-
Salsa
-
Sliced jalapeños
-
Fresh cilantro

Ingredient Notes & Substitutions
Choosing the Right Ground Beef
An 80/20 blend provides the best flavor and moisture. Leaner beef works too, but you may want to add a tablespoon of olive oil to prevent dryness.
Cheese Matters
Freshly shredded cheese melts more smoothly than pre-shredded varieties, which often contain anti-caking agents.
Add Refried Beans
Spreading a thin layer of refried beans inside the shell helps prevent sogginess and adds extra flavor and protein to your ground beef baked tacos.
Step-by-Step Instructions
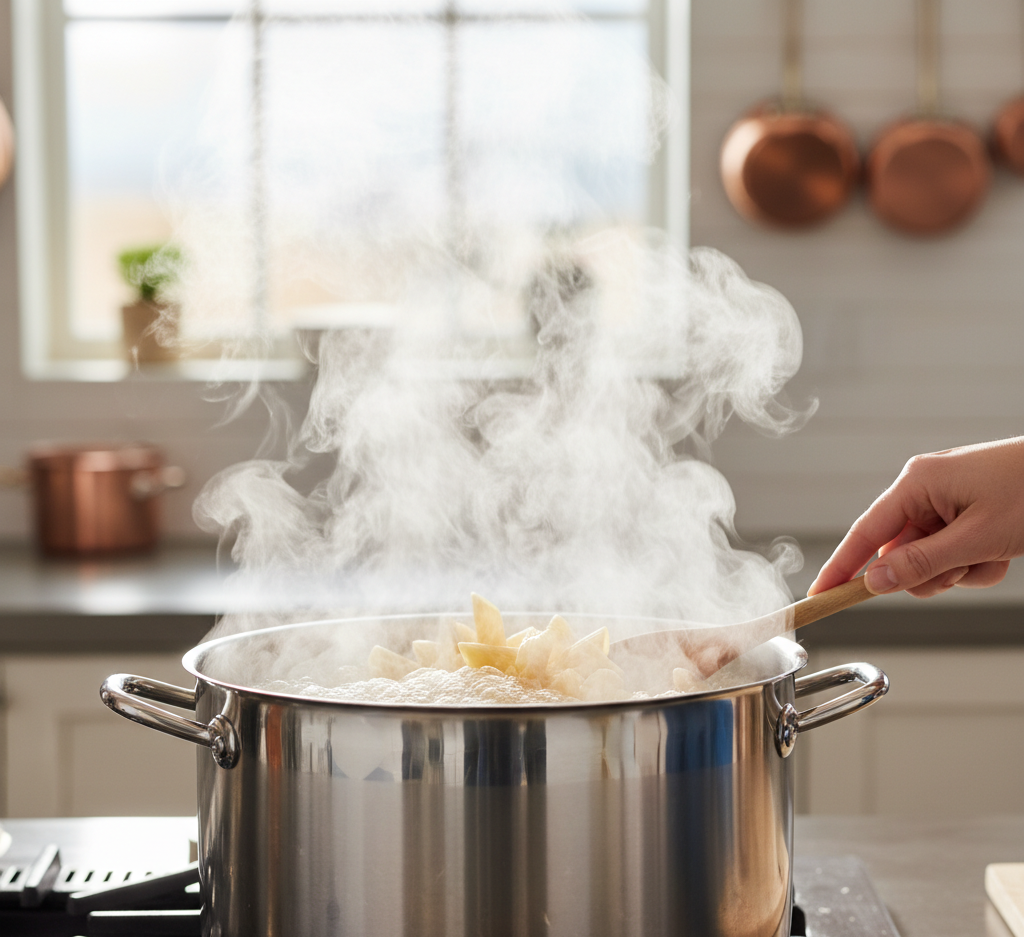
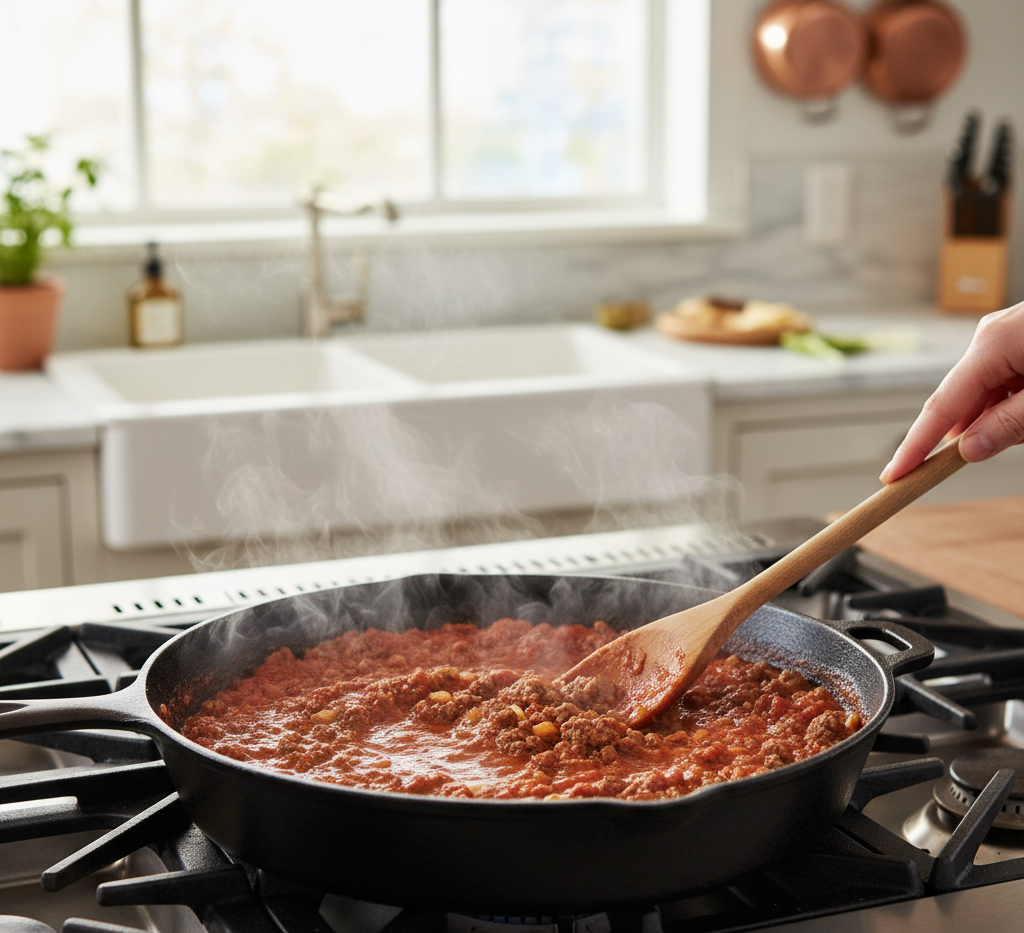
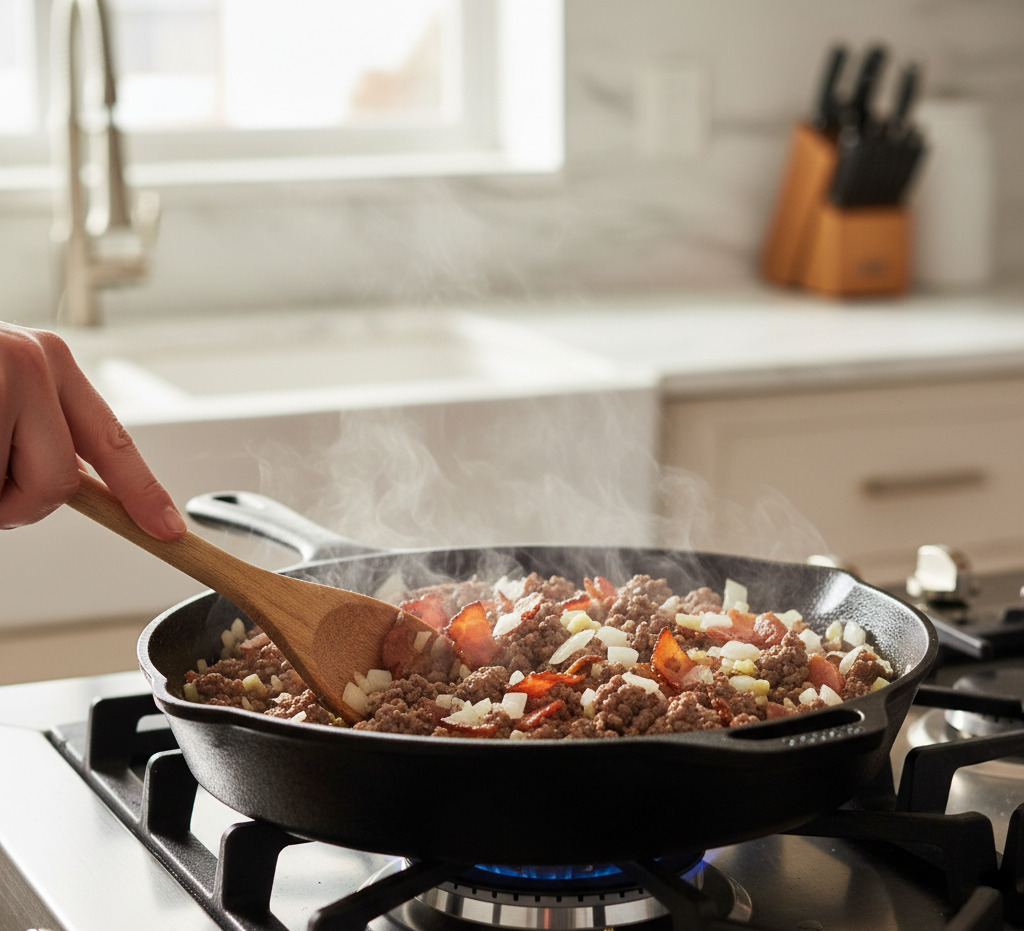
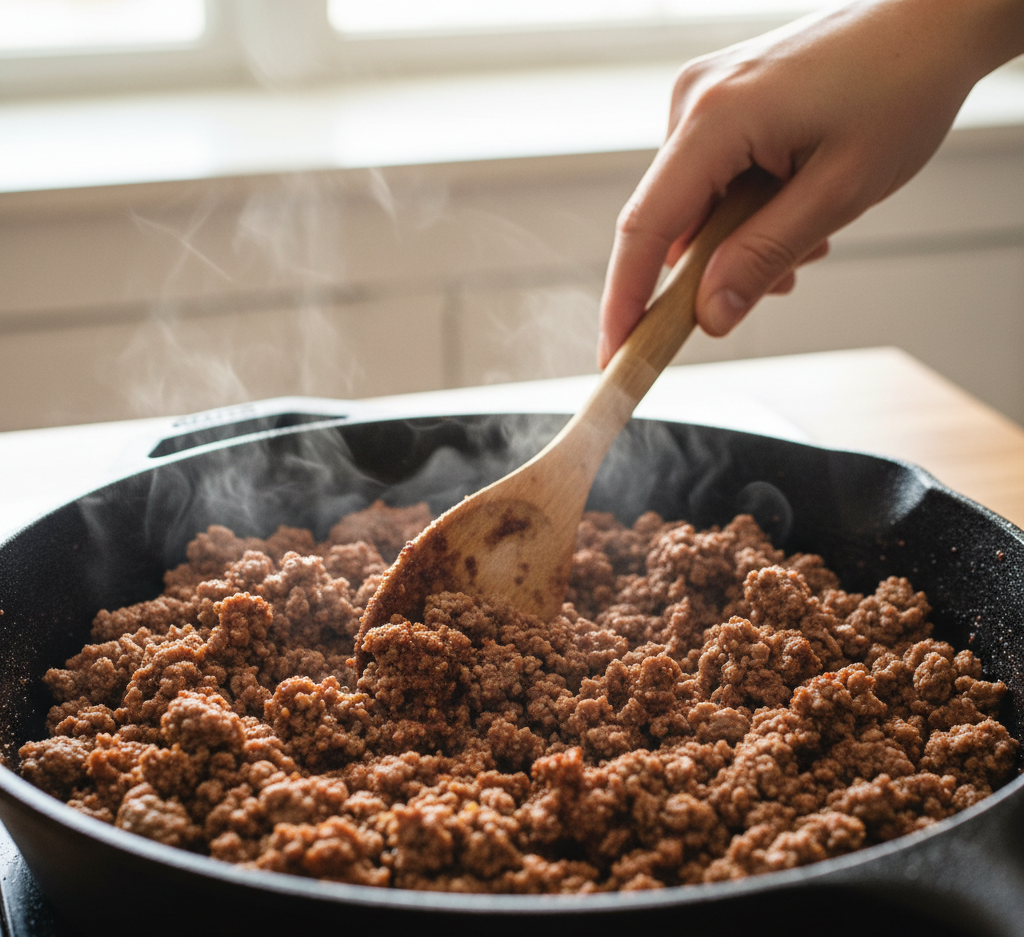
1. Cook the Taco Meat
In a large skillet over medium heat, cook the ground beef until browned and fully cooked. Drain excess grease. Stir in taco seasoning and water. Simmer for 3–5 minutes until thickened.
2. Prepare the Taco Shells
Preheat oven to 375°F. Arrange taco shells upright in a 9×13-inch baking dish so they stand securely
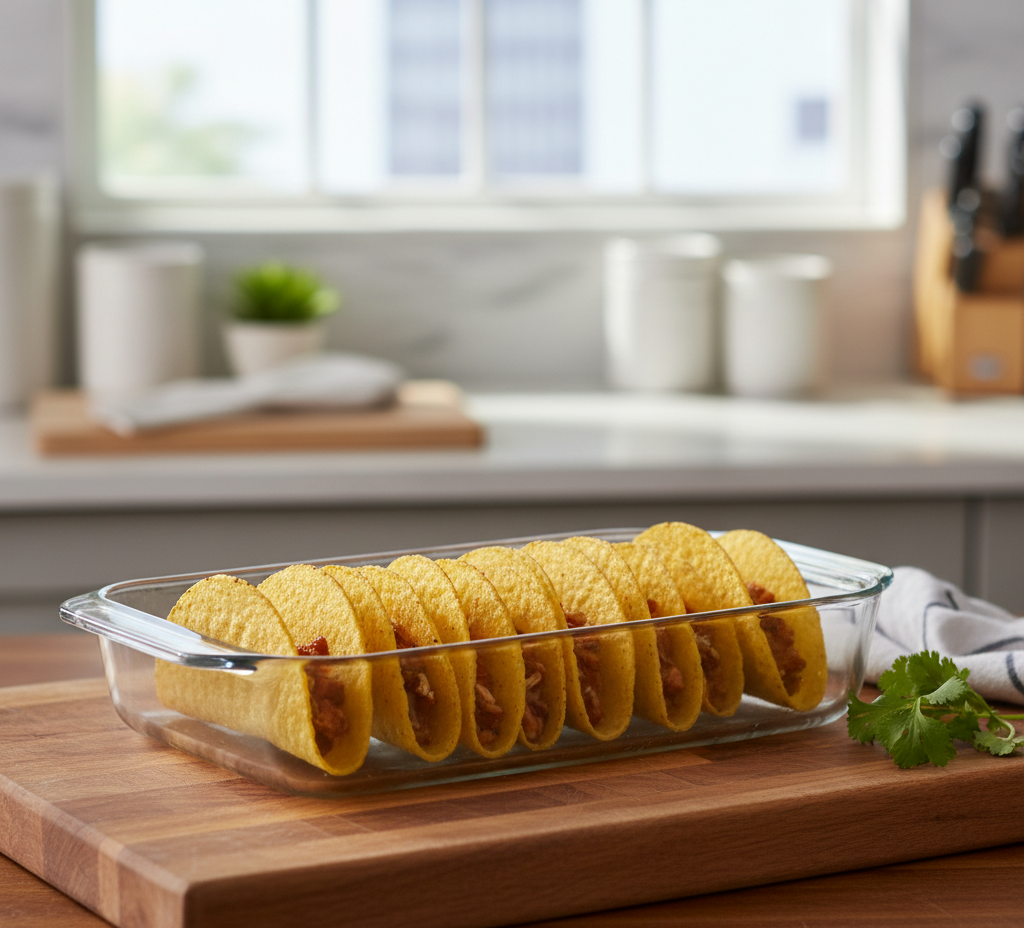
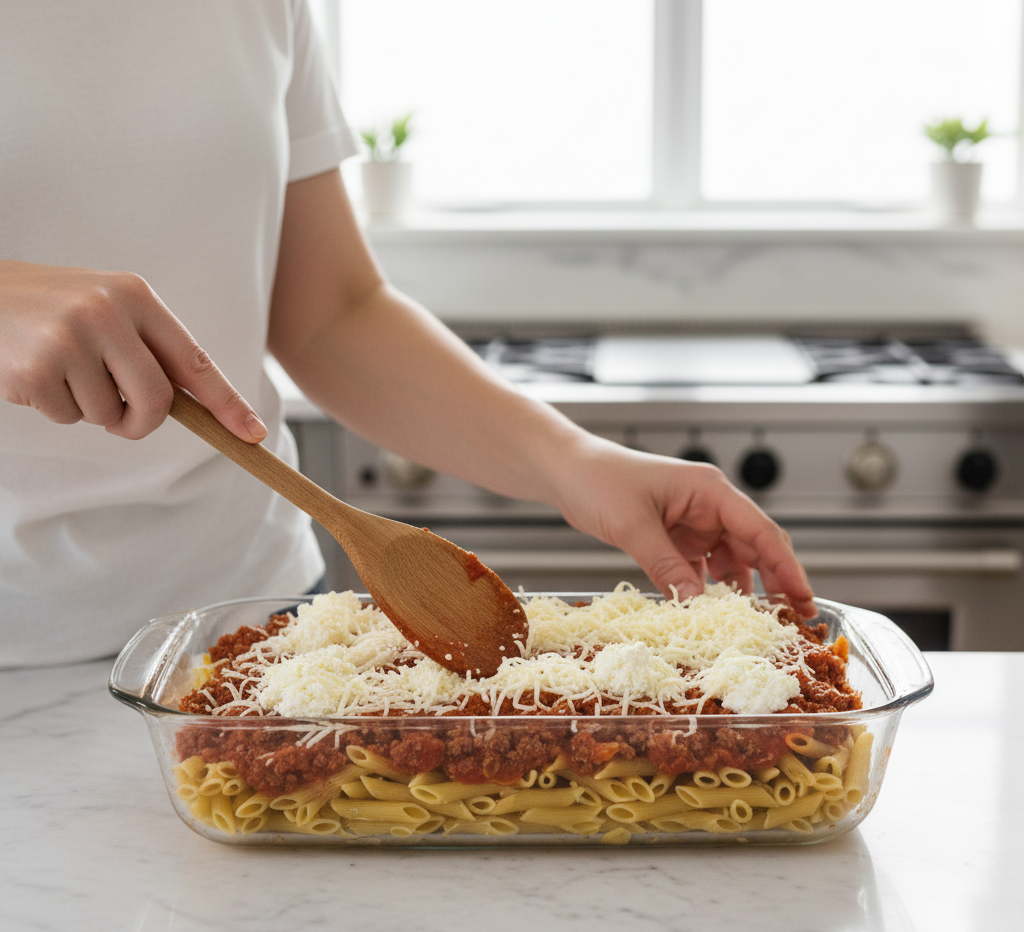
3. Assemble the Ground Beef Baked Tacos
Spread a thin layer of refried beans (if using) inside each shell. Add a spoonful of seasoned ground beef, then top generously with shredded cheese. Repeat until all shells are filled.

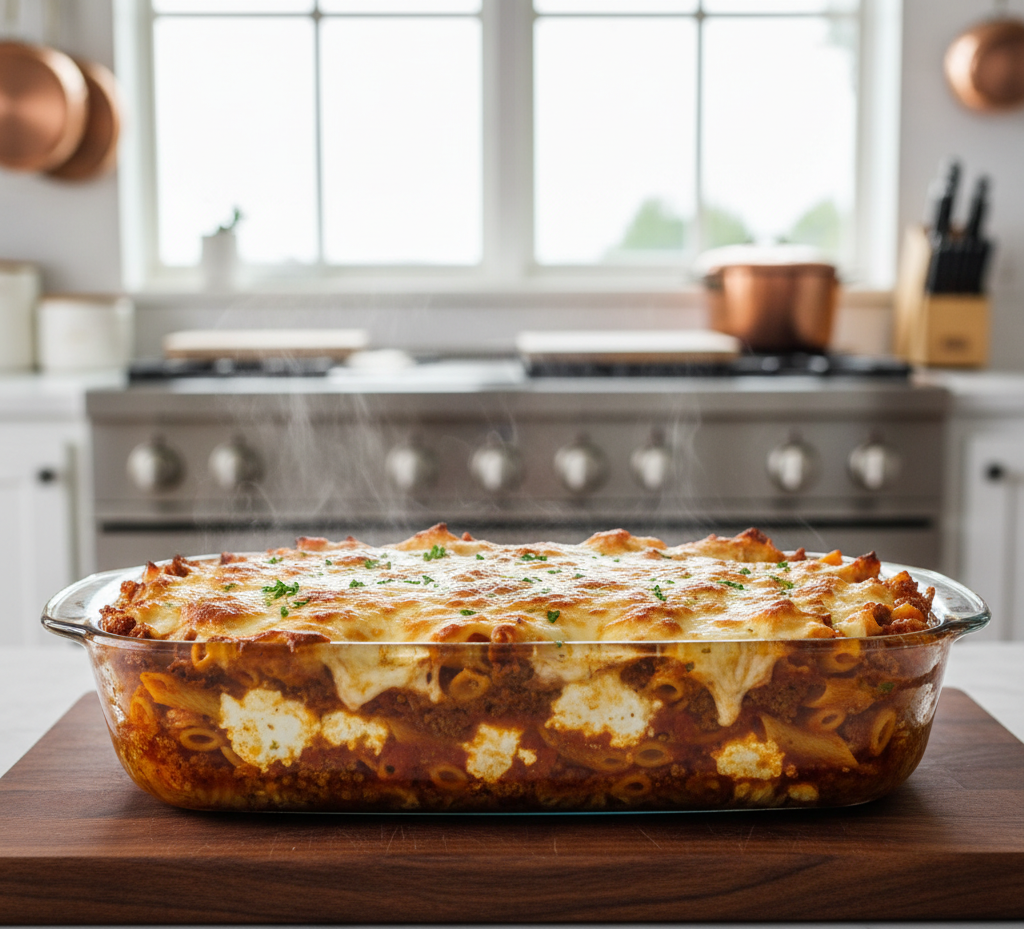
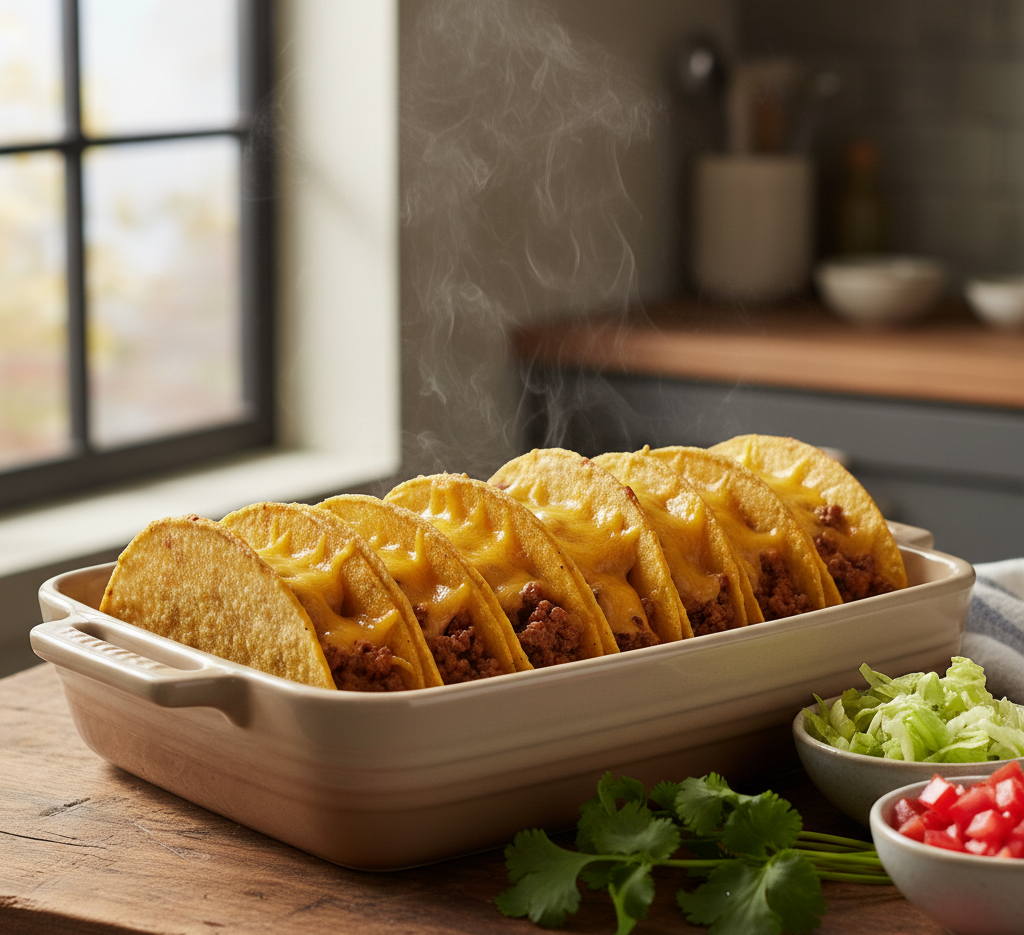
4. Bake to Crispy Perfection
Bake uncovered for 10–12 minutes, or until cheese is melted and shells are golden and crisp. Remove from oven and let cool slightly before adding fresh toppings.
Tips for Perfect Ground Beef Baked Tacos
-
Don’t overfill the shells to prevent tipping.
-
Drain beef well to avoid soggy tacos.
-
Pre-bake empty shells for 3 minutes for extra crispiness.
-
Use a baking dish that holds shells snugly upright.
-
Let tacos rest for a few minutes before serving.
These small adjustments make a big difference in texture and flavor.
Delicious Variations
Spicy Version
Add diced green chilies or hot sauce to the beef mixture.
Cheesy Upgrade
Mix cream cheese into the taco meat for ultra-creamy baked tacos.
Chicken Swap
Substitute shredded rotisserie chicken for ground beef.
Low-Carb Option
Use low-carb taco shells or make taco boats using halved bell peppers.
What to Serve with Ground Beef Baked Tacos
These ground beef baked tacos pair perfectly with:
-
Mexican rice
-
Refried beans
-
Elote (Mexican street corn)
-
Tortilla chips and guacamole
-
Fresh fruit salad
They’re versatile enough for casual dinners or festive taco nights.
Storage & Reheating
Refrigerator: Store leftovers in an airtight container for up to 3 days.
Freezer: Freeze assembled (unbaked) tacos tightly wrapped for up to 2 months.
To reheat:
-
Bake at 350°F for 8–10 minutes until warmed through.
-
Avoid microwaving if possible to maintain crispiness.
Ground beef baked tacos are surprisingly great for next-day lunches.
Common Mistakes to Avoid
-
Not draining excess grease from beef
-
Overfilling taco shells
-
Using too much liquid in the meat mixture
-
Overbaking, which can make shells too hard
-
Skipping the cheese layer on top
Avoid these mistakes to achieve crispy, flavorful tacos every time.
Frequently Asked Questions
1. Can I make ground beef baked tacos ahead of time?
Yes! Assemble them and refrigerate for up to 24 hours before baking.
2. How do I keep taco shells from getting soggy?
Use refried beans as a barrier and drain beef thoroughly.
3. Can I use soft tortillas instead?
Yes, but reduce baking time slightly and expect a softer texture.
4. What’s the best cheese for baked tacos?
Cheddar, Monterey Jack, or a Mexican blend all melt beautifully.
5. Can I double this recipe?
Absolutely. Just use a larger baking dish or two pans.
Final Thoughts
These Ground Beef Baked Tacos are everything you want in a weeknight dinner—crispy, cheesy, flavorful, and incredibly easy to make. Baking the tacos ensures even melting, better structure, and hands-free cooking that simplifies taco night.
Whether you’re feeding a hungry family or hosting friends, this ground beef baked tacos recipe delivers reliable, delicious results every single time. Once you discover how simple and satisfying oven-baked tacos can be, they’ll quickly become a regular on your dinner menu.