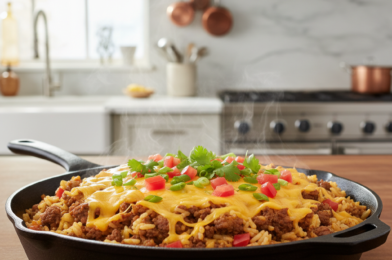
If you’re looking for a quick, satisfying dinner that delivers big flavor with minimal effort, this Cheesy Taco Rice Recipe is exactly what your weeknight menu needs. It combines everything you love about tacos—savory seasoned beef, fluffy rice, bold spices, and gooey melted cheese—into one hearty, comforting skillet meal.
This cheesy taco rice recipe is perfect for busy families, meal prep lovers, and anyone craving Tex-Mex flavor without the fuss of assembling individual tacos. It’s simple, customizable, and comes together in under 40 minutes using pantry staples. Plus, it’s a guaranteed crowd-pleaser that both kids and adults devour.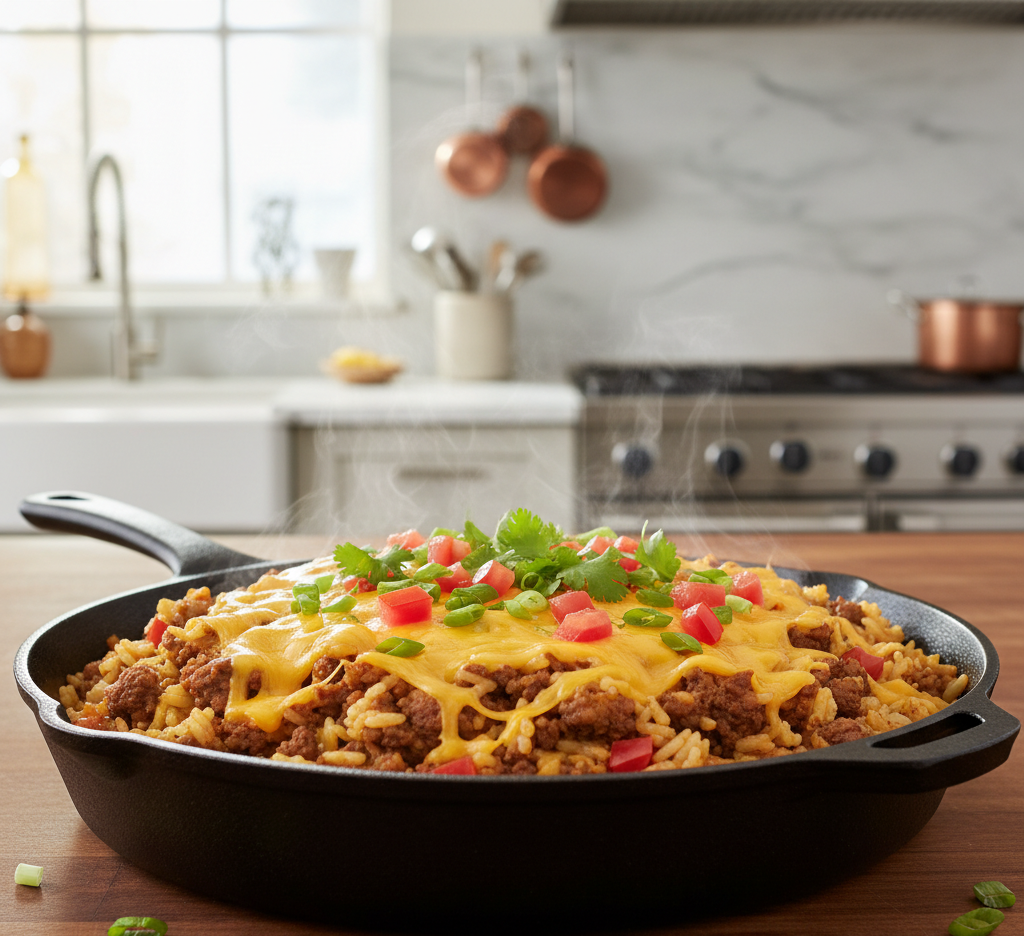
Why You’ll Love This Cheesy Taco Rice Recipe
This cheesy taco rice recipe isn’t just convenient—it’s incredibly flavorful and versatile. Here’s why it deserves a permanent spot in your dinner rotation:
-
One-pan meal with easy cleanup
-
Ready in under 40 minutes
-
Packed with bold taco seasoning flavor
-
Perfect for meal prep
-
Customizable with your favorite toppings
It’s the ultimate comfort food mashup—tacos meet cheesy rice casserole in the best way possible.
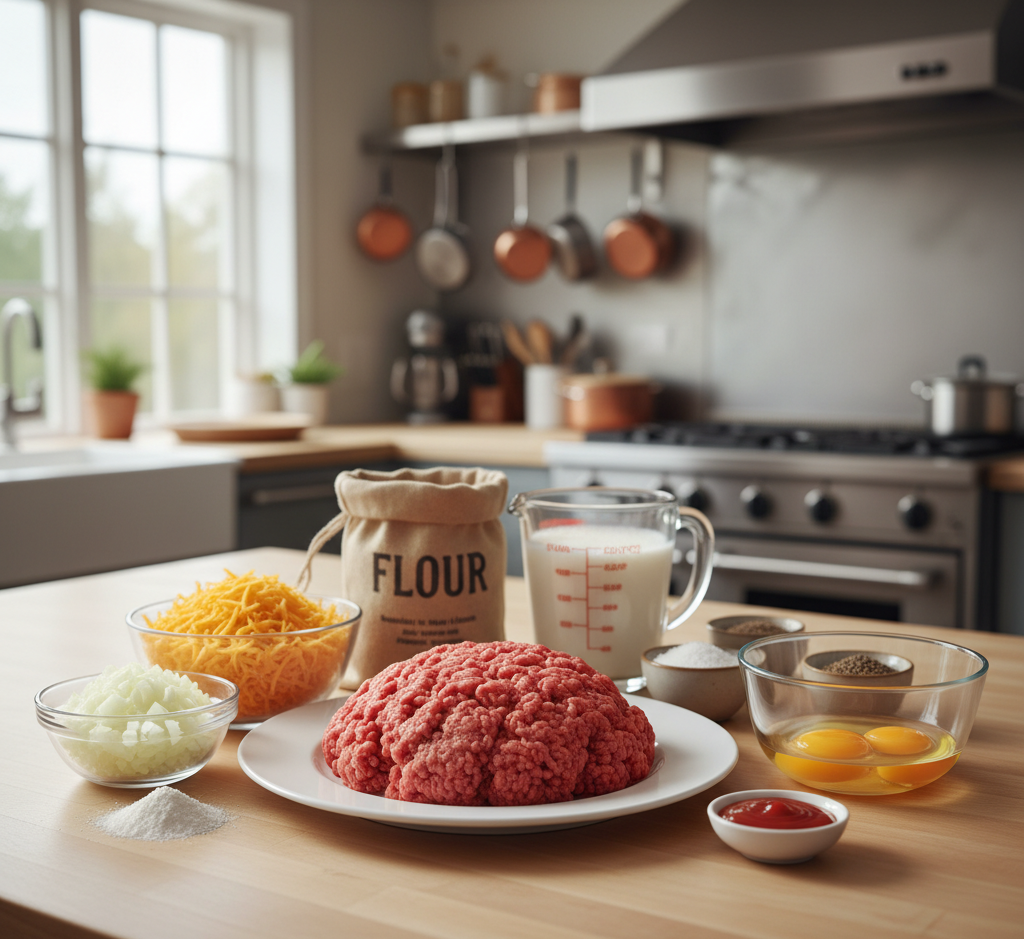
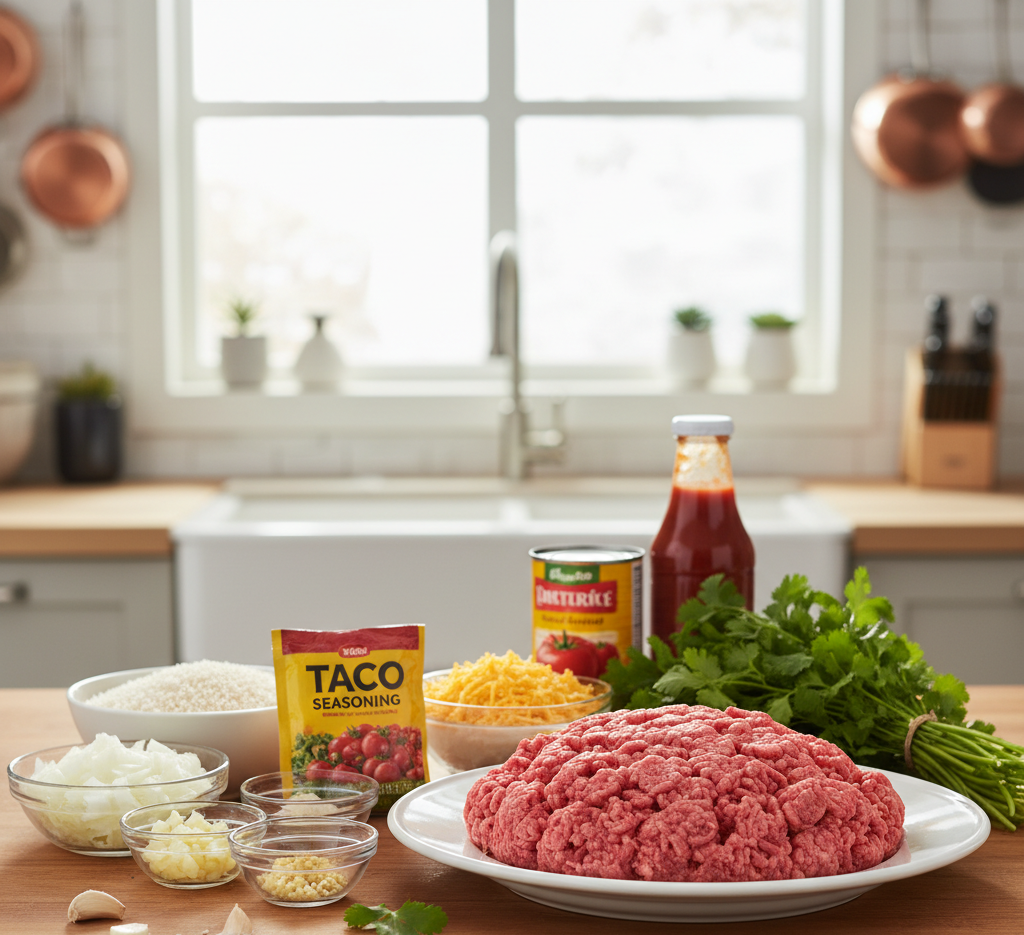
Ingredients
Here’s everything you’ll need to make this easy cheesy taco rice recipe:
-
1 pound ground beef (or ground turkey)
-
1 tablespoon olive oil
-
1 small onion, diced
-
2 cloves garlic, minced
-
1 packet taco seasoning (or 2 tablespoons homemade)
-
1 cup long-grain white rice (uncooked)
-
2 cups beef broth
-
1 can (14.5 oz) diced tomatoes, drained
-
1 cup tomato sauce
-
1 ½ cups shredded cheddar cheese
-
½ cup shredded Monterey Jack cheese
-
Salt and pepper to taste
-
Optional toppings: sour cream, avocado, cilantro, jalapeños
Ingredient Notes & Flavor Boosters
Ground Beef
An 80/20 blend works beautifully for juicy, flavorful cheesy taco rice. If you prefer leaner meat, ground turkey or chicken is a great substitute.
Rice
Long-grain white rice cooks evenly and stays fluffy. Avoid instant rice for this recipe—it can become mushy.
Cheese
A combination of cheddar and Monterey Jack gives you maximum melt and rich flavor. Freshly shredded cheese melts better than pre-shredded.
For an extra kick, add a pinch of smoked paprika or a dash of hot sauce to elevate your cheesy taco rice recipe even more.
Step-by-Step Instructions
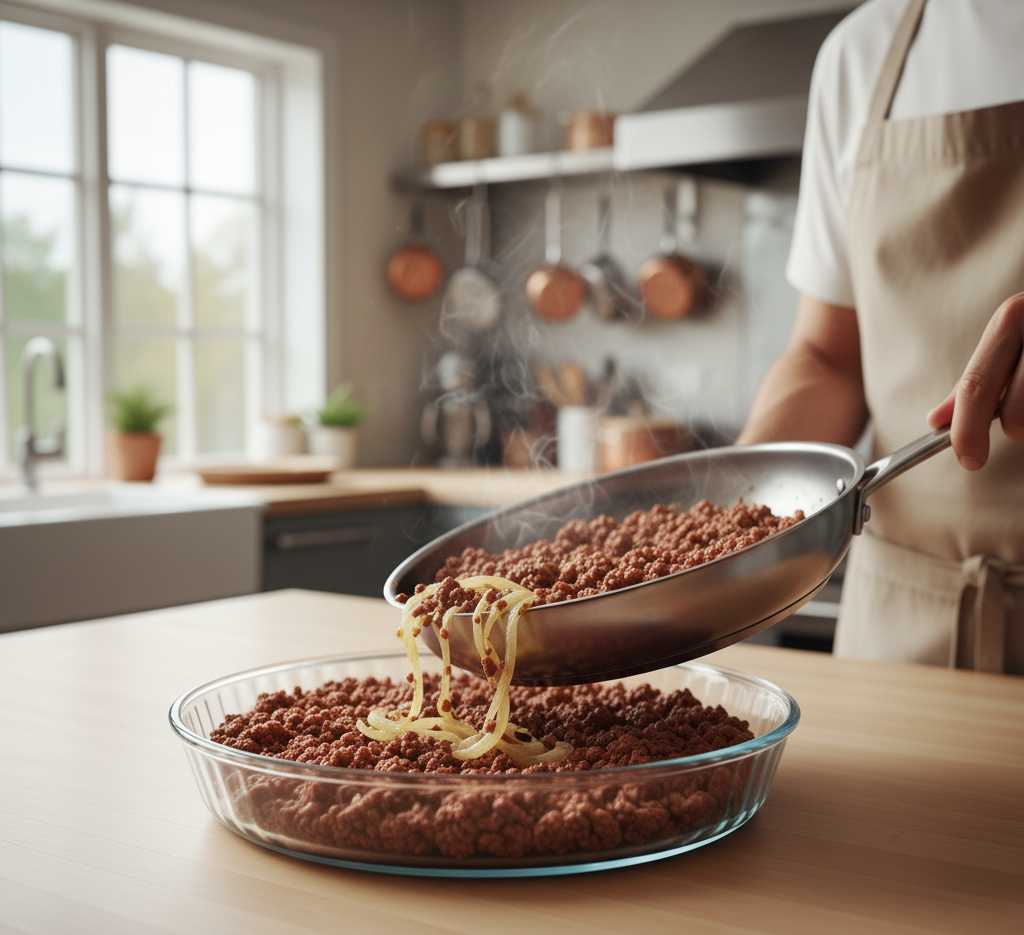
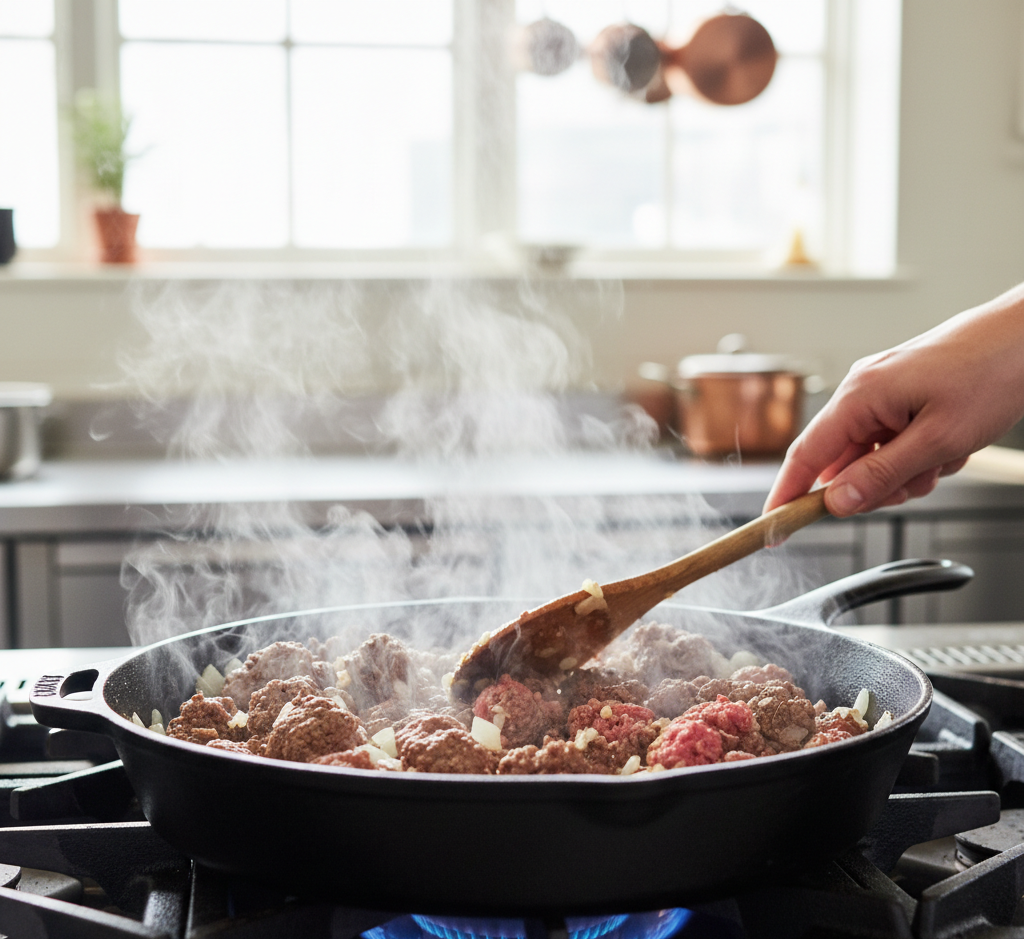
1. Brown the Beef
Heat olive oil in a large skillet over medium heat. Add ground beef and cook until browned, breaking it apart with a spoon. Drain excess grease if needed.
Add diced onion and cook until softened, about 3–4 minutes. Stir in garlic and cook for 30 seconds until fragrant.
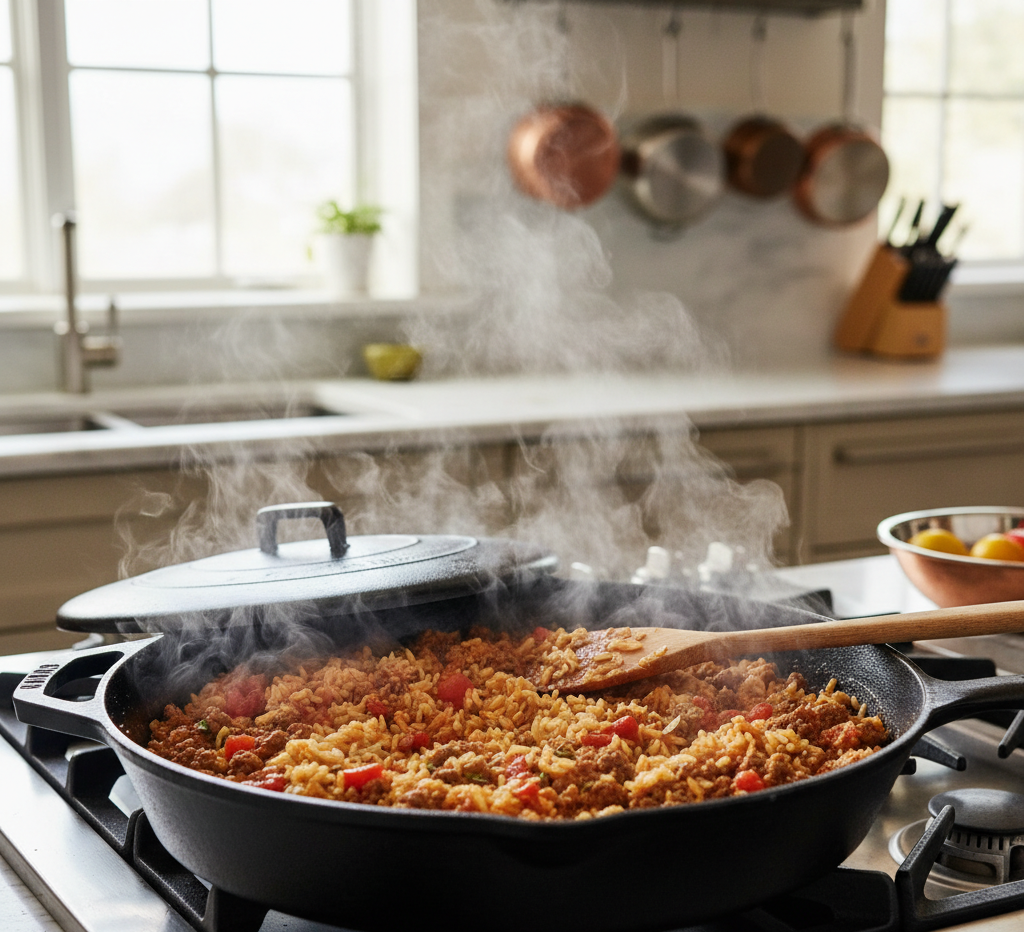
2. Add Seasoning and Rice
Stir in taco seasoning until the beef is evenly coated. Add uncooked rice, beef broth, diced tomatoes, and tomato sauce. Stir well to combine.
Bring to a gentle boil, then reduce heat to low. Cover and simmer for 18–20 minutes until rice is tender and liquid is absorbed.
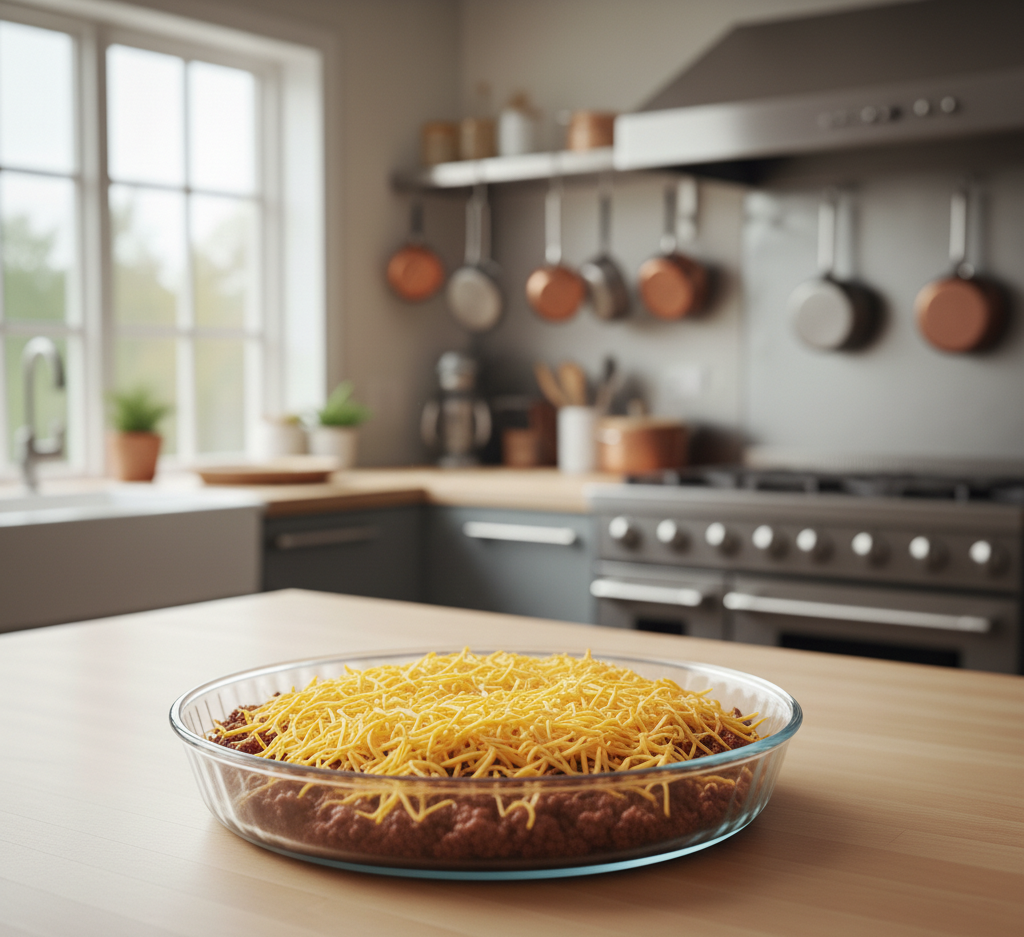
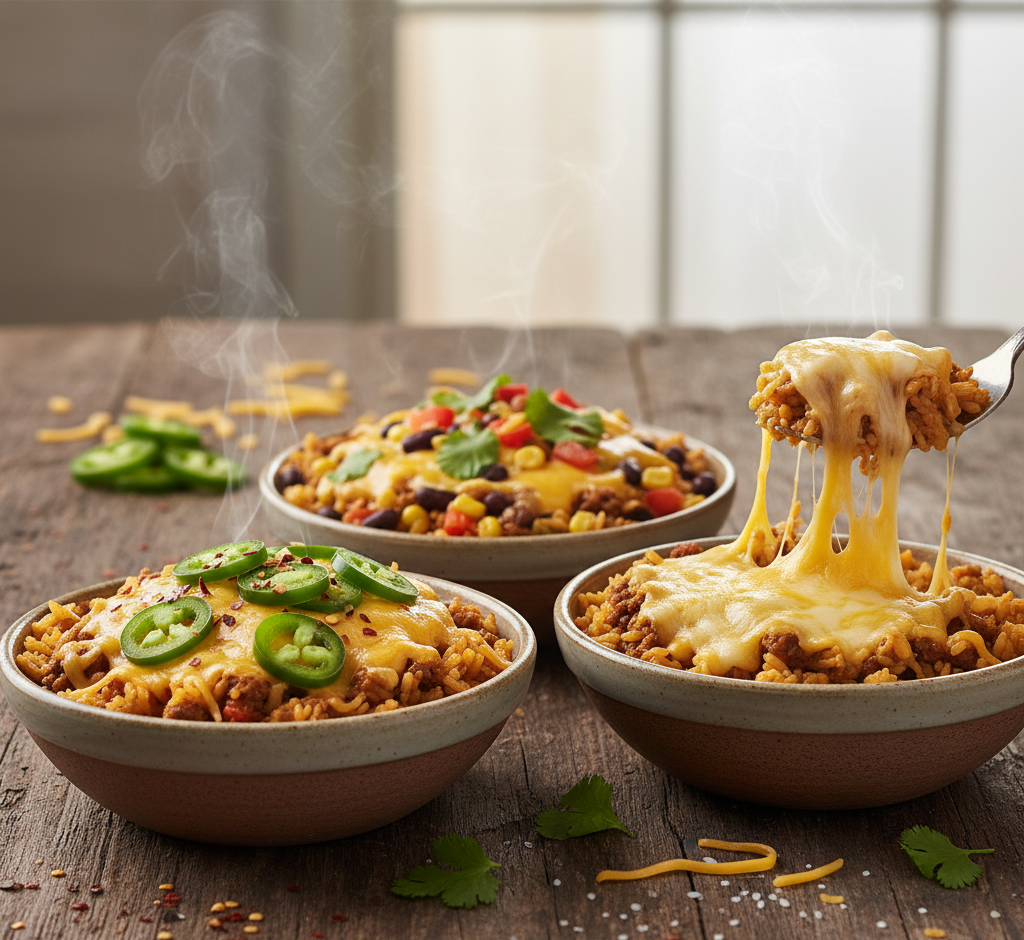
3. Melt the Cheese
Once the rice is cooked, sprinkle shredded cheddar and Monterey Jack evenly over the top. Cover and let sit for 3–5 minutes until the cheese is melted and gooey.

Tips for Perfect Cheesy Taco Rice
-
Keep heat low while simmering to prevent rice from sticking.
-
Stir once or twice during cooking for even texture.
-
Let the dish rest 5 minutes before serving—it thickens beautifully.
-
Taste before serving and adjust salt or spice level.
These small techniques make a big difference in achieving the best cheesy taco rice recipe every time.
Delicious Variations
One of the best things about this cheesy taco rice recipe is how adaptable it is.
Make It Spicy
Add diced jalapeños or a pinch of cayenne pepper.
Add Beans
Black beans or pinto beans add protein and texture.
Go Vegetarian
Swap the meat for seasoned black beans and corn.
Make It Creamy
Stir in ½ cup cream cheese before adding shredded cheese.
What to Serve With Cheesy Taco Rice
This dish is hearty enough to stand alone, but it pairs wonderfully with:
-
Fresh green salad
-
Tortilla chips and salsa
-
Mexican street corn
-
Guacamole and sour cream
You can also use leftover cheesy taco rice as a filling for burritos or stuffed peppers.
Storage & Reheating Tips
This cheesy taco rice recipe stores beautifully, making it ideal for meal prep.
-
Refrigerate in an airtight container for up to 4 days.
-
Freeze for up to 2 months.
-
Reheat in microwave or stovetop with a splash of broth to restore moisture.
The flavors deepen overnight, making leftovers even more delicious.
Common Mistakes to Avoid
-
Using too much liquid (rice may become mushy)
-
Cooking on high heat (can burn the bottom)
-
Skipping the resting time before serving
-
Using pre-shredded cheese without adjusting salt
Taking your time ensures your cheesy taco rice recipe turns out perfectly every time.
FAQs
Can I make this cheesy taco rice recipe ahead of time?
Yes! It’s excellent for meal prep and reheats beautifully.
Can I use brown rice instead?
You can, but increase cooking time and add extra broth.
Is this recipe gluten-free?
Yes, as long as your taco seasoning is gluten-free.
Can I make it in the oven?
Yes. After mixing everything, transfer to a baking dish, cover, and bake at 375°F for about 25 minutes before adding cheese.
Final Thoughts
This Cheesy Taco Rice Recipe is the definition of comfort food made easy. It’s bold, cheesy, satisfying, and endlessly customizable. Whether you’re feeding a hungry family or prepping meals for the week, this one-pan dinner delivers big flavor with minimal effort.
Once you try this cheesy taco rice recipe, it’s bound to become one of those dependable favorites you return to again and again. Simple ingredients, bold Tex-Mex flavor, and plenty of melty cheese—what’s not to love?