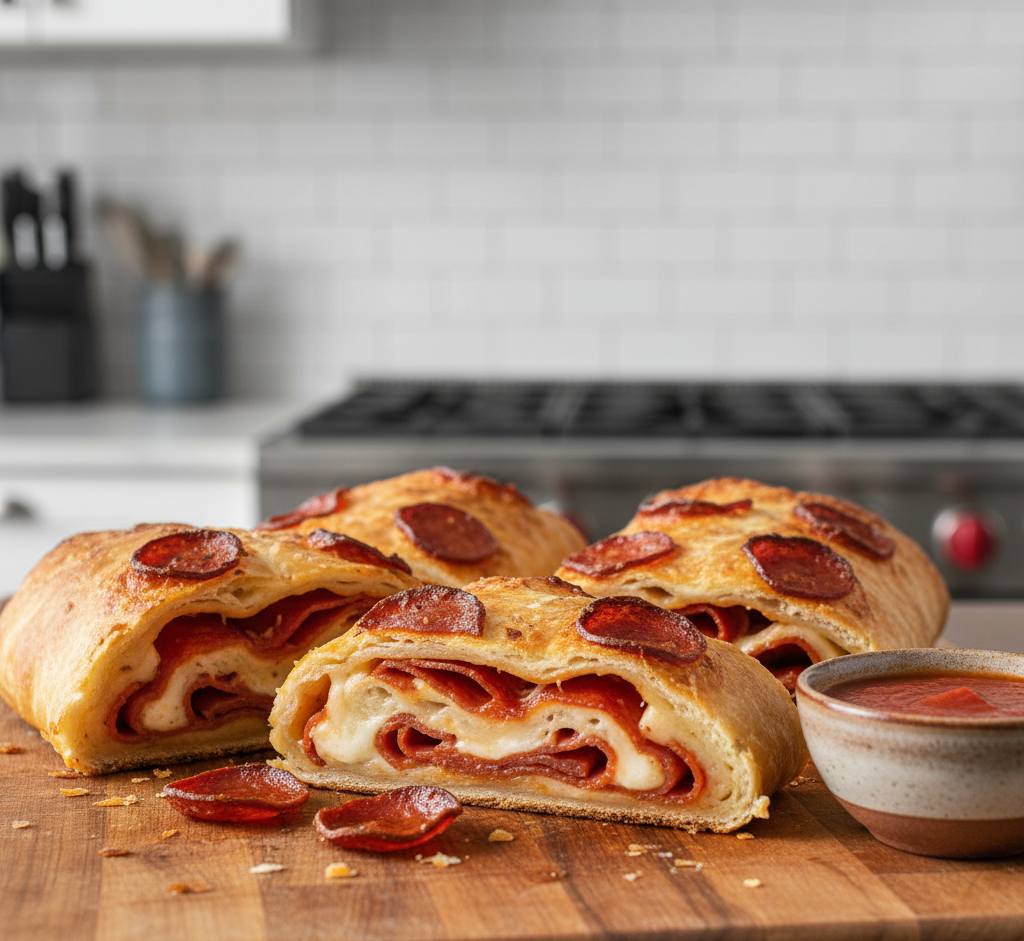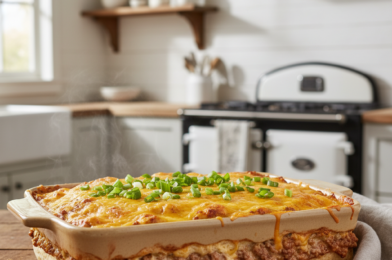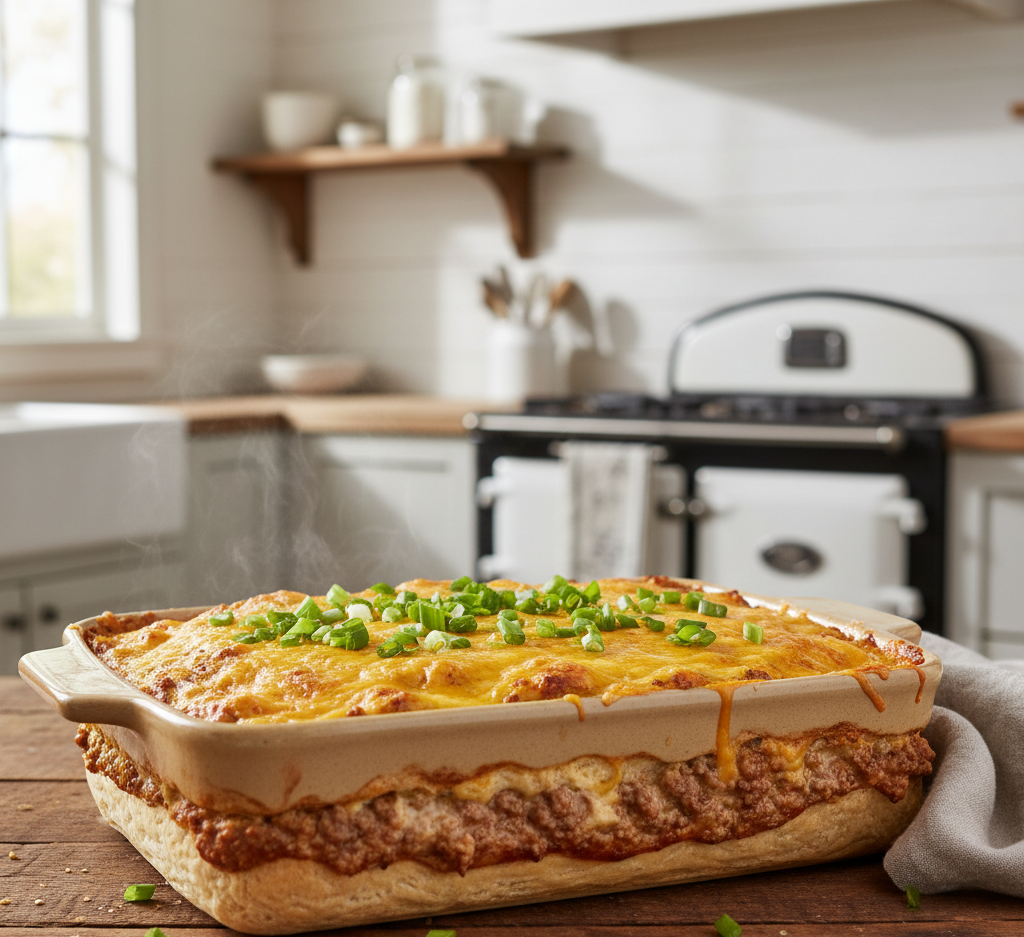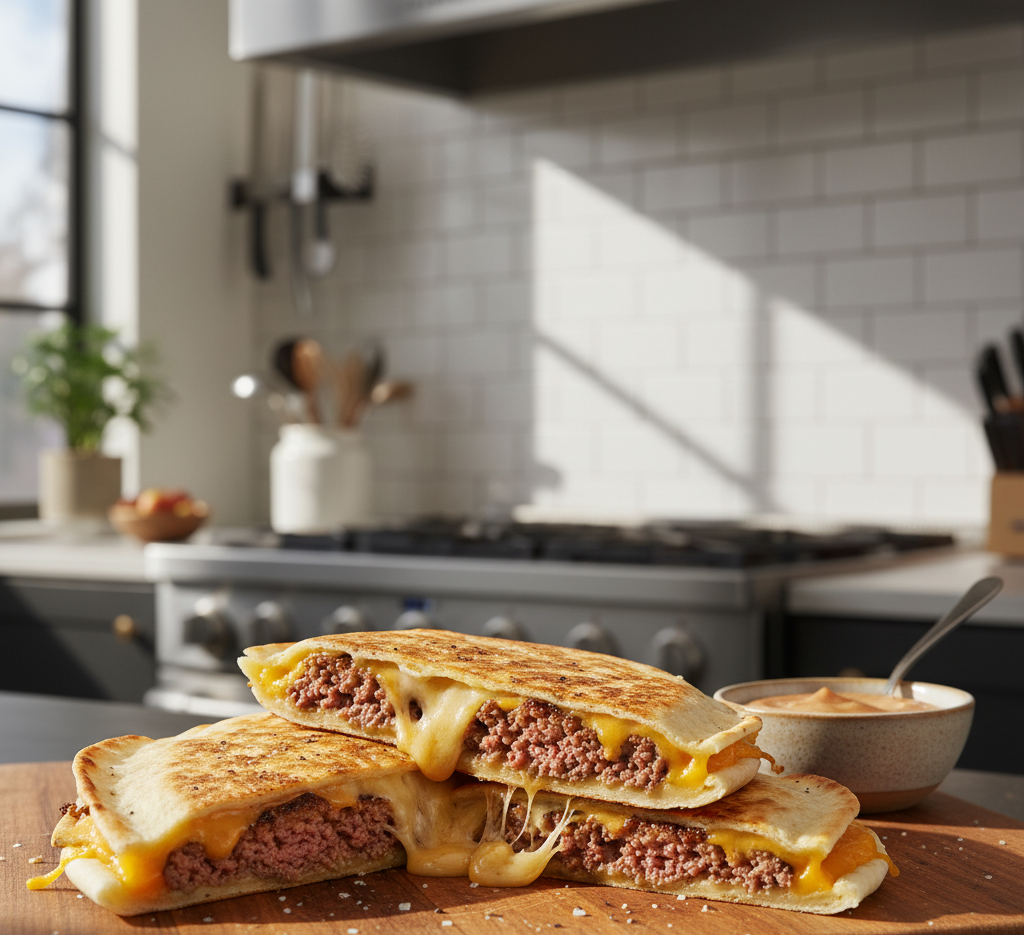
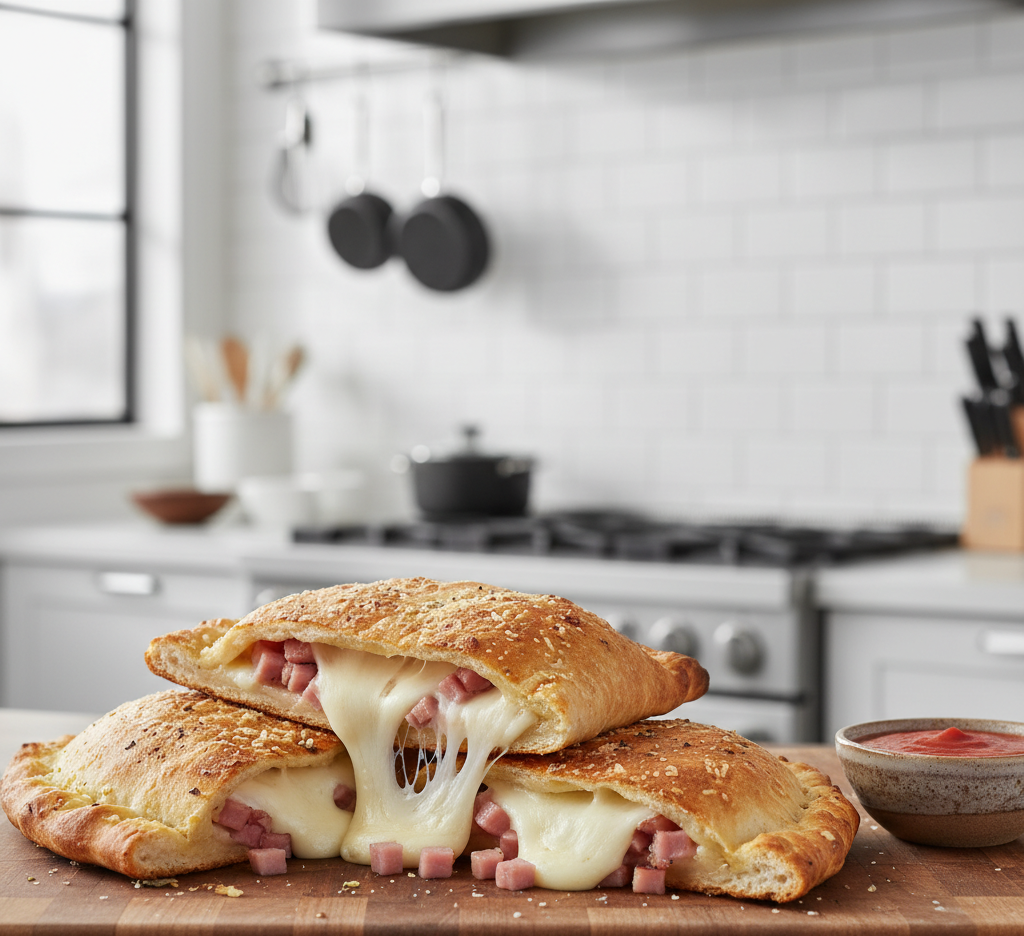
When you need a comforting, crowd-pleasing meal that comes together fast, these Easy Ham and Cheese Calzones are exactly what your dinner routine has been missing. Think golden pizza dough folded around layers of savory ham and gooey melted cheese, baked until perfectly crisp on the outside and irresistibly melty on the inside.
This easy ham and cheese calzones recipe is ideal for busy weeknights, after-school dinners, or even casual weekend lunches. They’re portable, freezer-friendly, and endlessly customizable. If you love pizza and hot sandwiches, you’re going to fall head over heels for these homemade calzones.
Why You’ll Love These Easy Ham and Cheese Calzones
There are plenty of reasons this recipe deserves a permanent spot in your meal rotation.
-
Quick and simple ingredients
-
Kid-friendly and adult-approved
-
Customizable with different cheeses and add-ins
-
Perfect for meal prep
-
Freezer-friendly
Easy ham and cheese calzones offer all the comfort of pizza but in a tidy, handheld package. Plus, they’re much easier to serve and store than traditional pizza slices.
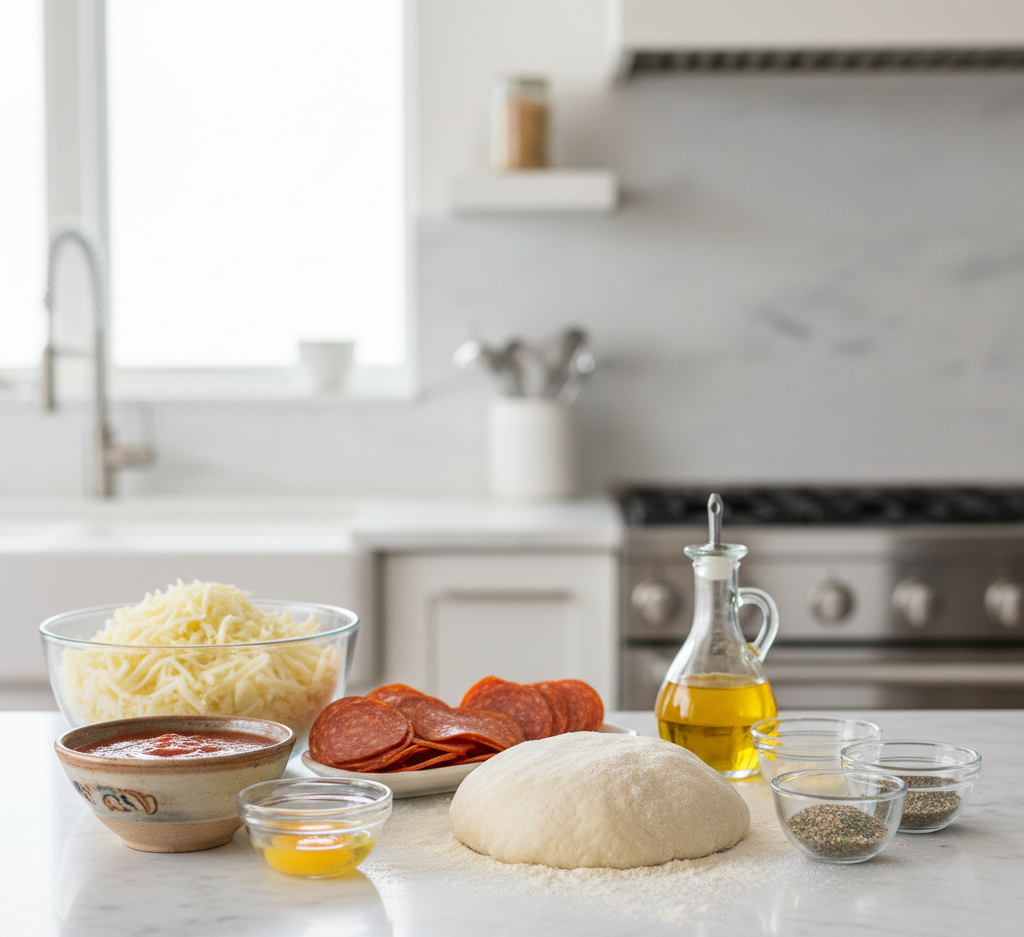
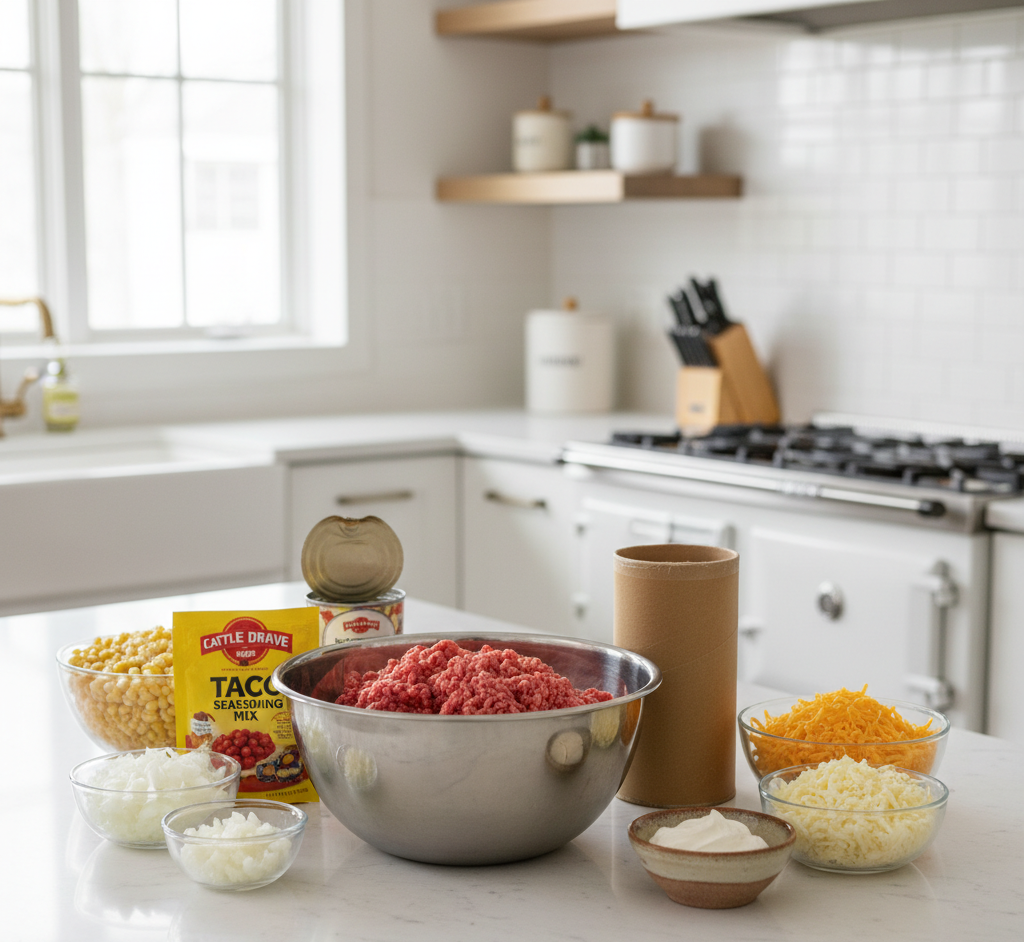
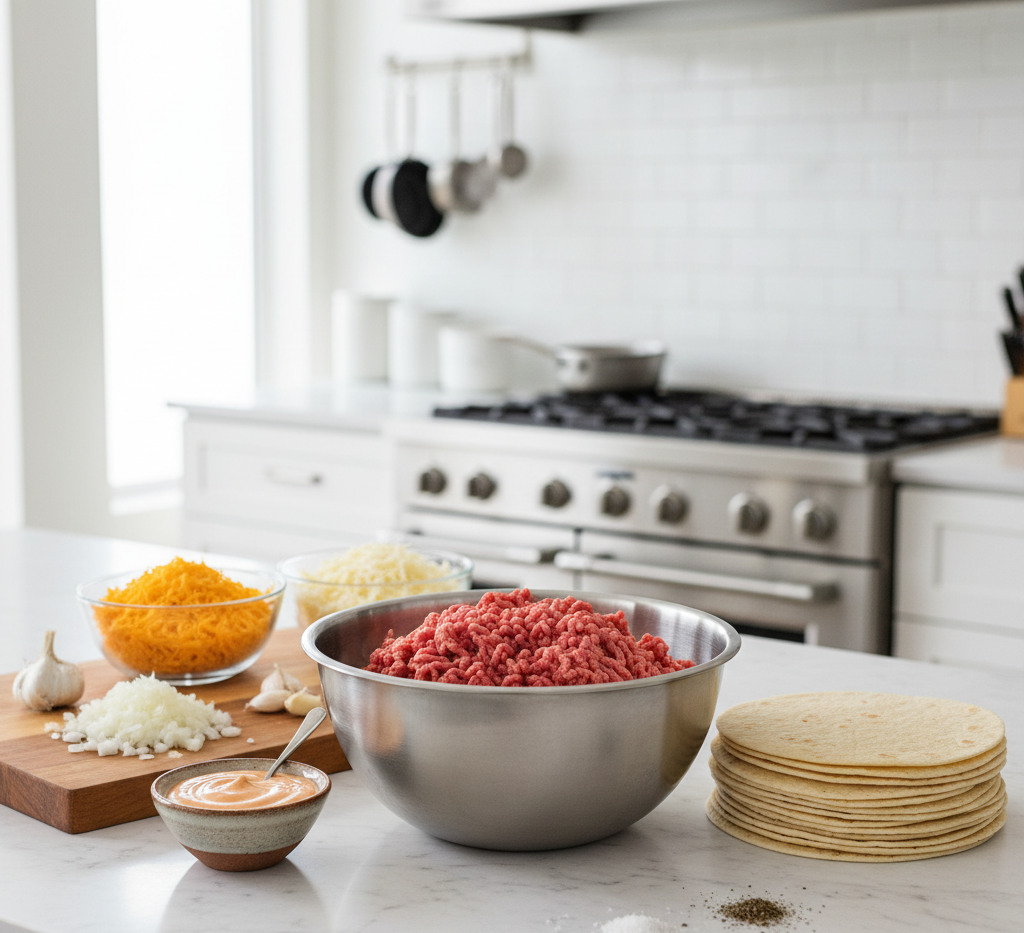
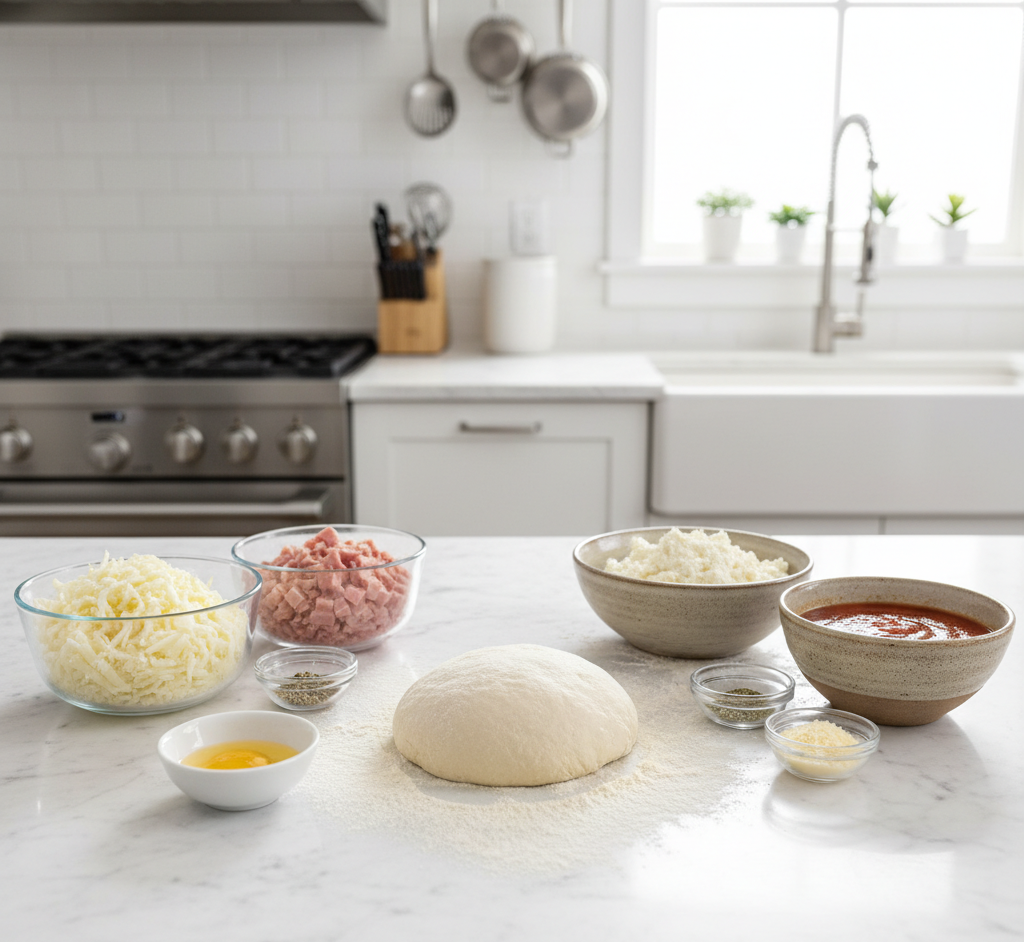
Ingredients
Here’s everything you’ll need to make these easy ham and cheese calzones:
-
1 pound pizza dough (store-bought or homemade)
-
1 ½ cups shredded mozzarella cheese
-
1 cup diced or thinly sliced ham
-
½ cup ricotta cheese (optional but recommended for creaminess)
-
¼ cup grated Parmesan cheese
-
½ teaspoon garlic powder
-
½ teaspoon Italian seasoning
-
1 egg (for egg wash)
-
Marinara sauce for dipping
Ingredient Notes & Substitutions
Pizza Dough
Store-bought refrigerated pizza dough makes these easy ham and cheese calzones incredibly convenient. Just allow it to sit at room temperature for about 30 minutes before rolling.
Ham
Leftover baked ham works beautifully here. Deli ham is also a great option—just pat it dry to prevent excess moisture inside the calzones.
Cheese Choices
Mozzarella melts beautifully, but provolone, Swiss, or Monterey Jack are excellent alternatives. Mixing cheeses adds depth and flavor.
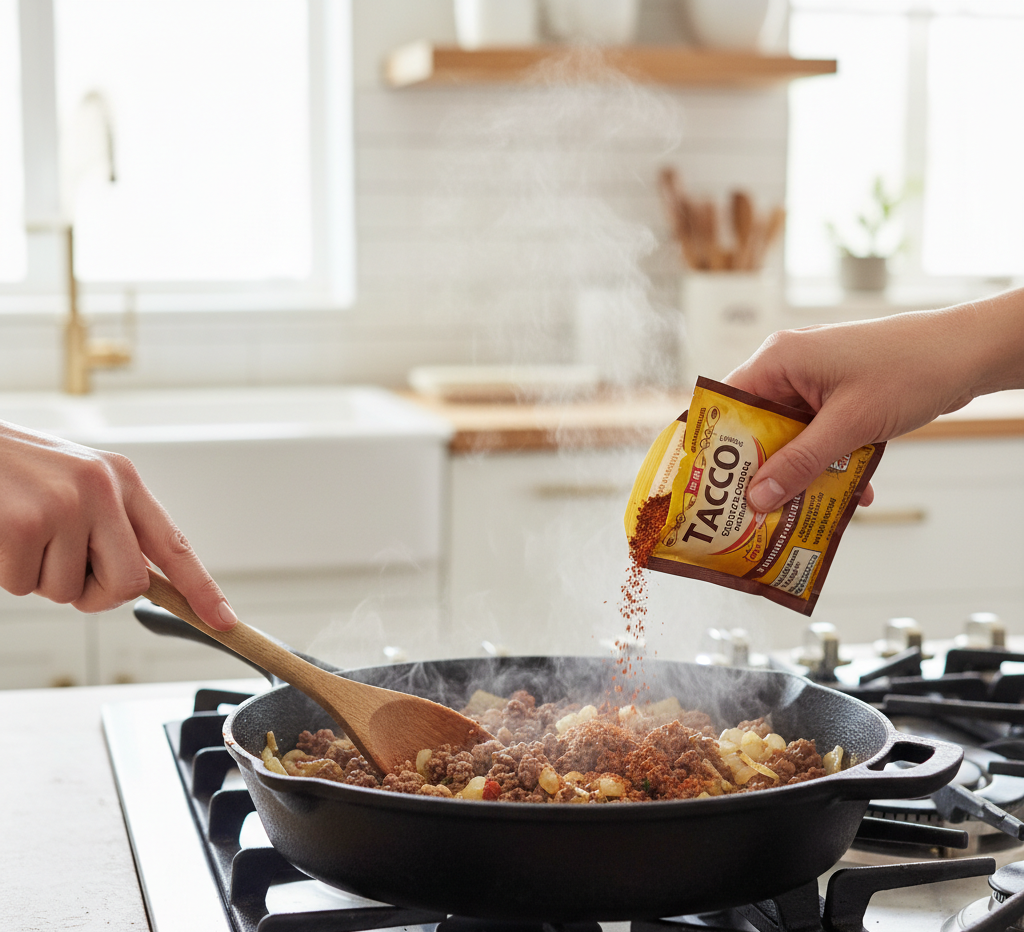
Step-by-Step Instructions
1. Preheat and Prep
Preheat your oven to 400°F. Line a baking sheet with parchment paper for easy cleanup.
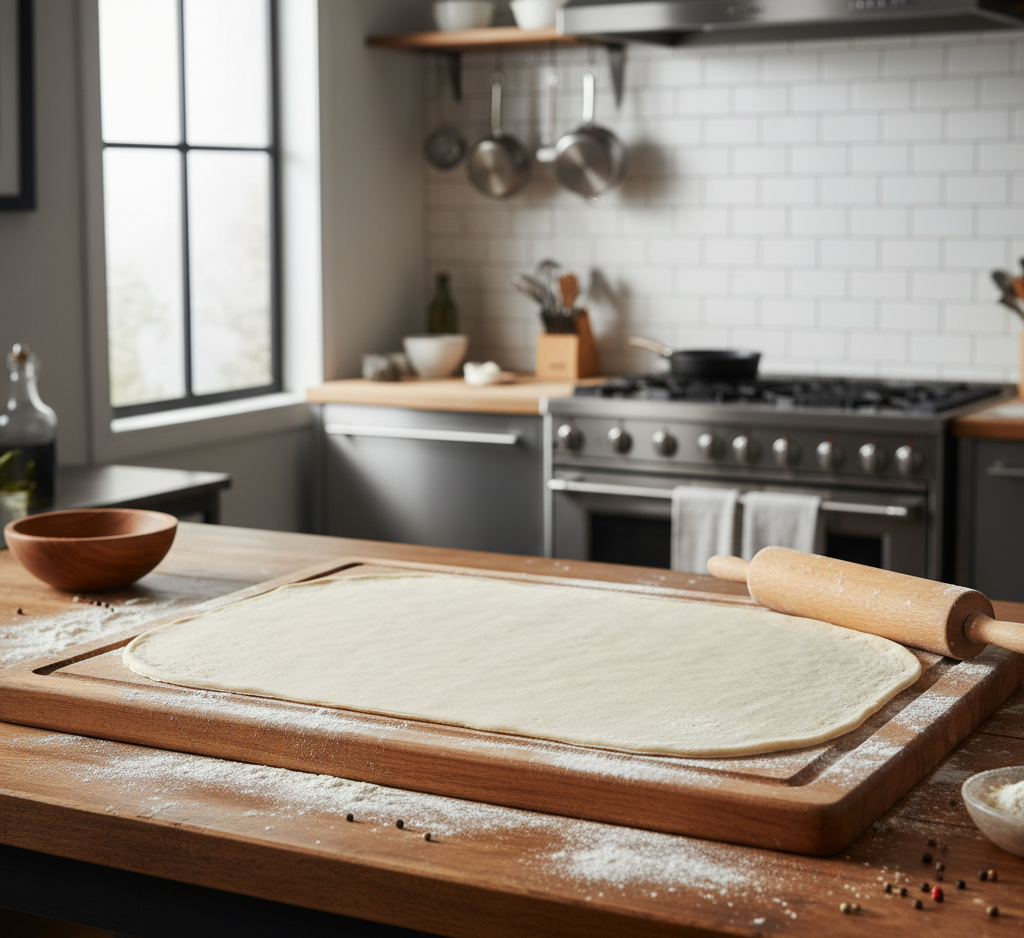
2. Roll the Dough
Divide pizza dough into 3–4 equal portions. On a lightly floured surface, roll each piece into a 6–8 inch circle.

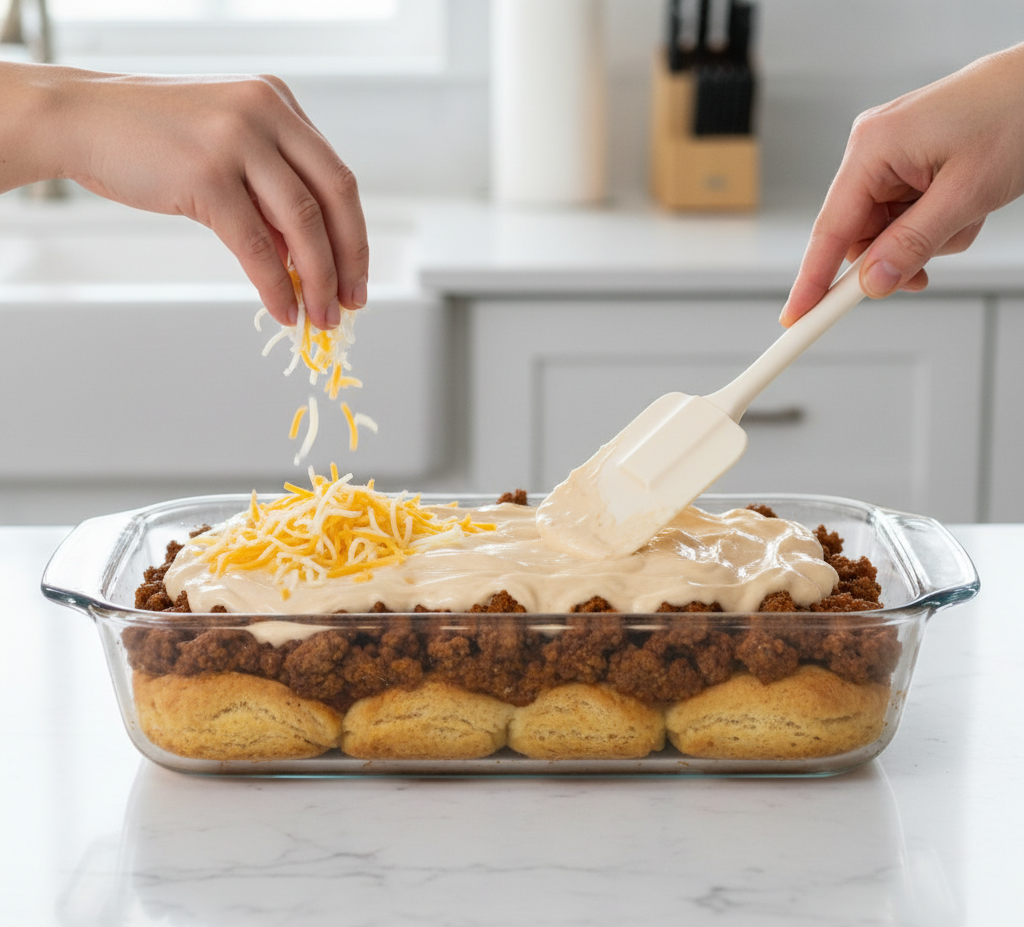
3. Add the Filling
On one half of each dough circle, layer:
-
Ricotta (if using)
-
Shredded mozzarella
-
Diced ham
-
Sprinkle of Parmesan
-
Garlic powder and Italian seasoning
Leave about a ½-inch border around the edge.
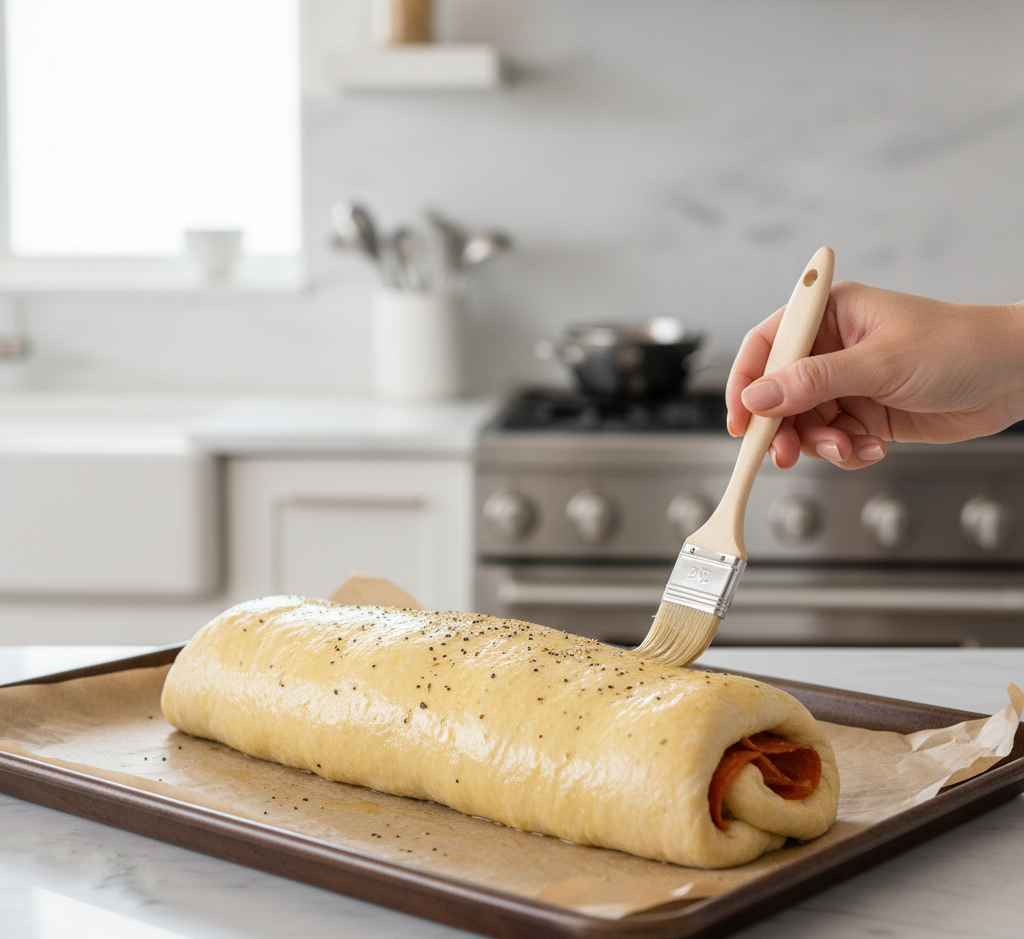
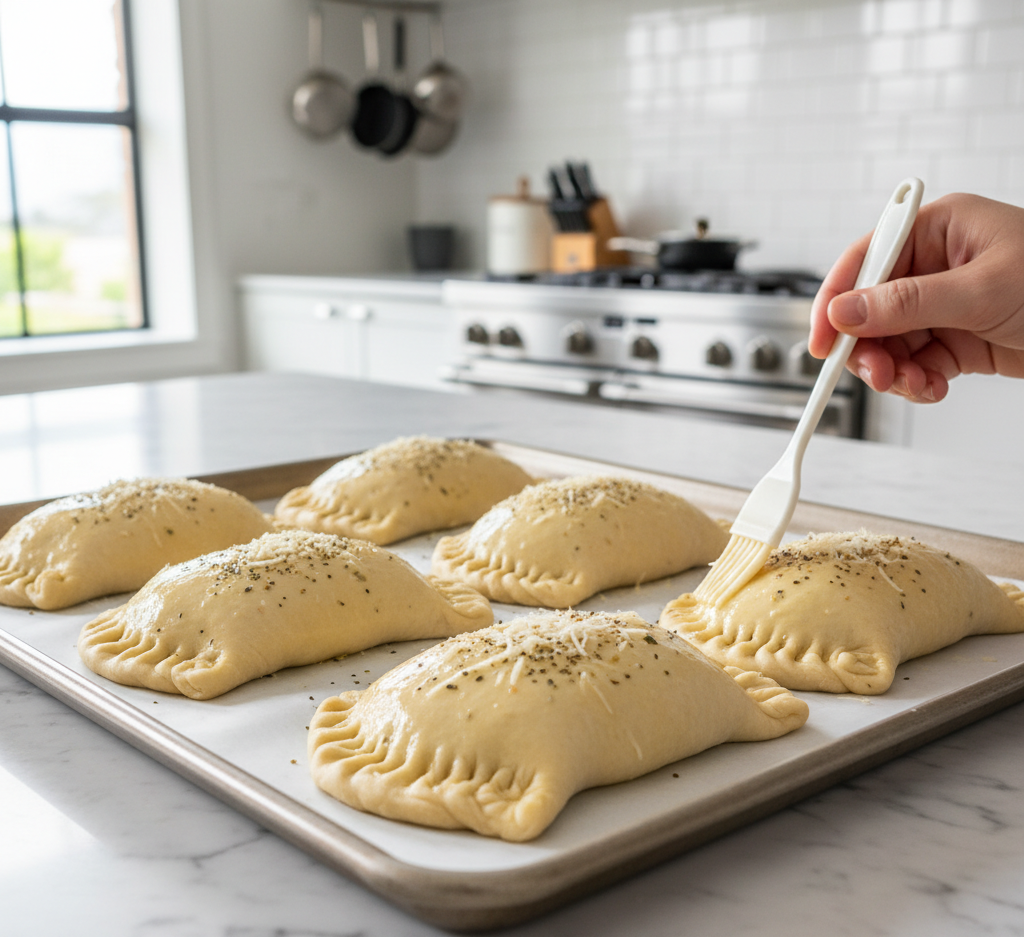
4. Fold and Seal
Fold the dough over the filling to create a half-moon shape. Press edges together and crimp with a fork to seal tightly.
Brush the tops with beaten egg for that golden finish. Cut small slits in the top to allow steam to escape.
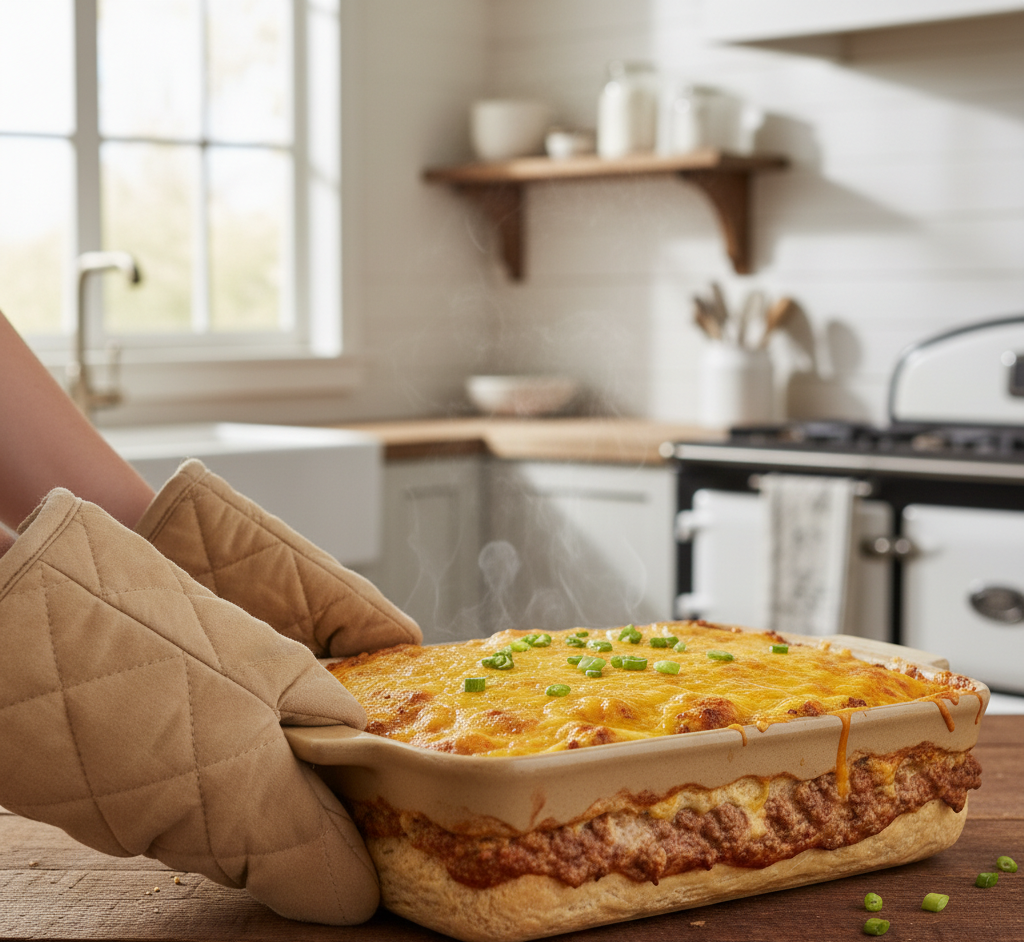
5. Bake to Golden Perfection
Bake for 18–22 minutes or until golden brown. Let cool slightly before serving.
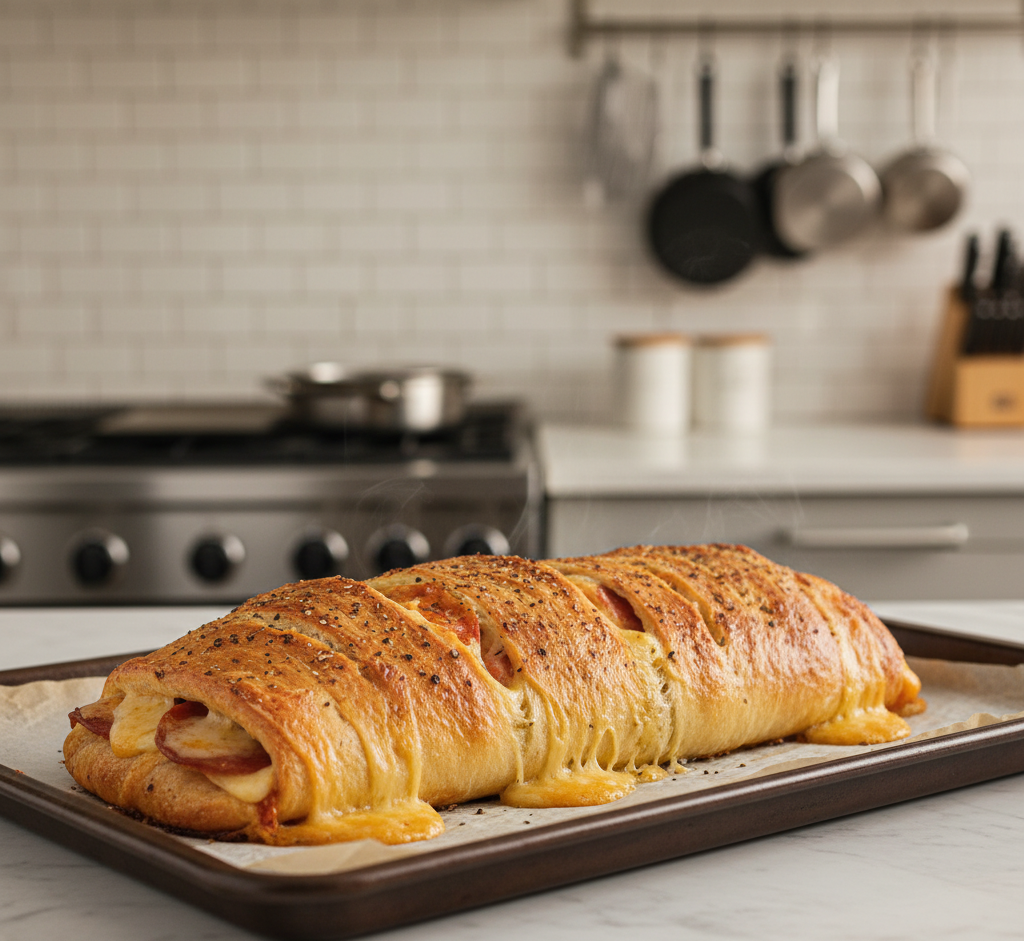
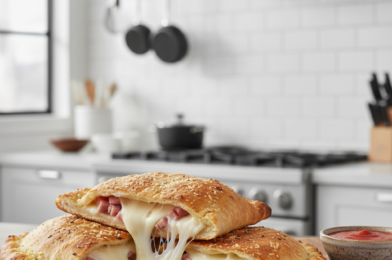
Image Prompt:
Freshly baked golden ham and cheese calzones cooling on baking tray, melted cheese slightly visible from vents, warm natural lighting, professional kitchen environment, shallow depth of field, 4k resolution.
Tips for Perfect Easy Ham and Cheese Calzones
-
Don’t overfill to avoid leaks.
-
Make sure edges are sealed tightly.
-
Use parchment paper to prevent sticking.
-
Let them rest for 5 minutes before cutting.
These small details make a big difference in texture and presentation.
Delicious Variations
One of the best things about easy ham and cheese calzones is how versatile they are.
Breakfast Calzones
Add scrambled eggs and cheddar for a morning twist.
Hawaiian Style
Include pineapple chunks for sweet and savory flavor.
Spinach & Ham
Mix sautéed spinach into the cheese layer.
Spicy Version
Add red pepper flakes or jalapeños for heat.

What to Serve With Ham and Cheese Calzones
These easy ham and cheese calzones pair perfectly with:
-
Garden salad with vinaigrette
-
Roasted vegetables
-
Tomato basil soup
-
Garlic bread
A simple side salad balances the richness of the cheese-filled calzones beautifully.
Storage & Reheating Tips
Easy ham and cheese calzones are excellent for meal prep.
-
Refrigerate in airtight container for up to 3 days.
-
Freeze individually wrapped calzones for up to 2 months.
-
Reheat in oven at 350°F for 10–12 minutes for best texture.
Avoid microwaving if possible, as it can make the crust soft instead of crisp.
Common Mistakes to Avoid
-
Overstuffing the filling
-
Skipping the steam vents
-
Not sealing edges properly
-
Using cold dough straight from the fridge
Pay attention to these simple details and your easy ham and cheese calzones will turn out beautifully every time.
FAQs
Can I make easy ham and cheese calzones ahead of time?
Yes! Assemble them and refrigerate until ready to bake.
Can I use crescent roll dough instead?
You can, but pizza dough gives better structure and chew.
How do I prevent soggy calzones?
Pat ham dry and avoid too much ricotta or sauce inside.
Can I freeze unbaked calzones?
Absolutely. Freeze on a baking sheet first, then wrap tightly. Bake from frozen with a few extra minutes added.
Final Thoughts
These Easy Ham and Cheese Calzones are the ultimate comfort food shortcut—simple ingredients, bold flavor, and minimal prep. Whether you’re feeding hungry kids, hosting a casual gathering, or prepping lunches for the week, this recipe delivers every single time.
Once you try these easy ham and cheese calzones, they’ll quickly become a regular in your dinner lineup. Golden crust, melty cheese, savory ham—it’s everything you love wrapped into one perfect bite.